Emil Pakarklis is an iPhoneographer and iPhone photography blogger from Latvia. As well as being a regular contributor to the Mobiography digital magazine and iDownloadblog he also runs the popular website iPhone PhotographySchool.com.
Emil is doing some great work to educate and teach people about improving their iphone photography skills. I caught up with Emil to find out more about this work and the iPhone photography school.
Describe your introduction to iPhone photography.
I always had some interest in photography, but I never really had a chance to follow that passion. DSLRs were expensive and cumbersome, and point and shoot cameras were disappointing. So for years I never really got serious about photography.
All of that changed when the the I got my iPhone 4S about two years ago. To my surprise, it took better photos than most compact cameras, and it was a device that I always carried with me.
Then I discovered the world of apps, got Justing Balog’s eBook Big World Little Lens, started reading other blogs, signed up for Instagram, and my passion for iPhoneography was born.
Tell us about the iPhone Photography School, its history and your reasons for starting it?
When I was just starting out two years ago, there were not that many good tutorials about iPhone photography. Sure, there were some big iPhoneography blogs already, but they mostly focused on app news rather than on teaching people how to take and edit better photos.
So I had to figure out many things on my own, and I thought that I could start a blog to share the things I learned in the process. And so iPhone Photography School was born.
Initially I didn’t like the name of the blog since I was in no position to be a teacher, but that was the only reasonable domain name with the words “iPhone Photography” in it. Over time it turned out to be a great choice as I shifted my attention more towards tutorials and helping people.
Today iPhone Photography School focuses on just three things – shooting and editing tutorials, interviews with talented iPhoneographers, and a weekly photo contest on Instagram.
You have launched a photo app video series. What was the inspiration and aim behind the series?
The App Of The Week video series started from my observation that most iPhone photographers have downloaded countless different photo apps that they don’t use just because they don’t know how to take full advantage of them.
The things you can do with apps these days are just amazing, and there are many excellent apps on the App Store. However, most people don’t really have the time to figure out these apps on their own. Even if the app comes with a user manual – and often it doesn’t – the user manual won’t teach you how to creatively use the app to create great photos.
So my goal with the videos is to introduce people to one great app each week, starting from the basics and moving on to the most advanced features in just half an hour. In the videos I focus not only on what the app can do, but also on how to best apply these tools to create great photos.
iPhone Photography School has featured many great mobile photographers. Who has been your favorite and the most inspirational person you have interviewed?
Wow, that’s a tough question. All the interviews were great, and I’m happy for every single one of them. But if I had to pick my just one, that would be the interview with Richard Koci Hernandez. I particularly liked his down-to-earth tips for telling a great story with your photos.
What are your tip tops to those wanting to improve their mobile photography skills?
It all starts with taking a great photo. While some post-processing experts would disagree, I have a saying that no editing can turn a bad photo into a good one. But how do you take great photos?
First and foremost, you should be mindful of everything you’re doing. Many people are very casual about smartphone photography, and they just use their phones to take quick snapshots. With that kind of attitude you’ll never take great photos no matter what camera you use.
Whenever you’re taking a photo, you should take a second to think about the main subject of that photo, which is essentially the parts of the photo that the human eye will see first and that you want to highlight in the photo. Your subject is essentially what you’re taking a photo of, what defines the photo. If there is no clear subject or subjects, there is no need to take that photo.
Once you have a subject in mind, you have to get the angle and composition right. The easiest way to improve your photos is to master composition, and basic composition guidelines such as the rule of thirds and the diagonal principle are a good starting point. Besides composition, you should always try to find the best angle for your photos. Be creative, and don’t be afraid to get down on your knees or even lower to that makes the photo more interesting.
Finally, you can greatly enhance your photos in post-processing, but only if you do it right. There are different styles of editing, but personally I prefer light edits that only serve to enhance what was already a good image by putting more emphasis on the subject(s) and adding a particular feel to the photo that enhances the overall message you want the photo to convey.
What has been your biggest inspiration along your iPhoneography journey?
I guess it’s just taking photos, and of course the photos shared by other people.
I love how photography allows you take create something beautiful so easily. It’s alchemical how you can create beautiful photography out of nothing. For the most of my live I thought I was not a creative person, but thanks to the iPhone I have a great medium to express my creativity.
My work for iPhone Photography School has been largely inspired by the feedback I get from my readers. Some people have told me that they found my site knowing literally nothing about iPhone photography, started reading my tutorials and taking photos, and soon their work was featured in my weekly photo contests. Feedback like that inspires me to keep working on the site.
Tell us the story behind a few of your favorite photos.
You know, it’s funny – I’ve asked this question so many times but only know I realized how hard it can be to pick and describe a few favorites. Let me take the easy way out and talk about a few of my more recent favorites.
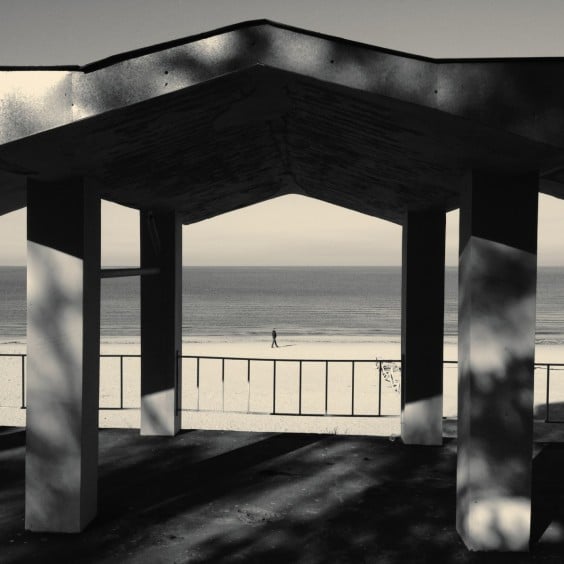
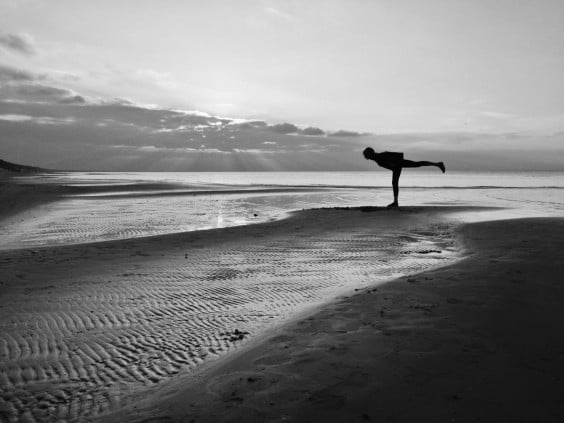
Most of my photos are not staged in a sense that I shoot whatever I see without interfering with the scene. This photo was the rare exception where I asked my subject to pose at the end of the small peninsula. This photo is a great example of leading lines leading towards the subject diagonally, and the horizontal flow of the photo is then continued by the pose of the subject.
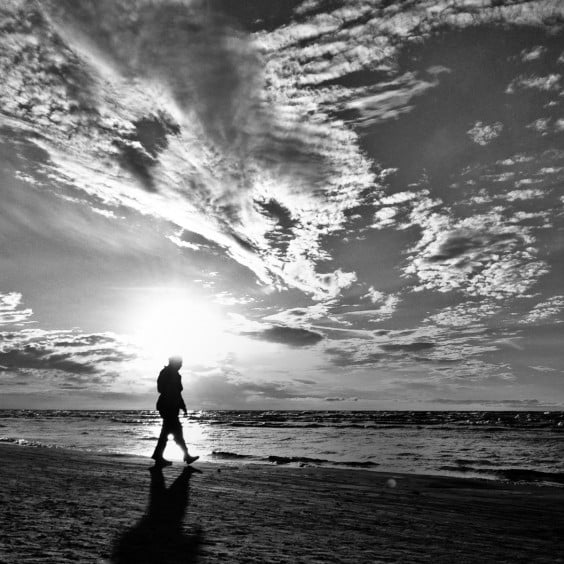
This photo was edited in Snapseed using basic adjustments such as black and white, brightness, contrast and ambience.
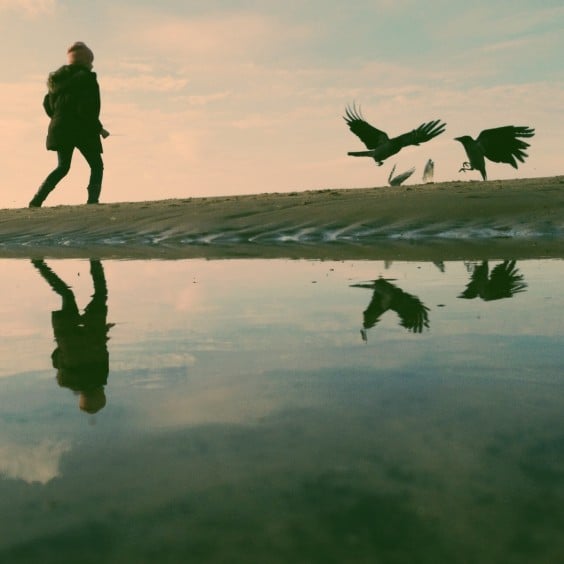
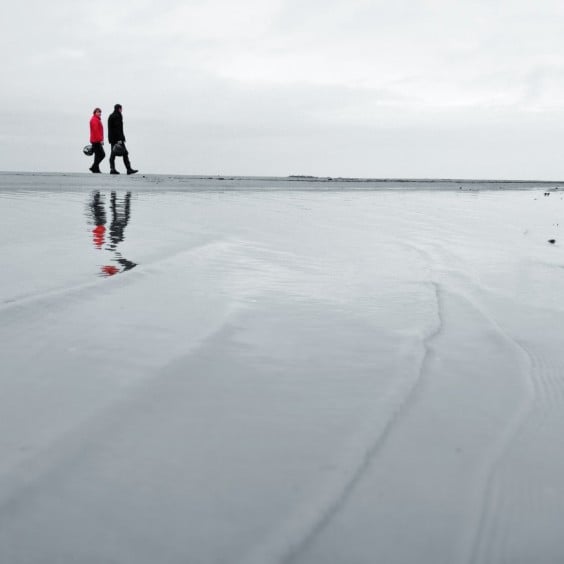
This photo – like many of my recent beach photos – was shot from just an inch above the water to create an interesting perspective, put more emphasis on the reflection and make the tiny waves a central part of the composition.
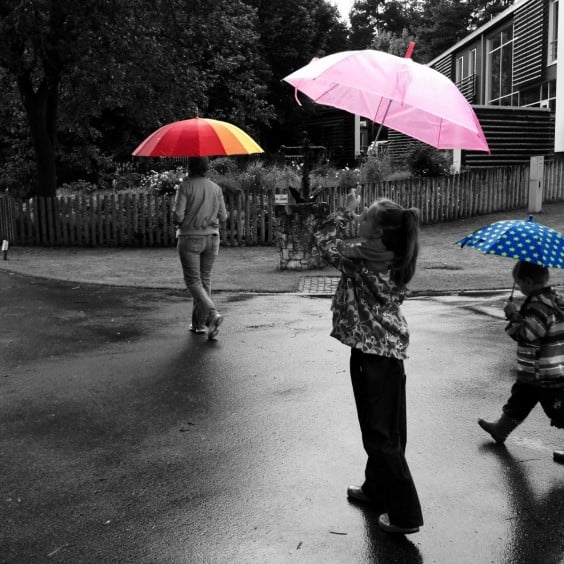
I first increased brightness, contrast, saturation and ambience in Snapseed, which allowed me to emphasize the reflection, make the red tones even more red, and make the photo brighter. Next I used ColorSplash to selectively make most of the photo black and white, except for the person in red and her reflection. Finally, I used Snapseed again to slightly decrease white balance so that the image becomes blueish, which adds a nice contrast to the bright-red tones.
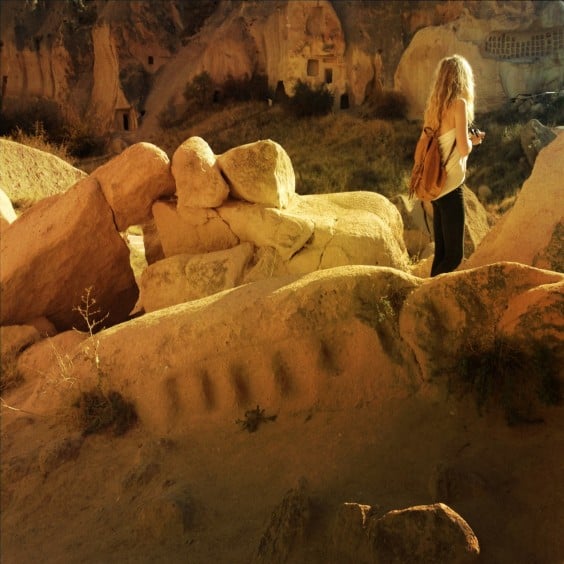
This image was taken on my recent trip to Turkey. The area around Gorme has some magnificent landscapes, but I found it more effective to show them in a relatively close-up photo like this rather than in a typical landscape shot. There is some interesting light at the top part of the image, but most of the magic was done in post-processing using Mextures.
I used this photo as a case study in Learn Photo Apps, and in the following video you can see exactly what effects I applied to create such interesting colors and light.
Where do you think mobile photography is heading in the future?
It’s going to take over the world. As the image quality continues to improve, five years from now nobody will buy compact cameras, and only professionals will buy DSLRs. Everyone else will be perfectly satisfied with their smartphone cameras. It’s harder to say whether the iPhone will still be the top choice among mobile photographers as other brands are catching up quickly.
Where can people follow you online?
People can find me on iPhone Photography School blog, Learn Photo Apps community, Instagram, Facebook and Twitter.




Great article / interview. I’m a great admirer of Emil’s work and the knowledge he shares with others. Keep up the good work, Emil 😉
Thank you so much Andy for interviewing me, and thanks Paul for the kind words!
Emil is a very thorough teacher. I have learned to compose better before I click the shutter.
Thank you Valerie for the kind words!
Of course, all the magic happens before you even click the shutter. I have a post coming up about this on iDownloadBlog on Sunday 🙂
Great! I’m having my first online tutorial on iphone photography with Matt Kemp from Australia referred to me by Emil. This interview is inspiring me to develop a passion of taking pictures with my iphone.
Hey Ron,
Happy to hear that the interview inspired you, and I hope you like Matt’s course.
Interesting to read this. Came across you on Twitter – nice to learn more about you and see your photos.