With the meteoric rise of social photo sharing platforms such as Instagram, Eyeem and Flickr, there has been an ever growing need amongst smartphone photographers to up their photo editing game. As a result the choice of photo editing apps is ever growing as our best photo editing apps article illustrates. Today, I’ll be taking a look at one of those photo editing apps, VSCO.
VSCO (pronounced “visco”) got its start in 2011 as a photo editing preset service that could be used with software like Lightroom and Photoshop, but by 2012 it appeared in the App Store. Today, it’s become one of the main go-to photo editing apps for amateur and professional mobile photographers alike, available in both the App Store and Google Play.
With incredibly high quality smartphone cameras and add-on lenses on the market, VSCO has managed to remain one of the best photo editing apps you can find. There are various preset filters and separate editing tools to process and improve your mobile images, and you can also take photos from within the app, saving you the step of having to import your image before editing it.
In this article, we’ll take a look at some lesser-known VSCO editing tips to help you maximize this hugely popular photo editing app so you can get the best out of your photos. For each broad editing topic, we’ll give you two or more specific tips, and there are also a few bonus tips thrown in to help you combat common issues while shooting.
Adjust Your Image
One area that VSCO truly excels in compared some other editing apps like Instagram is in their adjust tool, which lets you straighten and crop your image, and also adjust its skew.
Crop with presets or manually
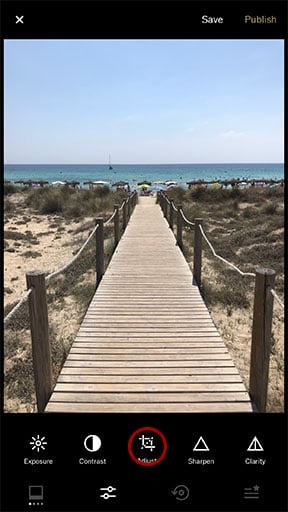
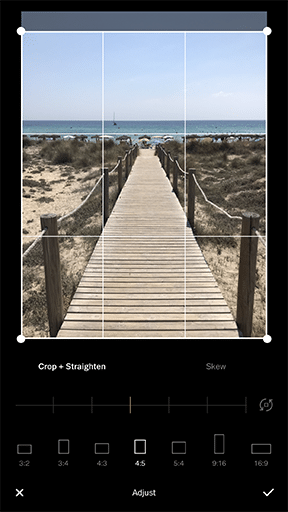
To take crop and straighten your photos in VSCO, first open the editing tools panel and open the Adjust tool. In Adjust you can select from a range of crop ratios.
When cropping with VSCO, you can choose from several preset ratios or adjust the crop manually to find the perfect placement for your subject. If you’re just starting to experiment with the rule of thirds, VSCO’s crop tool can help you out when you didn’t compose the shot perfectly, and it also gives you the opportunity to re-frame some of your older photos.
With your crop selected you can move the crop frame around your photo and select your desired crop.
To correct any crooked horizons or vertical lines, simply slide your finger from left to right over the rotate slider. Happy with your adjustments? Then tap the tick icon to apply them.
Always straighten your photo first
Some photo editing guides would have you crop your image before straightening it, but we prefer to do it the other way around. When you straighten an image, it often re-frames the photo and cuts off a sliver of the image, which can throw off your subject’s positioning in the frame. We want this to happen prior to cropping, not after. When straightening your image, use the guiding lines of the grid and match them with a point of reference, like a building or the horizon line.
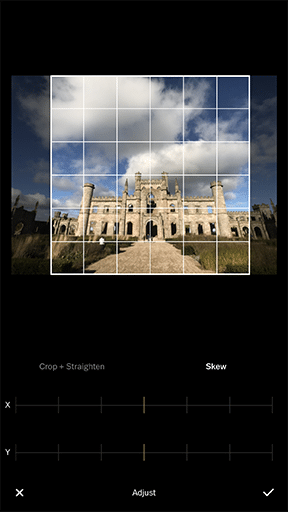
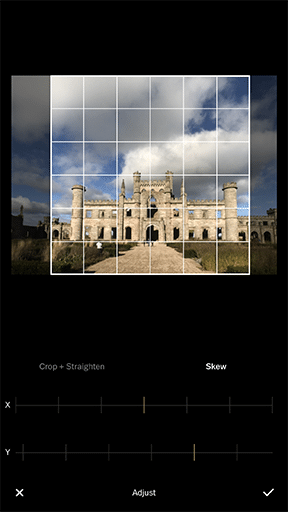
If you need to correct any distortions to the horizontal or vertical perspective of an image, then the skew slider in the adjust tool can help you offset the skew.
To add some perspective skew corrections to your photo, open the Adjust tool again, and tap the Skew tab. You will now be presented with two sliders. One for the X axis and the other for the Y axis. Simply slide the appropriate axis slider from left to right with your finger to apply a skew effect to your photo.
Bonus Tip: Keep your photo straight and level during shooting
Any unwanted tilt in the camera during shooting can throw off the symmetry and skew of the entire photo, especially if you have a lot of details that you want to keep in line. The more off balance the original image is, the more difficult it will be to make it appear symmetrical during editing. When shooting, keep the image as straight as possible, and then use editing tools to make only slight adjustments.
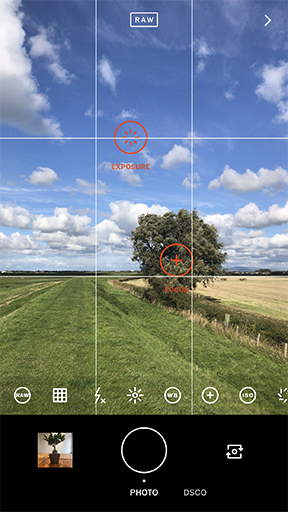
Within the VSCO app, there’s a useful tool to keep your photo level, both in terms of straightness and front-back tilt. Click the camera icon on the top left of the app, then click the grid icon until you see the red and white lines. To make sure your image is straight, the white lines should line up to make one straight line. To make sure the camera isn’t leaning forward or backward, tilt it until the red lines match up with the white lines to form a solid gold line.
Preset Filters
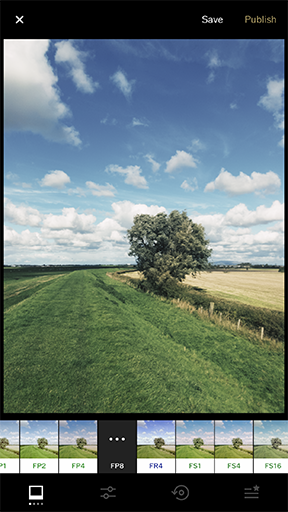
While you can edit using VSCO without choosing a preset filter, finding a filter you like is often the first step smartphone photographers take when editing. If your image only needs a few minor adjustments, you may like starting with a filter – if you have to make a lot of changes, though, beginning with a filter could make the final image look over-processed.
Find your perfect filter
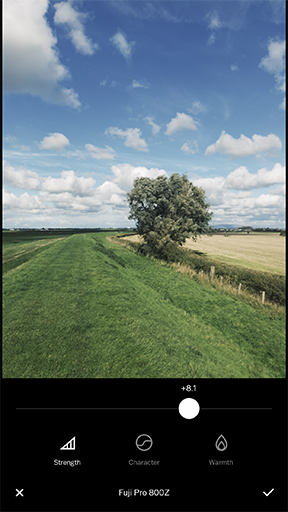
There are a number of filters to choose from, and the one you opt for will be based on the brightness and colors of your current photo, the look you’re going for and your personal preference. Filters range from bold colors to black and white; saturated to muted; and cold to warm. The strength of the filter can be changed by double-clicking the filter and select the Strength icon before sliding the strength bar to the right or left. This will adjust the intensity of the filter. On the filter editing screen you can also adjust the warmth and character settings of the image.
Layer filters for further customization
Try layering filters if a single filter doesn’t give you the desired effect. To do this, first apply the first filter and make any adjustments you want. This first image has to be finalized, since you’ll be making adjustments to the layered second image only. Once the first image is finished, save it to your phone and then import it to lay the second filter over top.
Exposure
It’s always best to compose your image as perfectly as possible before you shoot, but VSCO’s exposure tool can help correct imperfections.
Increase or decrease exposure
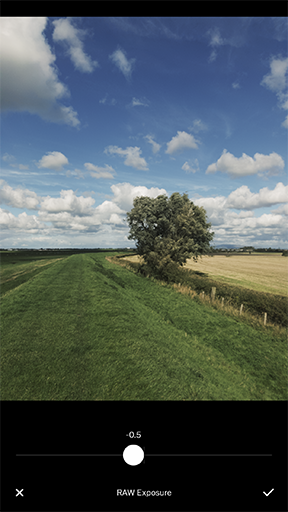
Moving the slider to the right will make the photo brighter by increasing exposure; moving it to the left will make the photo darker by decreasing exposure.
Expose for the details
If you need to bring out more detail in the image’s lighter parts, decrease the exposure. As you change exposure, pay attention to the details in the entire photo, not just the subject. You don’t want to make the details look unnatural, washed out, or too dark.
Bonus Tip: Expose correctly during shooting
When shooting, set the exposure for the brightest part of the image. This will ensure that you capture as much detail as possible in that area. Later you can adjust the exposure to make minor tweaks during the editing process.
Temperature
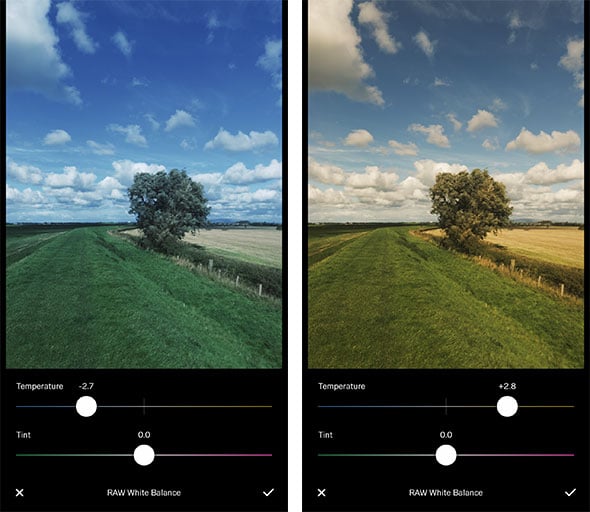
If your photo is too cool (blue tones) or warm (yellow tones), the temperature can be adjusted in the white balance tool. By moving the slider to the left, the image will become cooler; by moving it to the right, the image will become warmer.
Create cool images that aren’t too blue
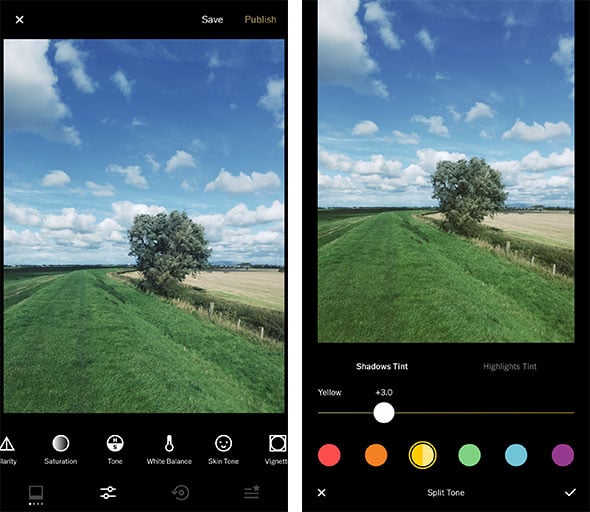
After lowering your temperature to cool, you may feel that your image is now too cool-toned. To put back just a touch of yellow, go to the split tone tool, choose shadows tint and then the yellow circle, and move the slider slightly to the right of the far left side.
Know when to increase or decrease warmth
If you’ve taken your photo on a sunny day but you don’t feel like the golden light is showing through in your photo, raising the warmth can make the sunlight more apparent. On the other hand, some photos have too much of an orange hue to them, and you may want to make the temperature cooler in order to decrease the yellow saturation.
Use the skin tool for more warm options
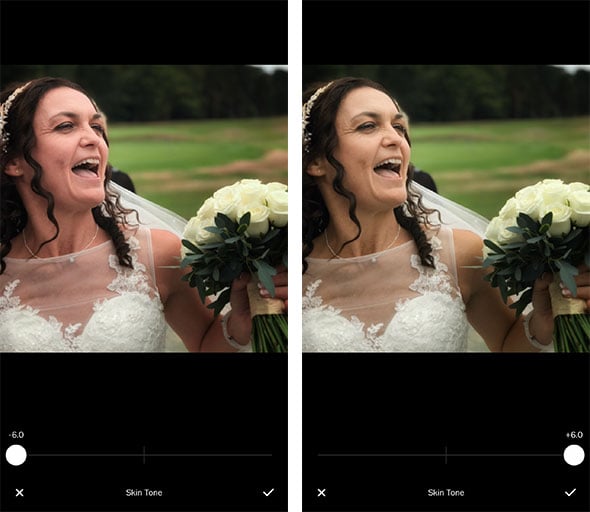
If you’re not getting the type of warmth you’re after, play around with the skin tone tool. You can use this whether the image you’re editing is a portrait or not. By sliding to either the left or the right, you’ll see a range of warm tones that may enhance your photo’s yellow hue. You may also notice that the skin tone tool makes some of the reds and greens in the image stand out.
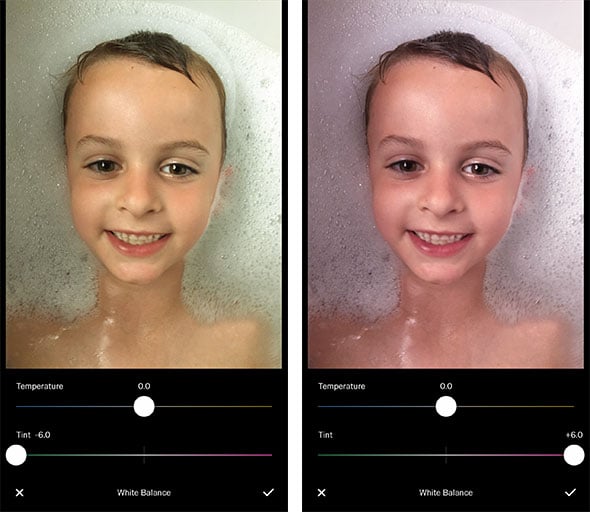
Adjust the tint tool for different color casts
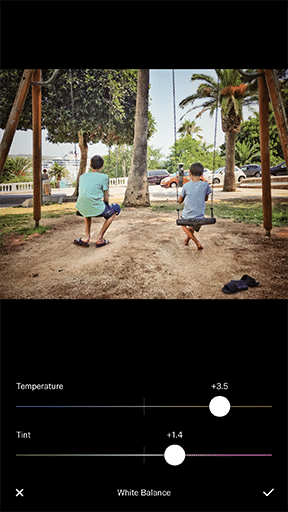
When the color still isn’t quite right, you may want to experiment with the tint, which can also be found in the white balance tool. Different kinds of artificial light can create all sorts of color casts that make your image look unnatural. By adding more green or pink tones to your image, you can correct an odd color cast or simply create an ethereal or artistic feel. The same goes for the split tone tool, which lets you choose different color tints for the shadows or highlights of your image.
Bring Out Details
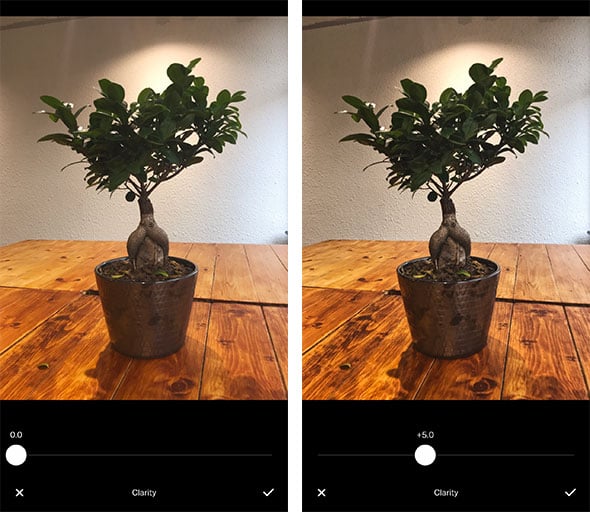
The clarity tool defines your image by giving the details more definition and contrast.
Start with clarity (and other tools) instead of contrast
I’m not a huge fan of VSCO’s contrast tool, so I’ll often use clarity to bring out details and increase the contrast slightly. I feel that the clarity tool creates a better, more natural image. Other tools that can help with creating contrast include the highlights and shadows adjuster in the tone tool, and the vignette tool.
Always see if clarity makes a difference
Increasing clarity is helpful for macro photography because every little detail is important, but we also suggest using it on all of your photos just to see if it makes a difference. You may choose to not enhance the clarity at all for some of your shots, but we often find that we don’t know there are certain details to define until we adjust the clarity.
Bonus Tip: Use clarity instead of sharpen
I like to use the clarity tool before trying out the sharpen tool, because I feel like I get less-grainy results from clarity. I’ll then only use sharpen a tiny bit if needed.
Want to know more about using VSCO?
As you can see VSCO offers plenty of photo editing opportunities. If you’d like to know how to use VSCO, then check out our VSCO Tutorial: How To Use VSCO To Shoot & Edit Photos article for a more in-depth guide to the app.

