If you are looking for simple ways to add a new dimension to the photographs you take with your iPhone, try experimenting with silhouettes – there’s much more to it than you might think!
Silhouette photography is a technique that allows you to create a sense of mood and mystery, as well as interesting shapes in the photos you take. It can be used both inside and outside to great effect, and inspires the viewer’s imagination and urge to explore an image that doesn’t reveal all of its secrets at first glance.
Here are 10 silhouette photography tips to help you take better photos with your iPhone.
1. Choose a strong subject
It is important to choose a subject with a strong and recognisable shape. In a silhouette photograph, you will see little or no detail in the subject, so the shape will make or break the shot.
People, trees, buildings, interesting sculptures and even birds in flight all make good subjects. Human beings as subjects arguably add particular interest, given the greater sense of mystery that a silhouette can create in a photograph about who that person is and what they look like.
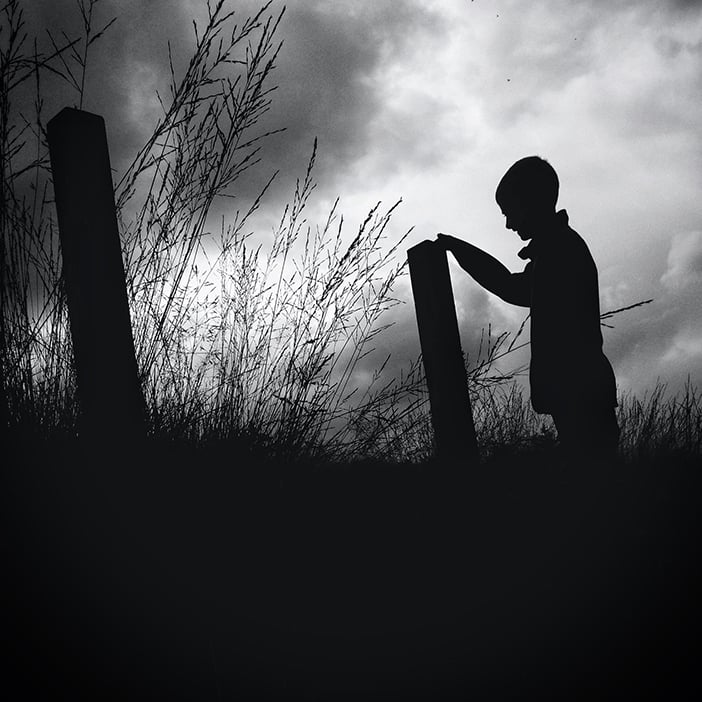
Photo by Andy Butler
2. Focus on the subject, not the background
Be sure to focus on the subject, not the background. A significant part of the appeal of silhouette photography is the sharp contrast between the darkened subject and what may be a lushly detailed and interesting background, but the subject needs to be clear and crisp to create that effect.
Remember that no matter how much you fall in love with the background, your iPhone camera needs to be effectively ‘fooled’ into acting as if you are most interested in the subject. So, focus on the subject by pressing and holding the iPhone screen until the focus is locked.
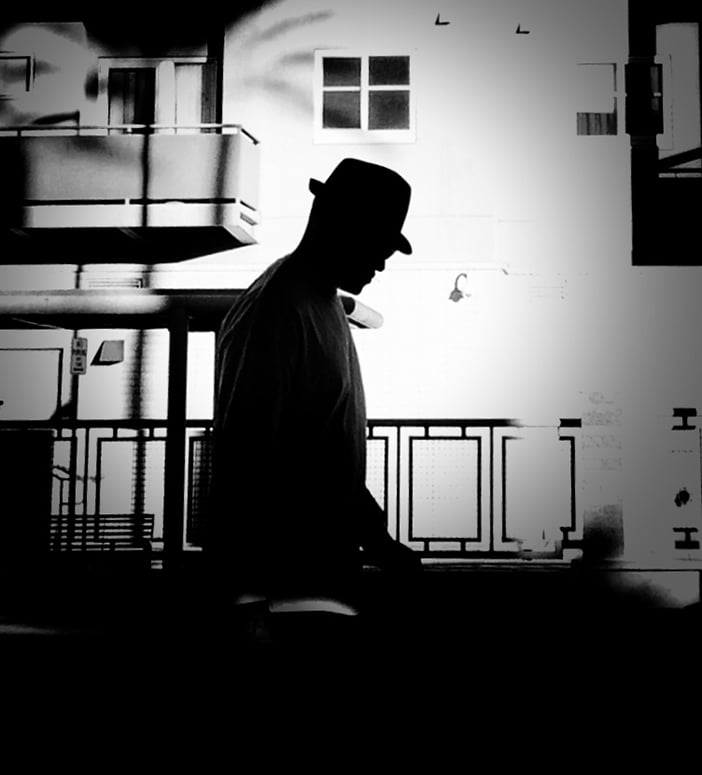
Photo by Conjror
3. Shoot against the light source
The fact that the human eye is able to decipher detail within shadows but the sensor of an iPhone cannot, helps to emphasise the silhouette effect when you shoot against the light source.
In order to take stunning silhouettes, expose for the highlights so that detail is retained in those areas. This will cast the subject into dark shadow, which is the effect that we are looking for.
If shooting outdoors, make sure the sun is low in the sky – so in other words, at sunset, sunrise or on a winter’s day when the sun sits lower in the sky. Lens flare can sometimes be a problem when you are shooting into the sun, although this can be solved by placing the subject in front of the sun.

Photo by Andy Butler
Remember: focus on the subject but expose for the highlights in the background.
4. Shoot indoors against doors and windows
You don’t need to be outside to shoot silhouettes – indeed, shooting indoors can be a great way to create mood and an air of mystery.
If you would like to give shooting indoors a go, remember that this will generally involve the area surrounding your subject being in darkness, with a small area illuminated by the outside light. Remember to hold the camera steady or use a tripod when shooting indoors.
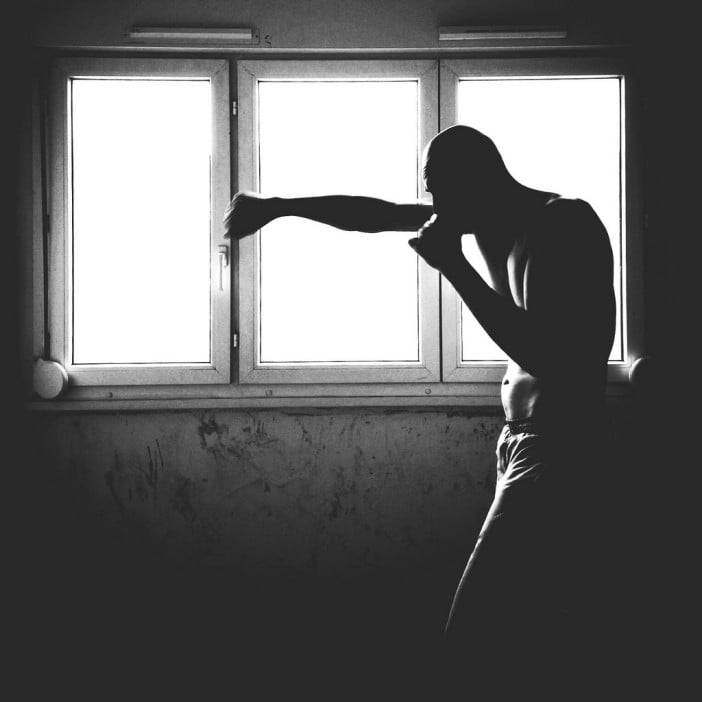
Photo by Cedric Blanchon
5. Frame your images
Framing a photo with surrounding objects such as trees, a building and/or window is always a good compositional technique to use.
In silhouette photography, these surrounding objects become very dark, which helps to create interesting shapes within the image. You can therefore bring greater focus to your subject by placing it between these objects.
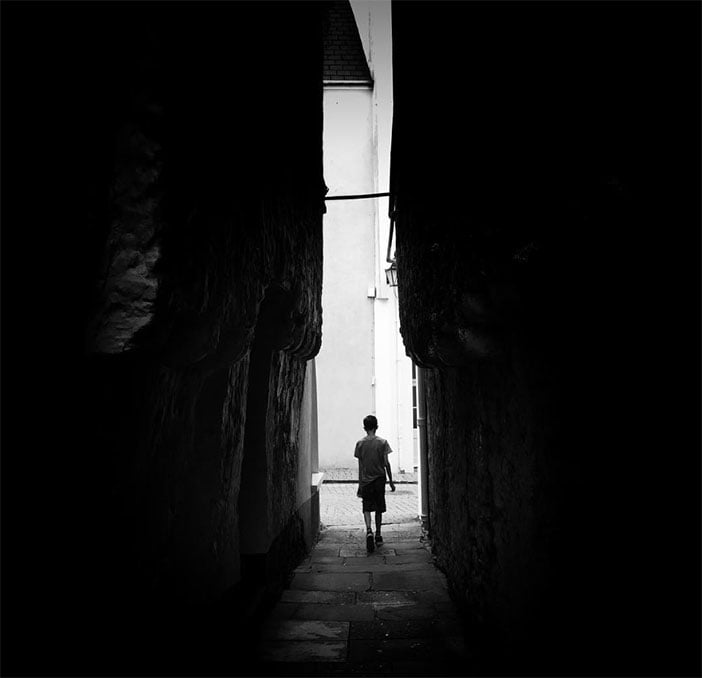
Photo by Andy Butler
6. Keep it simple
For the best possible effect, shoot subjects that have distinct and recognisable shapes and lines – for example, a single human figure rather than several overlapping in front of each other, which tends to produce a confusing and unclear shared outline.
Only pay attention to the overall outline of your subject rather than details like facial expressions that won’t be easily discerned in the final photo, and keep the surrounding area clutter-free. This will help to ensure that the subject stands out even more.
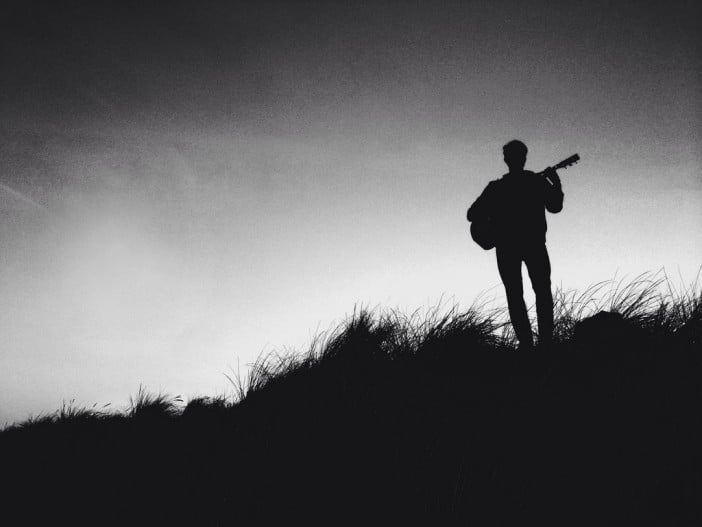
Photo by Petyr Campos
7. Take a low point of view
Getting down low and shooting from a low point of view gives you less background interference. A low point of view adds extra interest to an image, and it couldn’t be easier to achieve with an iPhone, so don’t be afraid to get on your knees or better still, lay down on the ground.

Photo by Arpi
8. Capture dramatic skies
Pay attention to the sky, as it can add extra interest and patterns to your photo.
If you are shooting a sunset or sunrise, for example, the photo will be full of vibrant oranges and reds. If, however, you are shooting a brilliant blue sky with clouds, you may wish to consider converting the photo to black and white to create a dramatic sky of black set against white clouds.

Photo by Andy Butler
9. Capture movement
Capturing movement is a good way to add interest to any photo. However, to shoot movement effectively, you need to use a faster shutter speed, and for this, you need good light.
Use Burst mode on your iPhone to capture a sequence of photos. You will then be able to select the photo that shows your subject in the perfect position.

Photo by Arpi
10. Increase contrast in post-production
Sometimes, a photo will require some modest post-production adjustments in order to balance out the light levels and cropping.
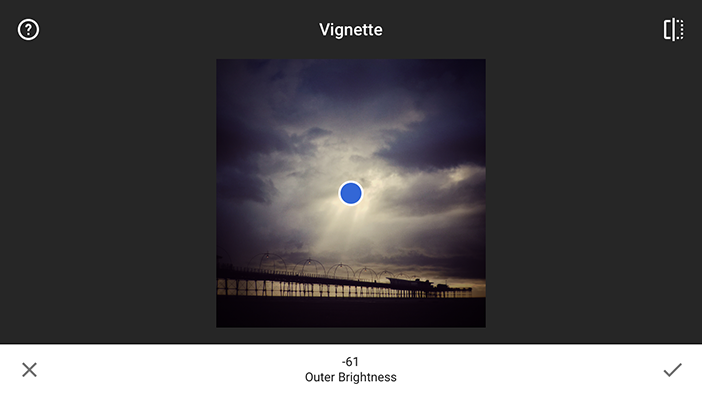
One thing you can do in post production is increase the contrast a little to really make your silhouette pop. I also like to add a little vignette effect to the outer edges to help bring focus to the centre of the photo.
Although one of the best processing tools that you should be using is Snapseed, you can also use Enlight or Filterstorm for similar results.
Share your silhouette photography tips and photos with us
So, there you have it – a complete set of tips on how to really make the most out of the many possibilities of silhouette photography. Why not go out and start practising taking your own photographs in this style?
Tag the results on Instagram with #mobiography_silhouettes, or post them to the Mobiography Flickr group. The best ones will be featured in our weekly photography showcase or in the gallery section of Mobiography Magazine. Also, don’t forget to leave your comments or any silhouette photography tips you may have in the comments section below.

