Today I want to introduce you to a powerful yet underused technique: close cropping. It is a technique that can be used in a variety of different ways to create an intense connection between the viewer and subject or to create something more abstract.
Here, we will dig a little deeper and examine how cropping in close can help improve the photos you take.
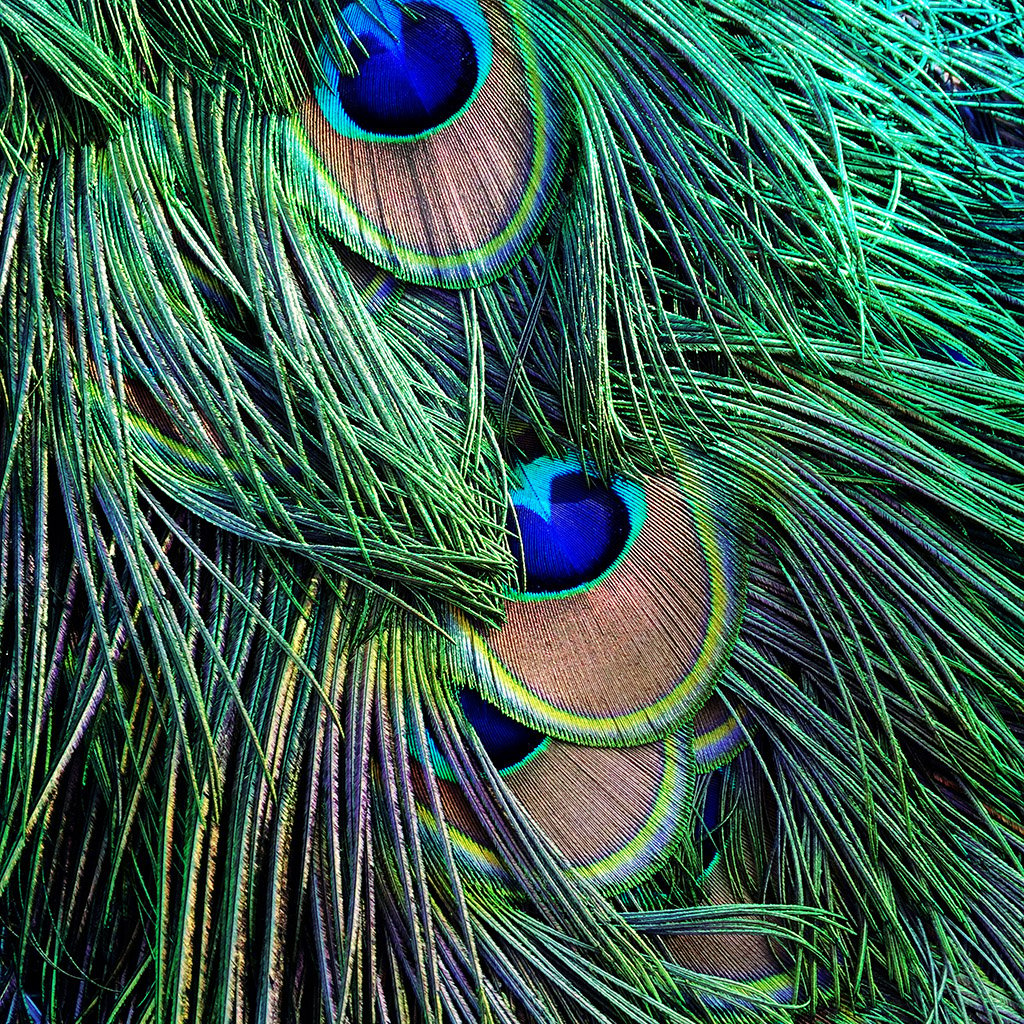
What is Close Cropping in Photography?
Close cropping is a compositional technique that tightly frames the subject within the viewfinder. By tightly focusing in on a certain part of the intended object or person, the photographer can create images that have a more intimate look and feel about them.
Cropping in tightly like this sticks two fingers up at convention and allows us to get closer to the primary subject, filling more (or all) of the frame with it.
Cropping can be thought of as the opposite of negative space, which is another useful technique that relies on the inclusion of large areas that are plain or lightly textured. In contrast, close cropping means filling, or almost filling, the frame.
When Should You Use Close Cropping?
The best time to use close cropping is when you want to make a more abstract or creative image.
Close cropping can help reduce distracting background elements and draw attention to certain details in the photo.
It is also great for creating dramatic portraits and intimate shots of animals, plants, objects, etc.
Close cropping offers many benefits. It’s not suitable in all cases, and we’ll examine why later, but when used well, it can be an excellent addition to your compositional tool kit.
How to Use Close Cropping In Photography
Let’s look at some of the more obvious advantages of close cropping.
1. Get More Subject Detail
It goes without saying that the closer you are to your subject, the more detail will be revealed or captured. Subjects containing fine detail or texture lend themselves really well to close cropping.
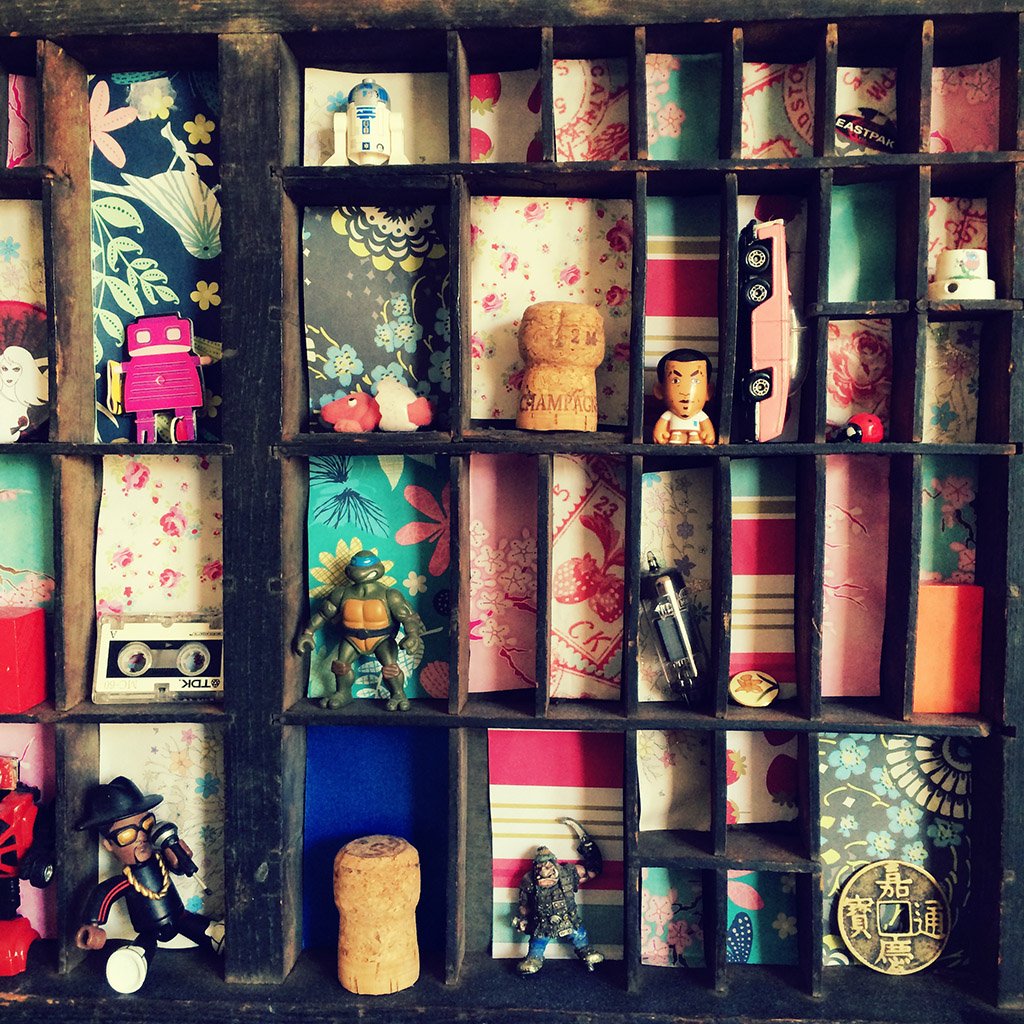
The photograph of the printer’s block tray below shows how cropping in tightly allows us to fill the frame with detail without having to show the tray in its setting on an uninteresting wall.
Shooting this from further back would have given the subject context but at the expense of the detail revealed in each of the tray’s compartments.
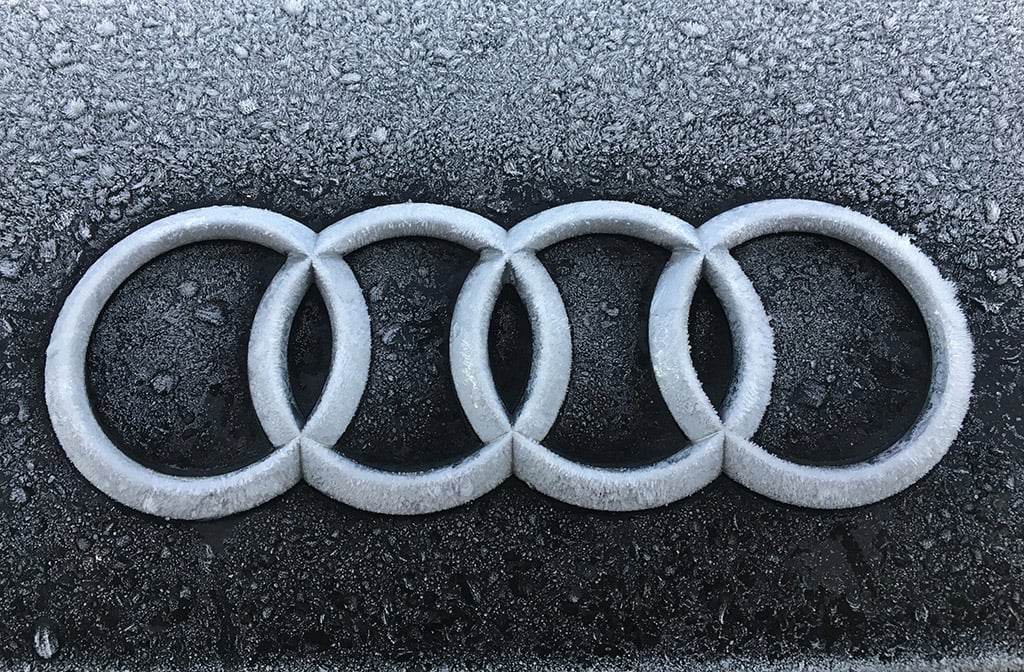
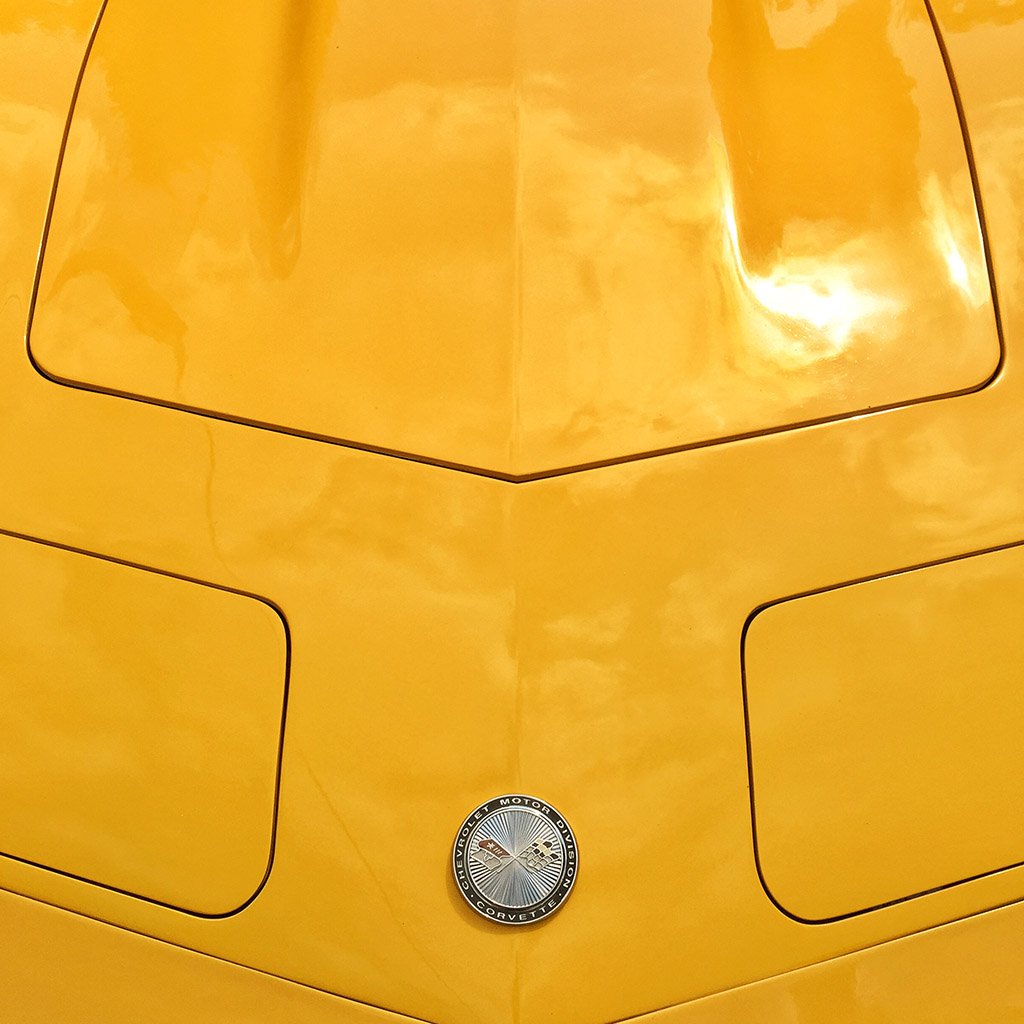
In the next photo, the car manufacturer’s badge has been photographed from close quarters, revealing a lot of frosty detail that would have been lost had the whole vehicle been included in the shot.
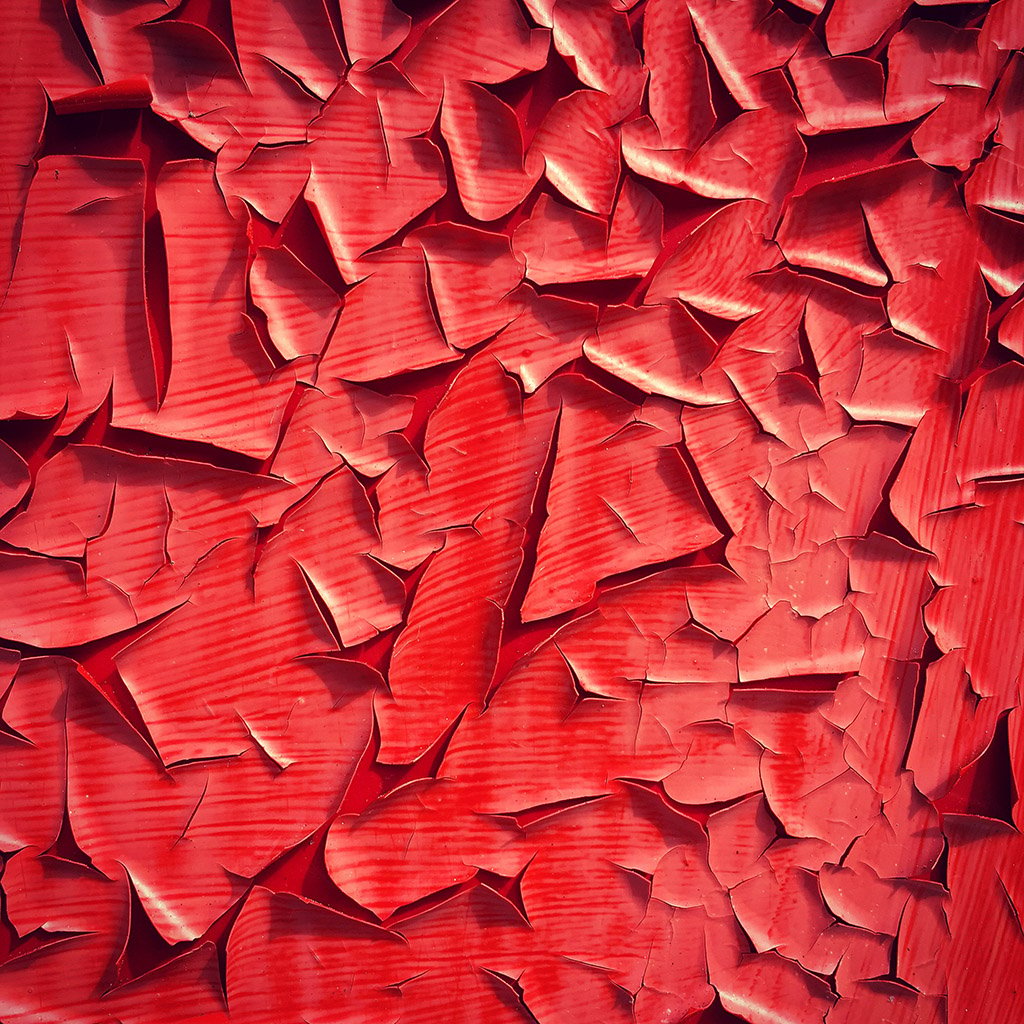
In the photo below, the peeling red paint on a door that was subjected to short bursts of extreme heat caught the photographer’s eye. The door and its setting weren’t particularly interesting, but the repetitive-yet-chaotic flaking were.
This offered a great opportunity for drawing attention to the character and detail of the door’s damaged surface: the red colour, light and shade, sheen of the paper, thin paint, curl of the flaking paint, sharpness where the paint flakes join, etc.
2. Draw Attention To A Specific Region Or Area Of Your Subject
The beauty of using the technique of close-cropping means you don’t need to include your subject in its entirety; you can choose to include just your subject’s best bits or just enough of the subject to keep it recognizable while drawing attention to one of its facets.
The patina you often see on copper or brass door handles, or door knockers can be really interesting by itself. You don’t need to include the entire door handle; just include enough of it to draw attention to the visible effects of its ageing.
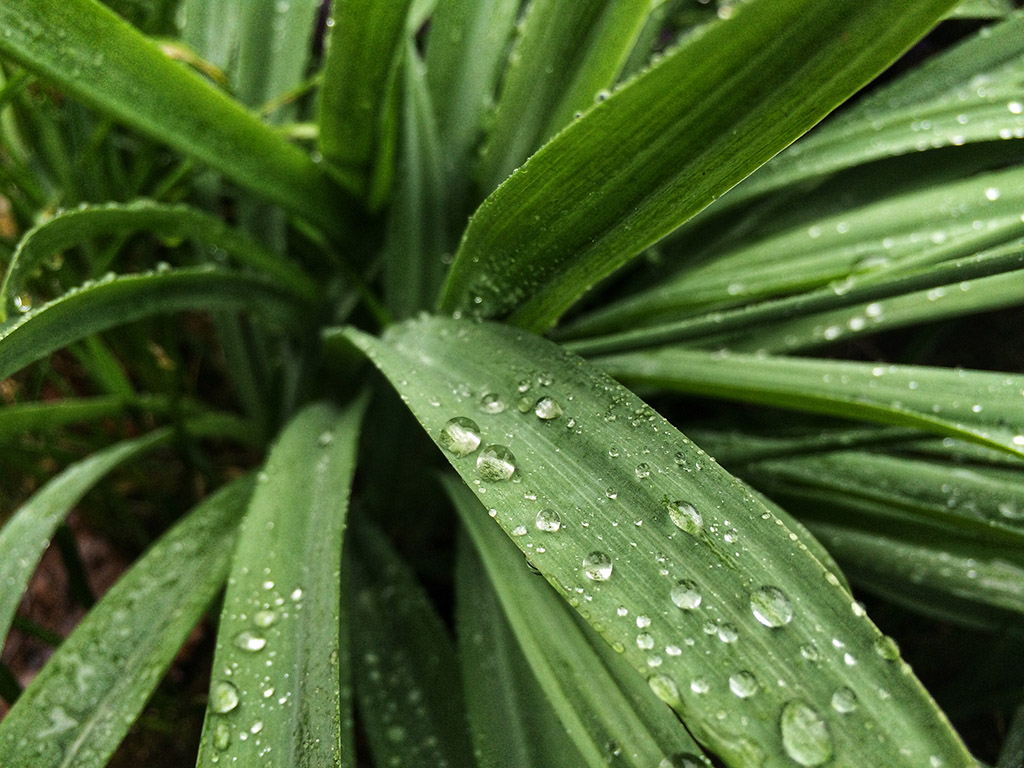
The plant in the next photo wasn’t particularly interesting, but the raindrops clinging to its leaves were. Cropping in tightly has allowed us to fill the frame with the green of the plant, creating a relatively distraction-free background for the raindrops, which are the main focus of the image.
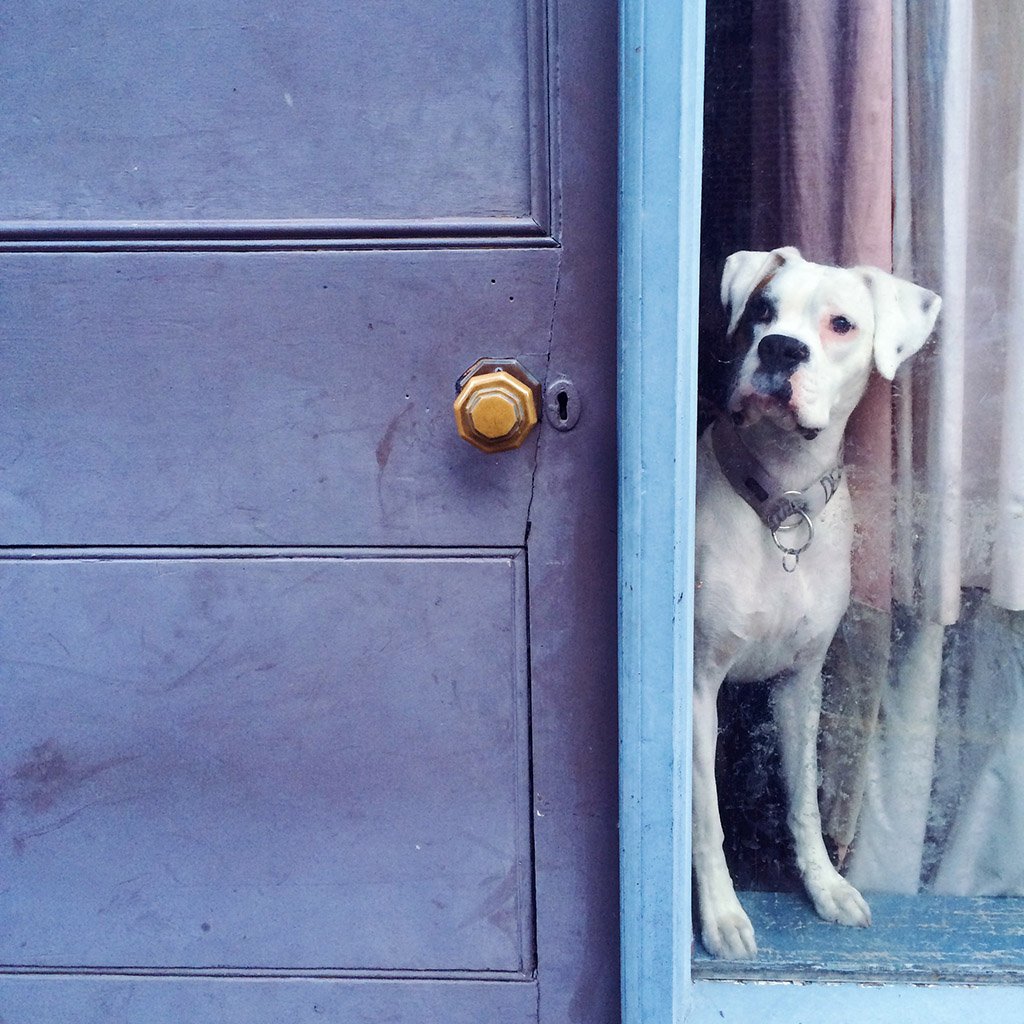
The photo below shows how cropping in tightly has allowed us to reveal as much of the door’s detail as we need – the paint colour, the well-used door, the crack in it, the brass door knob – and still include the dog as a subject.
3. Create Abstract Results
Even the most mundane subject can result in interesting or aesthetic photos when you forget about the subject itself and concentrate on one of its facets or qualities: a curve, a shape, a texture, or a reflection. Close cropping is a great way to find such opportunities and achieve abstract results.
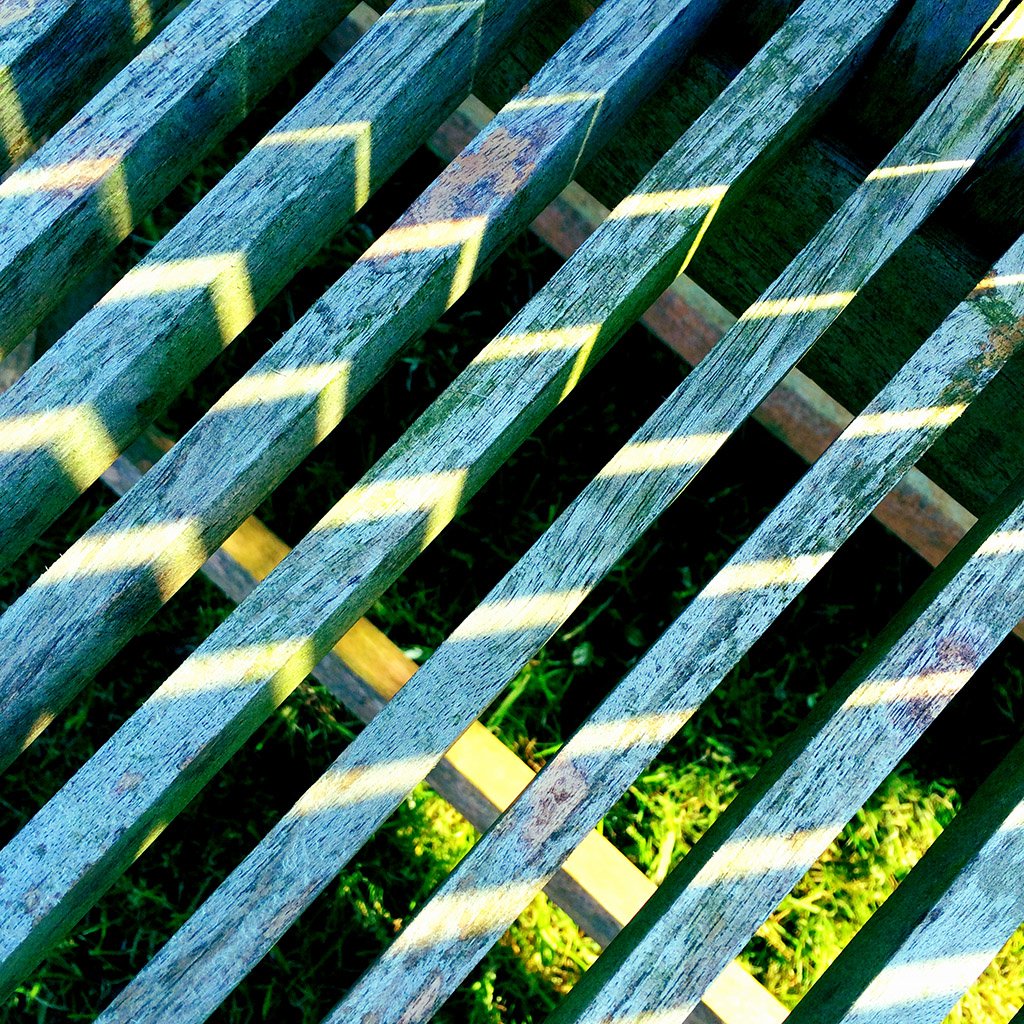
In the next example, you’d be hard-pressed to guess that the subject is a cattle grid. The tight crop has allowed us to draw attention to the repetitive bars and the complementary bars of sunlight rather than trying to convey what the subject actually is.
4. Remove Unwanted Or Distracting Objects
Sometimes your perfect subject is surrounded by ugly items that you can’t move, like telegraph poles, signposts, vehicles, people or trash cans. These could result in an ugly background.
In situations like these, crop in tightly to ensure nothing undesirable is included in the frame.
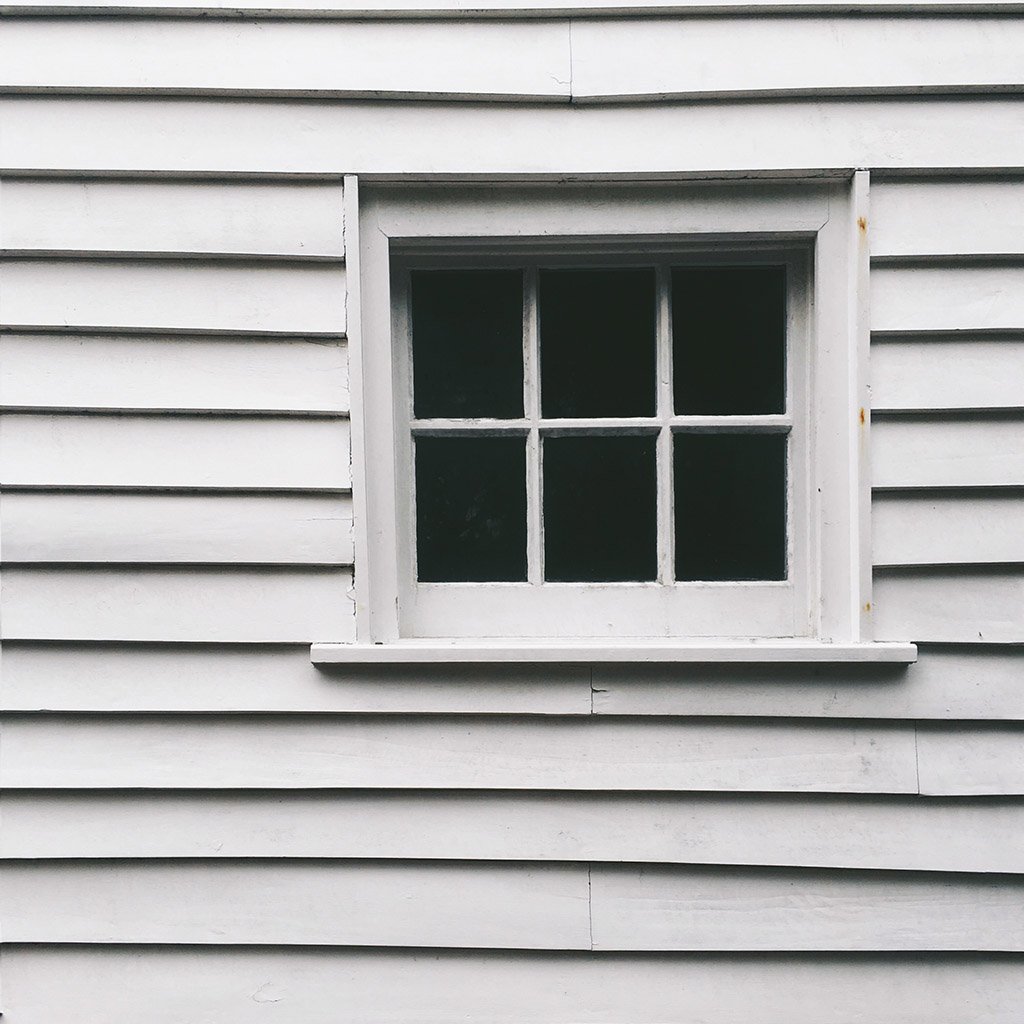
In the example below, cropping in tightly allowed me to exclude several unwanted areas from the frame. I’ve also created the illusion that the clean lines and expanse of painted white boards continue way beyond the edge of the frame.
5. Create Tension
Cropping in tightly allows you to decide what to include and what to leave out of the scene. Nothing creates tension in photographs better than leaving something out of the scene. Something that the viewer expects or needs to see in order to “resolve” the photo.
As the viewer’s eye wrestles with the lack of a solution, they are forced to spend time asking themselves questions about what they’re viewing.
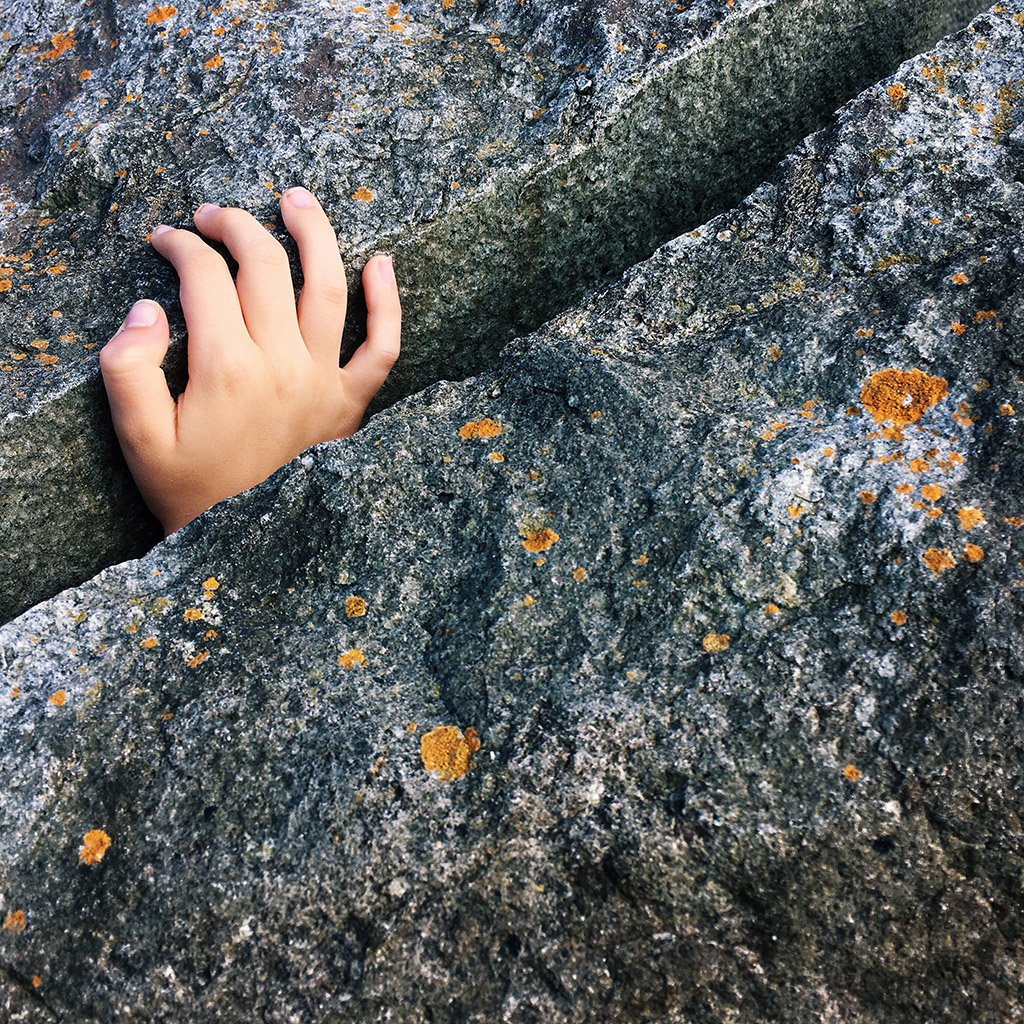
In the example below, a boy was safely playing amongst some large rocks. Had I photographed him from further away, the results would have been somewhat uninteresting.
By cropping in tightly, the boy seems to be in grave danger, about to be crushed between the rocks.
Should You Do it in-Camera or Use the Crop Tool When Editing?
In general, it is considered good practice to apply any compositional technique in-camera. Doing so will train your eye to see and plan your photos long before you raise the camera.
By applying close-cropping techniques when you take the photo, it will offer more choice when setting up the shot since you’re able to decide exactly what should be included (or excluded) from the image before shooting.
Composing shots in this way will save time by avoiding any unnecessary creative cropping and post-processing work later on in a photo editing app.
While it’s always best to use this composition technique like this, or the rule of thirds, or leading lines, at the time of shooting, you can also apply it to existing photos simply by using the cropping tool in your favourite image editor or a photo editing app like Snapseed or Adobe Lightroom.
However, doing so does have its drawbacks. A little use of the crop tool around the outside edges of a photo is fine.
However, if you were to go to extremes and really crop in close to only a small part of the image. All you will end up with is a much smaller, lower-resolution photograph. This will reduce the maximum print size and photo quality that you can achieve later.
As a general rule of thumb, try to get your overall composition right in-camera.
Wrapping Up About Close Cropping in Photography
You’re now a bit more aware of the benefits of close cropping and have identified several ways it can enhance your photographic compositions.
It is a technique that allows you to draw attention to specific areas of your subject. It is a great way to create abstract images that are aesthetically pleasing. It also allows you to remove unwanted objects from the frame or even create tension in an image by leaving something out.
When shooting a close-cropped image, there really is no limit when it comes to creating stunning photographs!
Whether you’re taking photos for fun or professionally, this technique should definitely become an important part of your photographic arsenal. But as with all aspects of photography, practice makes perfect.

