Last week Instagram launched a brand new app called Hyperlapse that allows you to shoot time-lapse videos with your iPhone without the time consuming faff of using time-lapse apps that rely on the iPhone to be positioned on a tripod for long periods of time.
As a big fan of time-lapse photography I was interested in taking Hyperlapse for a test drive to see how it performs. So let’s take a look at how to use Hyperlapse to take some high quality timelapse videos with your iPhone.
What is Time-lapse Photography
Time-lapse photography is basically a series of images shot at intervals over a period of time, often from a stationary point such as a tripod. When these images are stitched together they give the impression of time being sped up.
Hyperlapse is similar to time-lapse photography with the difference being it includes a lot more movement over greater distances.
Hyperlapse from Instagram basically shoots video footage then give you the ability to speed the film up to x12 actual time.
One of the cool features of Hyperlapse is the image stabilisation which makes use of the iPhones internal motion sensors. This feature measures movement which it then combines with the video data to smooth out the final footage. This image stabilisation gives a smoother finish to your time-lapse videos thus removing the need for a tripod and meaning the iPhone can be hand held during the shooting process.
To test this out I put it to the ultimate test on my daily commute by bus to work. It’s a pretty bumpy ride at the best of times.
How does Hyperlapse perform?
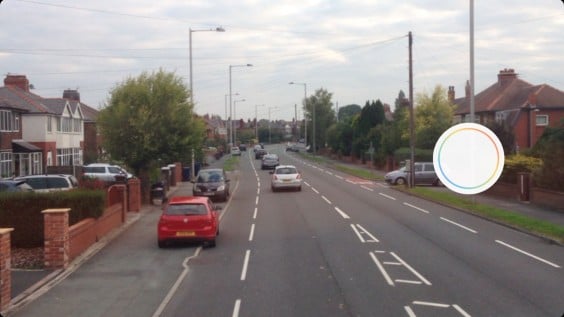
Once downloaded Hyperlapse opens up very quickly. The interface of the app couldn’t be simpler. The viewfinder makes full use of the iPhones screen with the only control being a big white record button.
Tapping the screen sets the exposure and focus point. This is indicated by a small white circle. The one criticism I would say is that the app doesn’t have a very big dynamic range and seems to struggle to cope with the contrasts between bright skies and darker, shadowy areas.
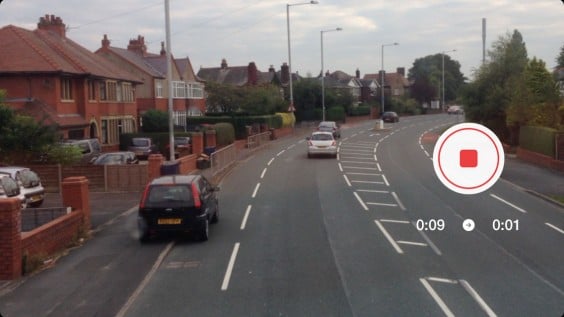
Tapping the big white button sets the video recording. Recording duration information is then displayed on screen. To the left the actual recording time and to the right the estimated, final video duration. When you are finished recording, tap stop.
Your video will then start playing back in a continuous loop. It is at this point that you can adjust the speed of your video at varying degrees from x2 to x12 speed.
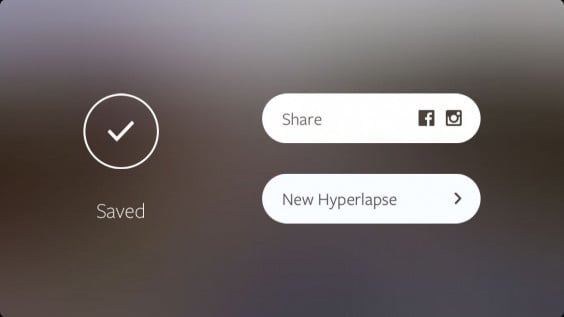
Once you are happy with the end result tap the green tick. The video will then process and once complete you have the option to share your new Hyperlapse creation on Instagram or Facebook or start again with a new Hyperlapse video.
To further enhance you Hyperlapse video they can imported into Instagram, cropped to a square format, before applying a filter, trimming the video or choosing a cover frame for the video.
Conclusion
Hyperlapse is a fun and easy to use app. It enables you to create quick and impressive short time-lapse videos without the long wait times of traditional time-lapse photography. The image stabilisation features of Hyperlapse are quite impressive but I do find it struggles with high contrast between bright and dark areas, which is a bit frustrating. In some ways I prefer to take my time over shooting time-lapse videos, as it allows me to watch the world go by at a slower pace but even so I like Hyperlapse.
Hyperlapse is free to download, there is no sign up required and at the moment is an iPhone only app.


