It takes a certain type of person with a certain type of skill and vision to create something of beauty through the mediums of paint or digital compositing. For the average Joe, they can only observe, dream of and admire the skill of the artists that have been able to master this art.
However, all is not lost thanks to advances in today’s apps and mobile technology. There are a multitude of mobile apps available that will give the wannabe artist in us a helping hand. One such app that falls into this category is called Paintcan.
Paintcan is an iOS app by Adobe Labs. It essentially allows you to take a photograph and by using a range of brush types, rub over the photo with your finger to convert it into a painting. “But I can’t paint!”, I hear you say. This is not a problem as Paintcan is a very clever and intuitive app which analyzes the photograph and adapts the brush strokes that are overlaid onto the photo. This enables the user to easily create a masterpiece that is going to wow your friends.
In this Paintcan app tutorial, I’m going to show you how easy it is.
1. Select a photo
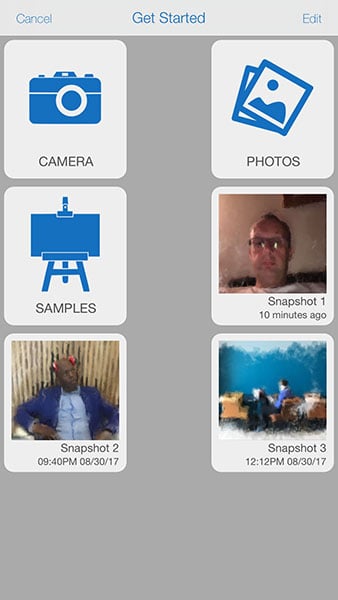
First, we need to open the app and select a photo to work with. To do this tap the gallery button in the top left corner. From here, you can choose to either take a photo, select an image from your camera roll or continue working with any past projects that have been working on.
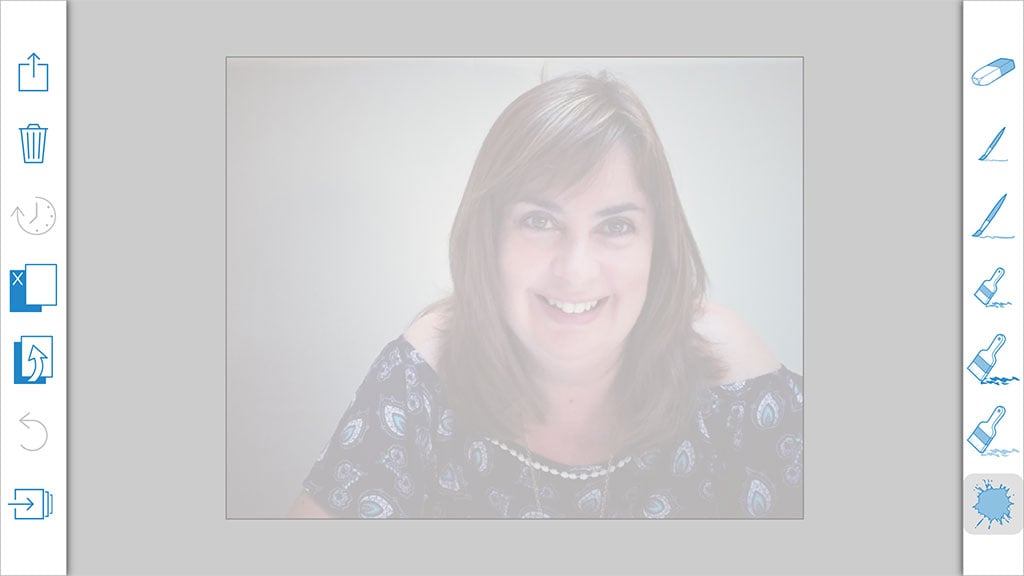
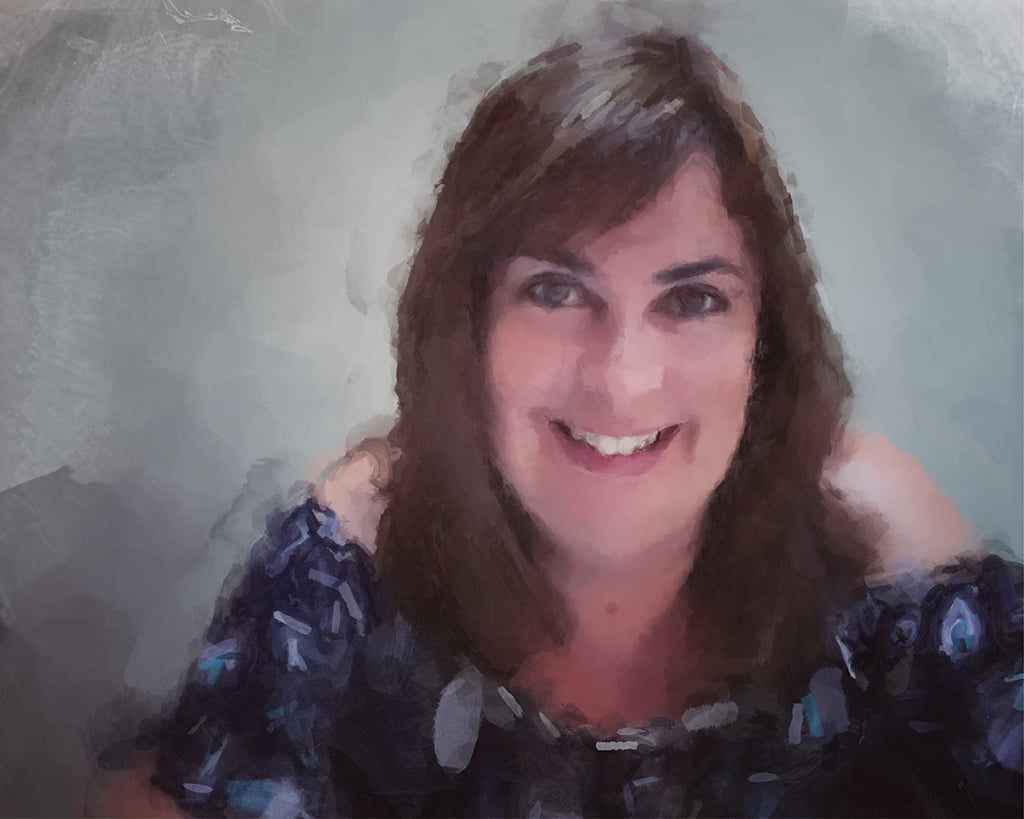
On this occasion, I choose this photo of my wife. The photo is then imported onto the canvas and is ghosted out so we can see the outline of it as a reference point as we paint.
Next, let’s take a look at the brushes, of which there are six plus one eraser brush.
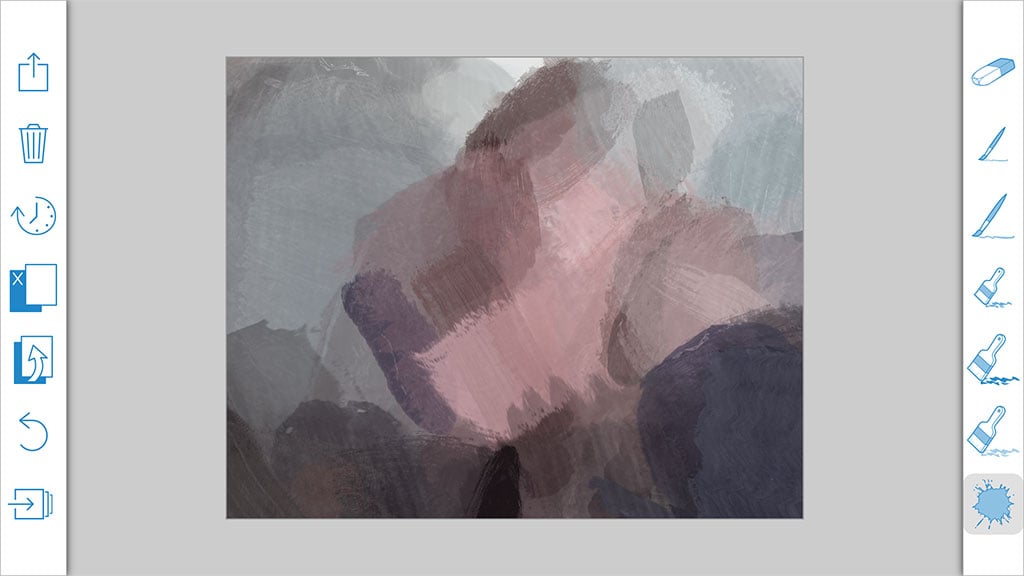
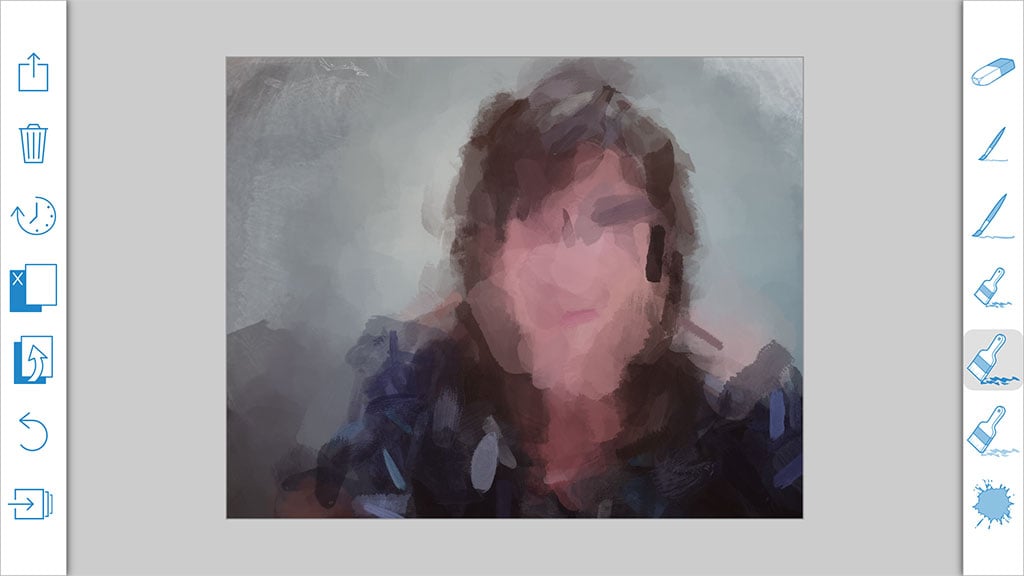
Splat – The splat brush will create very large broad paint strokes over the photo which completely obliterates it. The effect is somewhat abstract but this can be a good place to start and perfect for your surrounding background. By zooming in you can create smaller brushstrokes.
Light Fill – Light Fill uses a smaller, softer brush which gives a dappled effect. This is good for filling in more detail.
Heavy Fill – Heavy Fill works just like the Light Fill brush except that it has a much harder edge to it. Again, this is good for filling in more detail to the image and the background.
Small Fill – The Small Fill is a much smaller version of the preceding brushes and is the brush you are going to want to start using to really start filling in fine detail in areas such as the eyes, nose or mouth as well as the outline of your subject. As with all brushes, zooming in will set a smaller brush area and enable you to get even more detailed.
Thick Lines – The Thick Lines brush, as the name implies will paint think lines with a soft edge.
Thin Lines – Finally, the Thin Lines brush will enable you to really paint in more fine detail into the image.
At any time, you can either clear the canvas and start again by tapping the trash icon at the top of the screen or use the eraser tool to remove certain areas back to the white canvas. If you just need to undo any steps then this can be done using the undo tool (second icon from the left at the top of the screen).
Paintcan is simple to use and if you don’t like what you see you can either clear the canvas and start again or continue to paint over the photo using a different brush until you find your desired look.
2. Paint in a rough background
Going back to my photo, I start by using the Splat brush to paint a rough background onto my image. As you can see, the original photo has been completely covered.
3. Use a heavy brush to outline your subject
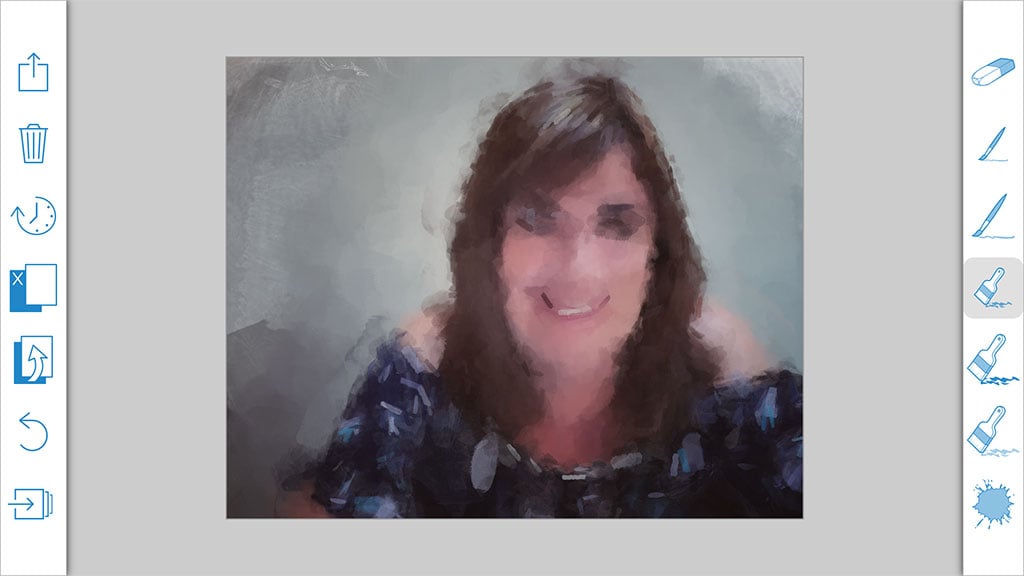
Next I choose the Heavy Fill brush and quickly draw around the outline of my subject in order to bring in more of the shape of it.
4. Add more fine detail
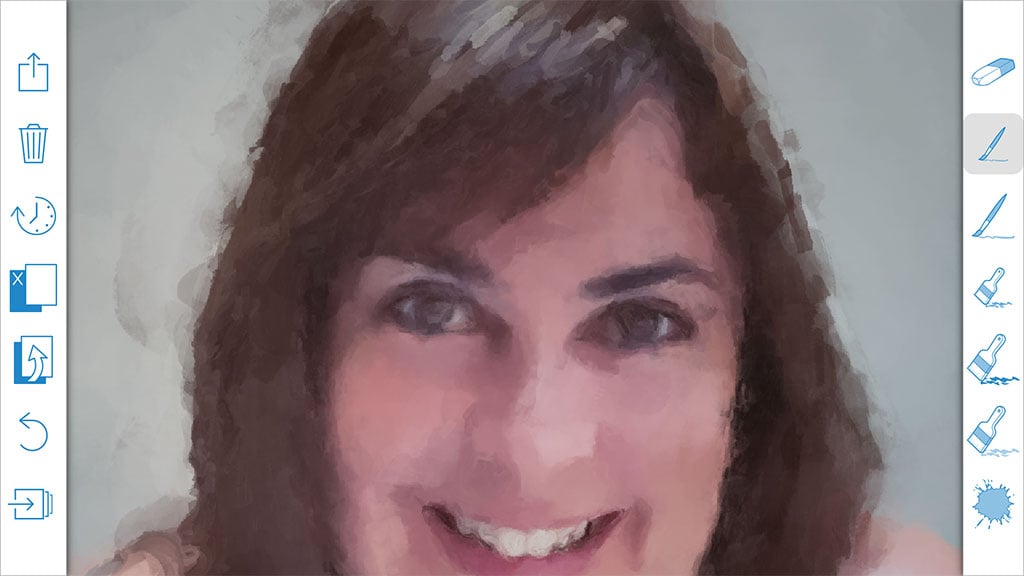
The next step is to start adding some more fine detail to the image. For this I use the Small Fill brush by zooming in close and painting around the face, the shoulders and the facial features.
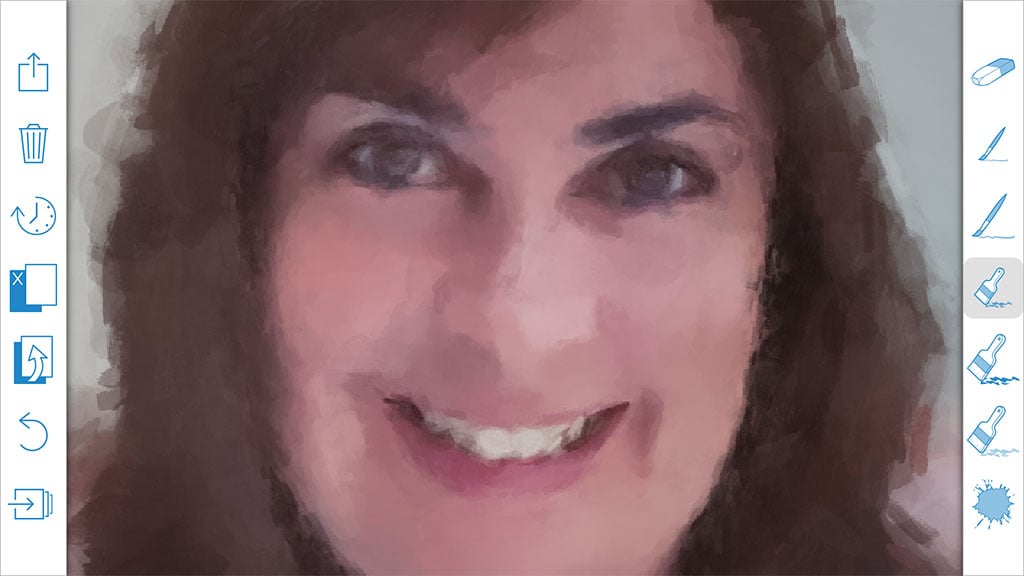
I then zoom in even closer to the face and start to add yet more detail to the eyes, nose and mouth.
I then swop over to the Thin Line brush and start to draw in some finer details to the mouth, nose, eyebrows, hair and any other areas of the painting that I feel need a little extra adding to it.
5. Save and share
Once I am happy with the results, I can either save the image out to my camera roll, or post onto social media by tapping the share icon (top right) or alternatively I can tap the little clock icon to save a snapshot of the image. This will save it as a project into the Paintcan gallery so it can be re-opened and worked on again at a later date.
As you can see, Paintcan is a very simple to use and intuitive app which makes the process of creating a painterly style image from your photos as easy as 1, 2, 3.
My top tips would be to start off with larger brushes, then begin to reduce the size of them as you add more detail and, as you do, zoom in to refine your work.
Paintcan is available for download in the Apple app store and comes with a selection of helpful tutorial videos to help you get started.



Hmmmm, guess when I chose PainCan, I thought I could use my I Phone to project my photos onto my canvas which would then allow me from the projected photo to do the picture outlines then go from there choosing colours and creating the painting…………..so this is not possible to do?
Any idea when this app will be available in Canada?