Light is one of the most crucial elements in photography and the way you use it can make or break a photograph. It is therefore vitally important that you understand light, how to correctly exposure your photographs and how to use it to your creative advantage. Once you master light you’re going to better understand how to take great photos with iPhone.
Here are eight ways that will help you to achieve a better understanding of the use of light in your photography.
Be aware that lighting conditions change
The first thing you need to understand about light is that it changes. It is affected by different variables such as the time of day or year, weather conditions and even surrounding objects. This variety of influencing factors will continually create different kinds of light which for the photographer means that a scene has the potential to look quite different depending on whether it is morning, afternoon or evening, summer, winter or autumn or sunny, overcast or snow covered.
For example, consider how your garden looks during the summer months compared to the winter time or how a room in your house looks at different times of the day. In a morning there may be a cool, freshness to the light streaming in through the windows which adds a lovely warmth to it. By the afternoon this light could be quite harsh with strong shadows and by evening time the room may be dark and shaded as the sun moves round to the opposite side of the house.
Once you understand how lighting conditions change you are perfectly positioned to train yourself to use that light to your advantage.
Expose for the highlights
A correctly exposed photograph has balance. It isn’t to dark but isn’t to light. It retains detail in all areas of the image. If you overexpose a photo then the highlight areas will be bleached out and the detail contained within them lost. This detail cannot be recovered, it will then be lost forever.
By underexposing an image you will retain the detail in the highlight areas but also run the risk of making the image to dark. However, it is always best to slightly underexpose your image in order to retain highlight detail and then adjust the photograph later in post production using an app such as Snapseed. Be wary not to underexpose to much though as it can make any post production work awkward. The trick is to create a balance between capturing the detail in the highlights while not overly darkening the image.
Let me illustrate this with a few examples.

Example of an over exposed Photo
See how the detail in the sky is lost.

Example of an underexposed photo
See how the image is now to dark.

Example of an evenly exposed photo – Notice the colour and detail in both the sky and the shadow areas
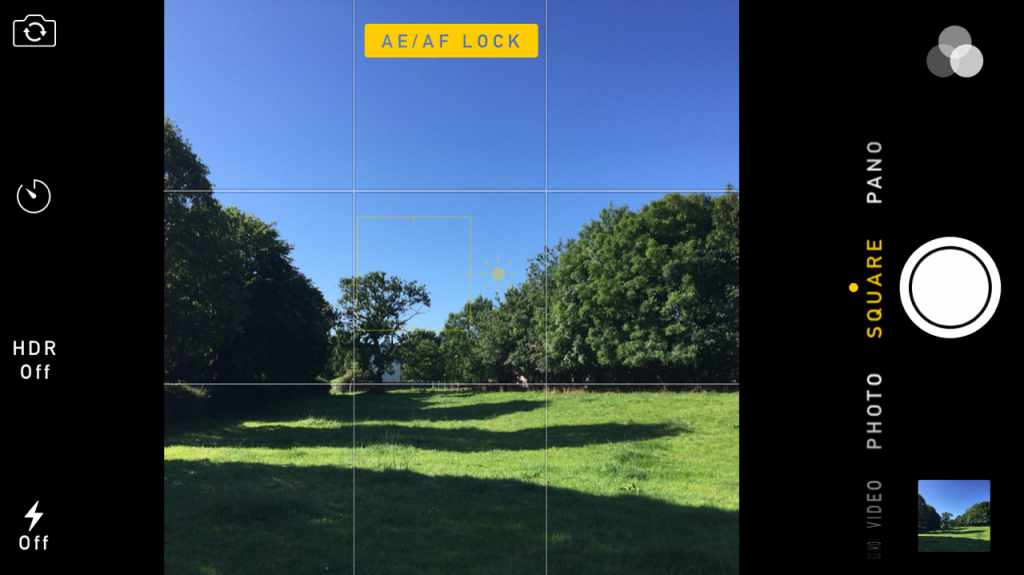
To achieve a nicely balanced exposure using the native iPhone camera app simply tap the screen at a point where you want to focus. A yellow square will now be fixed on the screen and next to it a vertical slider. Now slide your finger up or down to manually adjust the exposure compensation of the image. Notice how doing so will make the image lighter or darker. Your aim here is to expose the image so that detail is retained in the highlights while not making the overall image to dark.
Make the most of the golden hours
It’s a well known fact that the best light for taking photographs is generally during the time they call the golden hour. These are the first few hours just after sunrise or just before sunset. The light at these times of day will be softer, low in the sky and will create beautifully long shadows. It is amazing how during the golden hour you can capture some truly amazing scenes in places that would otherwise look flat and boring.
Taking advantage of the light during the golden hour is perfect for landscape photographers especially when other conditions such as fog and mist can inject mood into the image.
Shoot into the light to create silhouettes
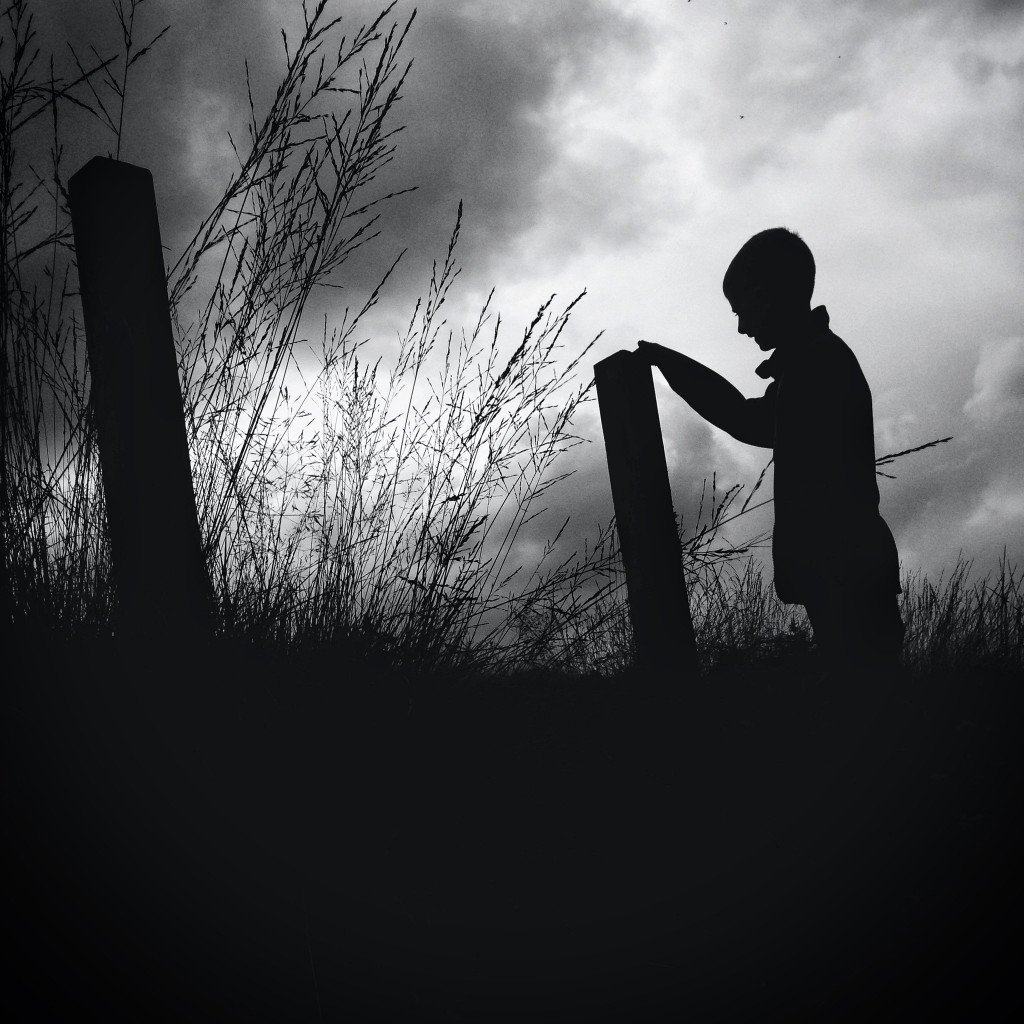
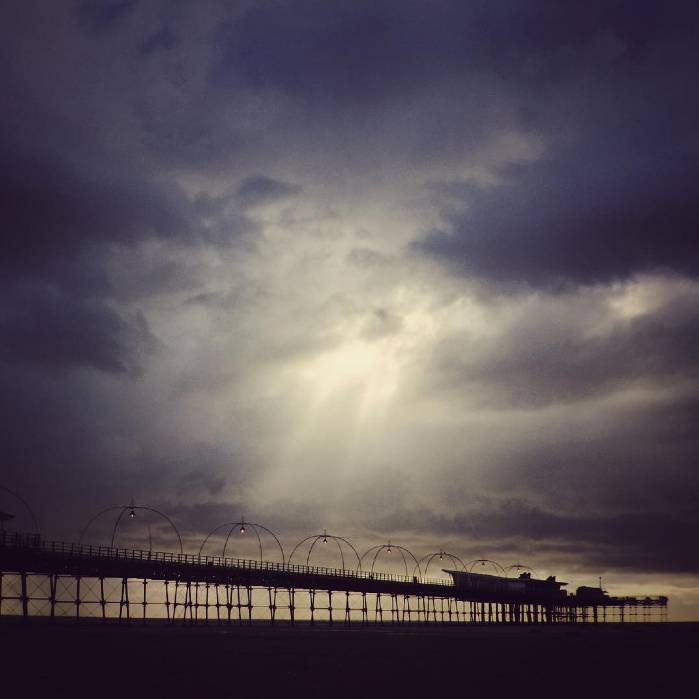
Often shooting directly into the sun can create all sorts of problems. Doing so means that you either expose for your subject and risk losing the detail in the sky or expose for the highlights and lose most of the detail in your foreground subject. However, the latter isn’t such a bad thing as you can use this to your advantage and create some interesting compositions using silhouettes.
Its best to avoid shooting directly into the sun when it is at its harshest. Morning and evening times are preferable or on overcast days when the light is less harsh.
If you’re shooting in colour then exposing for the detail in the sky will allow you to capture some amazing colours of the blue sky or if it is at sunrise or sunset, then some lovely red’s and orange tones.
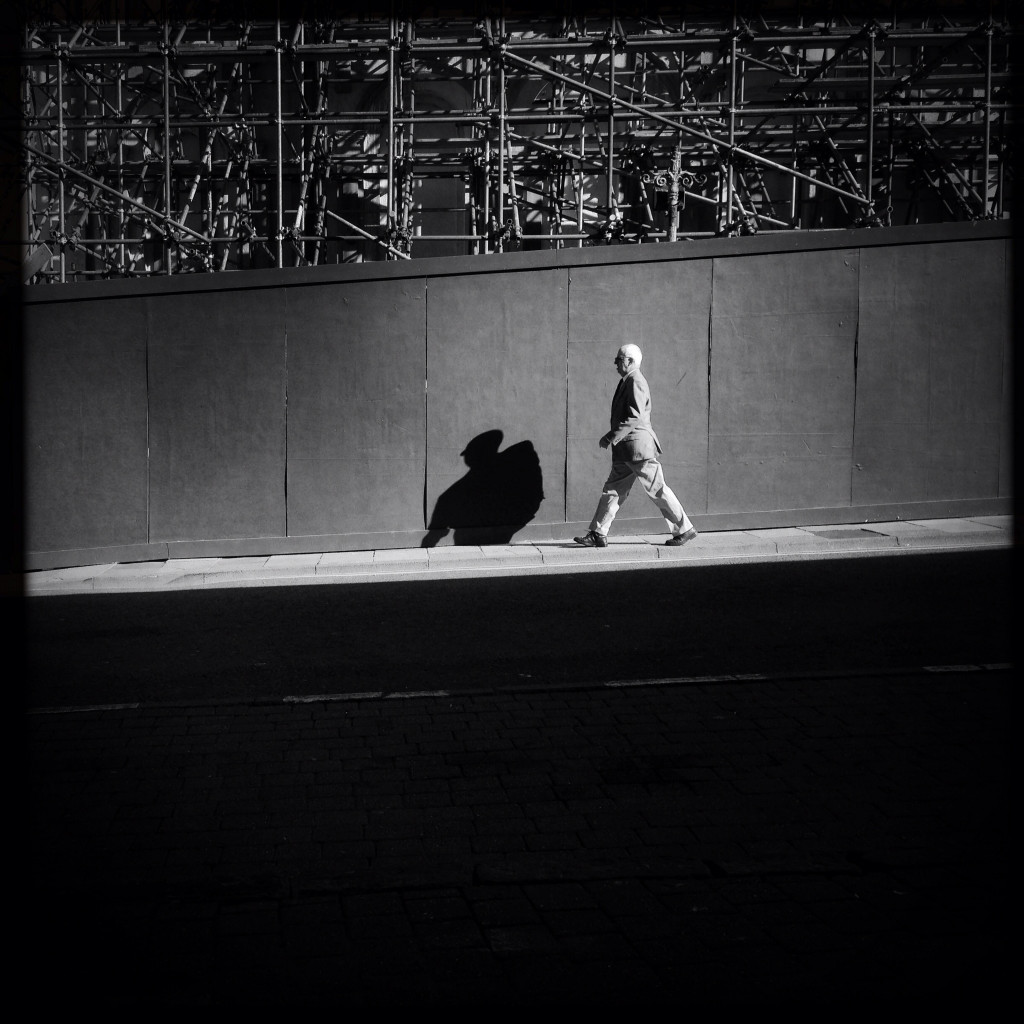
Also consider shooting in black and white as the silhouettes will provide a deep contrast against other lighter areas of the photograph and will also create some interesting shapes.
Shoot in the shade for softer light
When the sun is high in the sky the light from it can be quite harsh. In conditions like this it is better to seek out some natural shade such as that of a tree, a building or covered canopy. This will diffuse the sunlight and provide a more even ambient tone to shoot your subject. Remember that the light will change depending on the time of day.
Make the most of overcast days
The sun doesn’t always have to be out in order for you to take great photographs. Overcast days can provide some interesting opportunities.
If portraits are your thing then the more ambient light provided by overcast days offers a perfect time to shoot. However, if landscape photography is more your thing then exposing for the clouds and sky will enable you to really pull out the detail in them and by slightly underexposing or increasing the contrast a little in post production you’ll be able to create some fantastic drama in the sky.
Use natural light for indoor photography
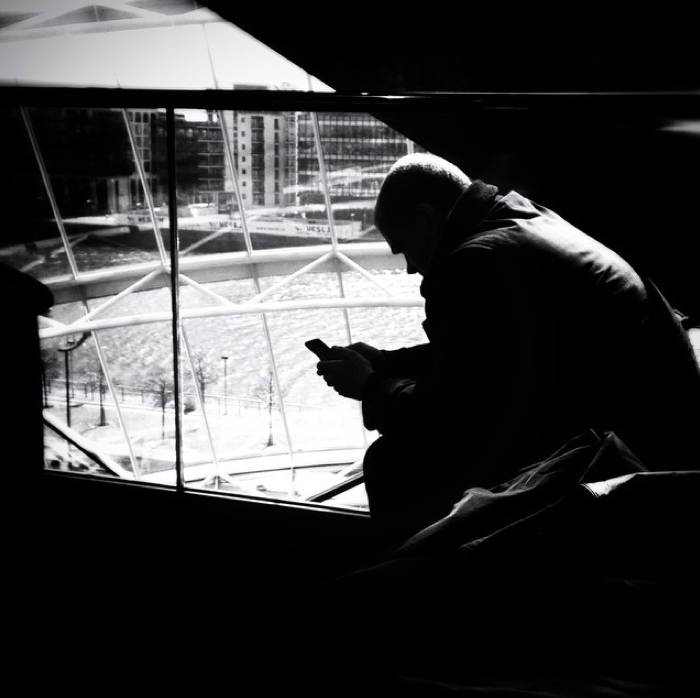
By its nature, shooting indoors can be tricky due to the reduced amount of light available to you. As mobile phone camera’s generally struggle in low light conditions many people make the mistake of relying on the flash to provide some extra light. It is much better to move your subject towards an open window where the natural light can flood in and create a much softer glow on your subject. This can be a fantastic way to create a sense of mood around your photograph. You can also use the shadows cast on surrounding objects to create interesting patterns and compositions.
Harsh sunlight creates contrast
When the sun is out and high in the sky it will create some fantastic shadows everywhere around you. People walking down the street will be casting interesting shapes and shadows against the surrounding walls and pavements. Bridges can create heavy, dark areas of shadows that will contrast against the harsh sunlight outside. You can use these effect to frame your subject
Also take note of any uneven surfaces as the sunlight can help to accentuate these and create some amazing patterns.
Some final words about using light
There are so many different ways to use light but at its fundamental core you firstly need to understand how light works and how to correctly expose your photograph for it. Remember once you have mastered this basic concept you are going to understand how to take great photos with iPhone and really start to have some fun using light to great effect.

