True tilt, shift and tilt-shift photography have various applications, from correcting perspective distortion or converging parallel lines when photographing buildings (shift) to angling the focal plane so that a shallow depth of field appears deeper and more of the scene is in focus (tilt).
Another use for tilt-shift photography is “miniature faking,” where selective focus is used to create the illusion of the subject being much smaller than it really is. Usually, these applications make use of specialist lenses attached to conventional cameras. However, technology advancements now make it possible to simulate these effects with the humble smartphone.
How does tilt-shift photography work?
Using selective focus to control which parts of the scene are in focus introduces blur, which is usually associated with close-up or macro photography. Distant subjects that appear to have a shallow depth of field give the impression of being far smaller than they are.
In this article, we’re going to look at how to mimic the tilt-shift effect to create fake miniatures using the Lens Blur feature in the brilliant Snapseed app.
First off, there are two distinct steps to creating the perfect tilt-shift, miniature fake.
Take a suitable photo or find one from your archives.
Edit the photo to apply blur selectively until the effect is spot on.
Let’s break these two steps down:
1. Pick a point of interest
For maximum effect, make sure your scene has a definite point of interest or a subject. This will need to be well exposed and in sharp focus. For the miniature to work, the subject needs to be farther away from you than you might expect.
2. Pick the right kind of subject
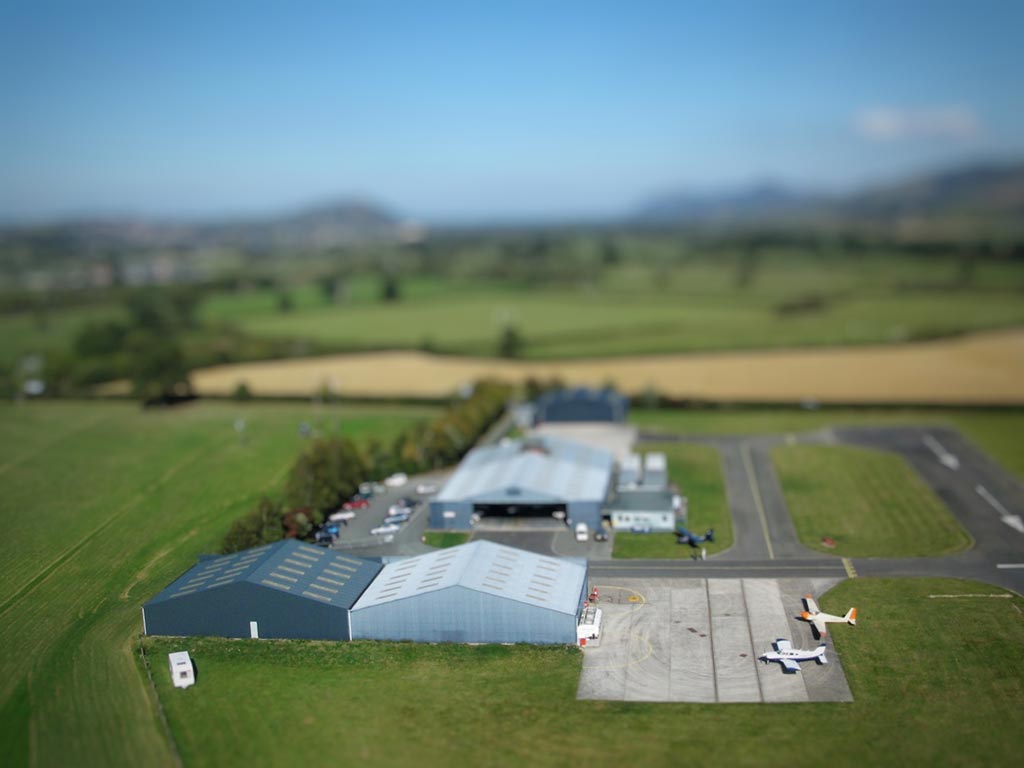
To make the miniature effect more convincing, choose a subject that people are used to seeing miniaturized. Everyone’s seen small-scale model cars, planes, farm vehicles, boats and houses – so these are a good place to start.
3. Keep the scene simple
Models and their settings tend to not be quite as detailed or realistic as real life, so for a more authentic effect, keep your scene free from distracting elements that might shatter the illusion, such as too much clutter, debris, trash, etc.
4. Include just enough background to set the scene
Model makers often go to great lengths to create a realistic-looking setting for their models. When they do this, model makers are essentially composing the scene, much like a photographer might. So, like a model maker, you need to think about what to include and what not to include so that your point of interest looks more believable as a model.
5. Shoot from a high viewpoint
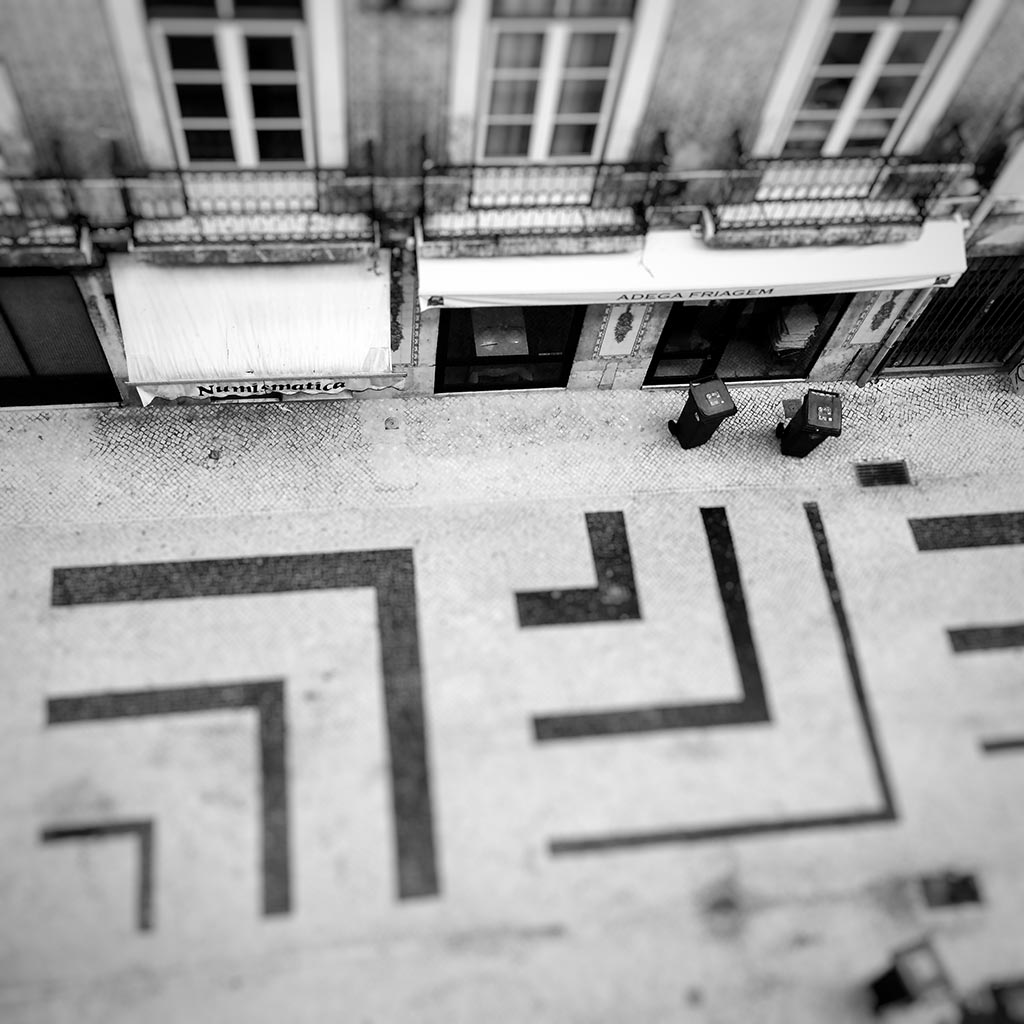
This is perhaps the single most important tip because models are usually viewed from above. Therefore, for believable results, try and shoot from a slightly higher elevation. You don’t need to get on the rooftops, but for maximum effect, shoot from an upstairs window, a balcony, external steps, the top of a playground apparatus, a double-decker bus or a bridge.
6. Keep people small
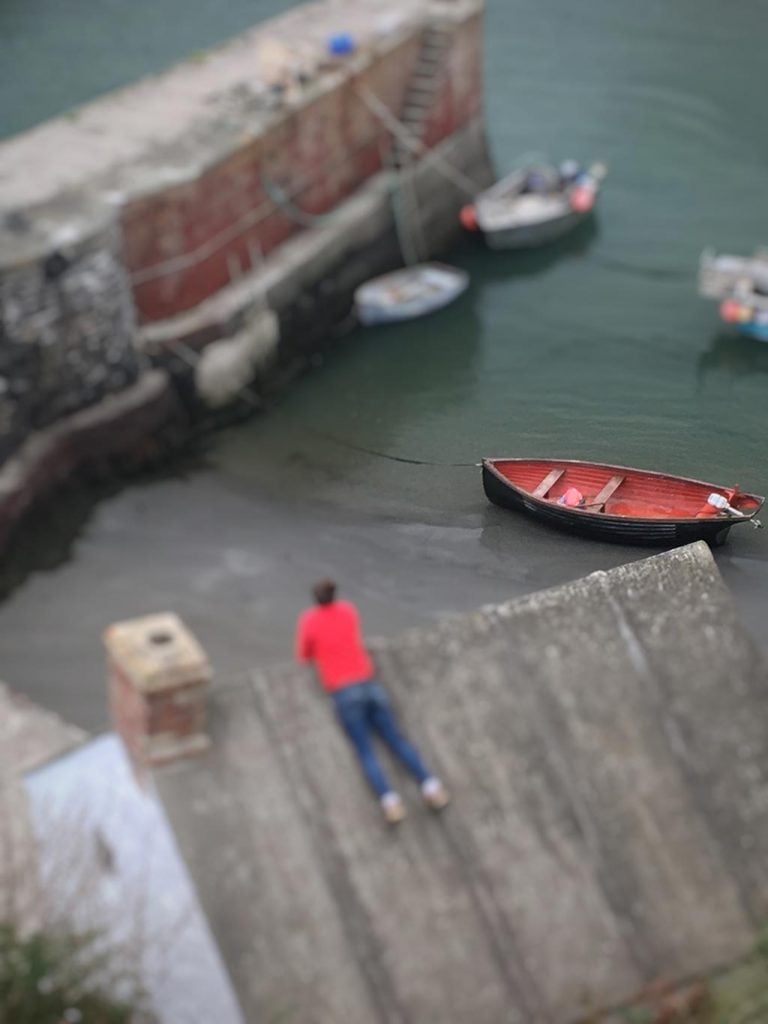
Small scale models rarely feature realistic looking people. This is because it’s hard to make things look realistic at a small scale. For this reason, either avoid including people in the scene or keep them relatively small compared to your main point of interest. In fact, having people small in the scene can work to your advantage, but it may be best to ensure they’re in the parts of the scene you intend to make blurry. If you have control over the people in your scene, instruct them to stand slightly stiff, as this will enhance the illusion that they are tiny models.
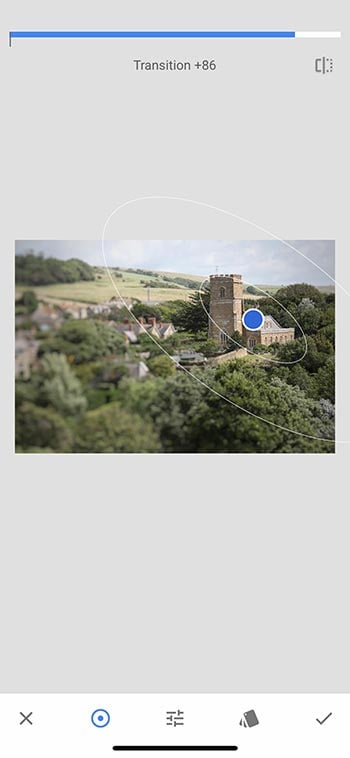
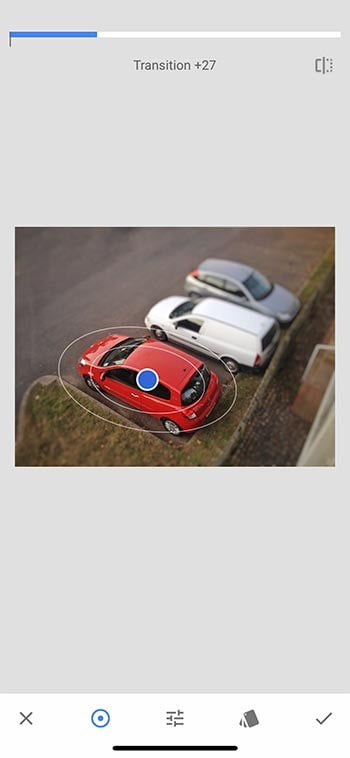
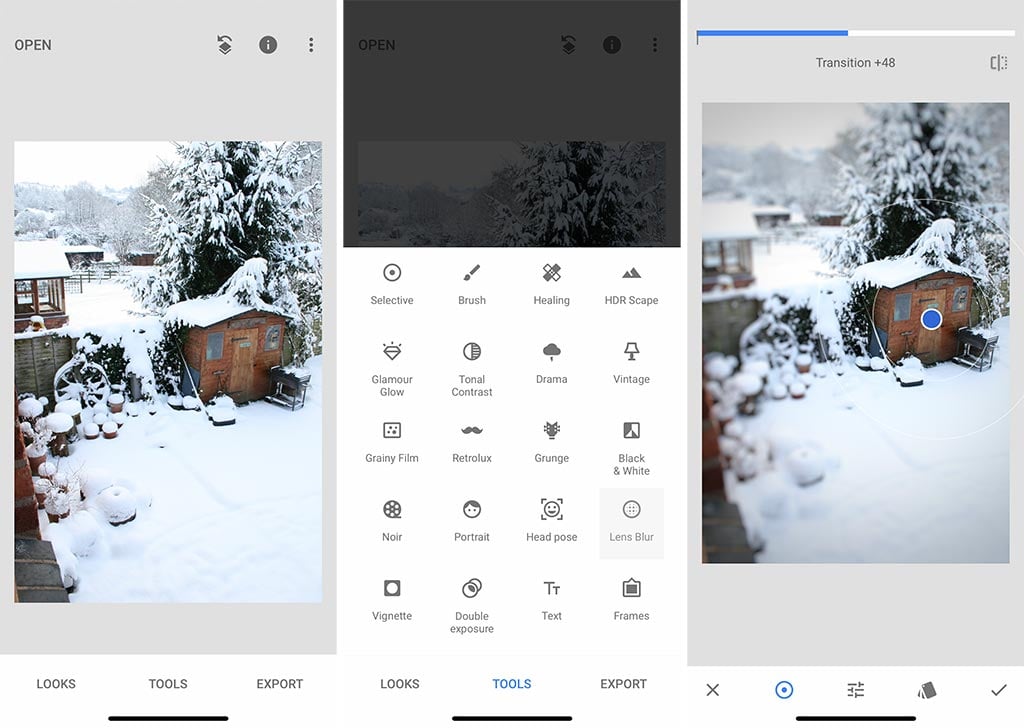
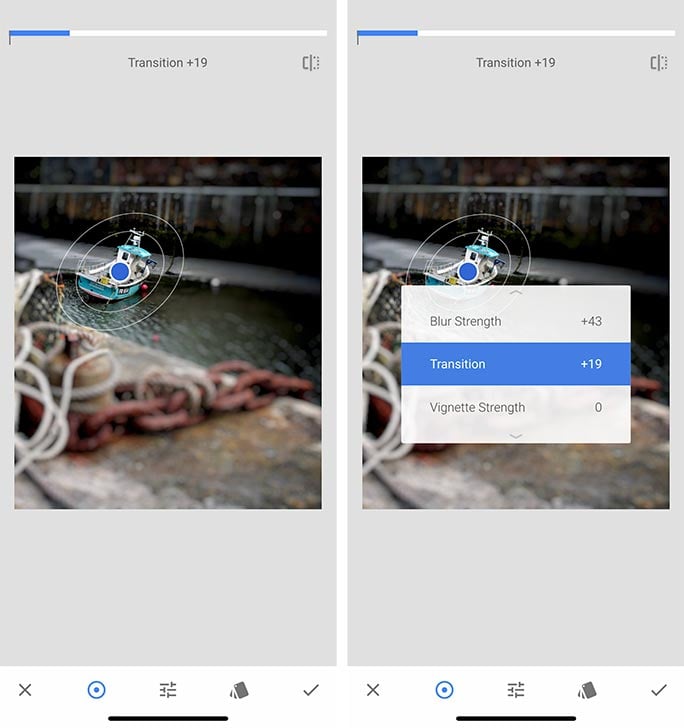
At this point, you should have a suitable image to work with. For the remaining steps, you’ll need the free Snapseed app. Once you’ve opened the app, open the photo you want to use (follow the app screenshots below), go to Tools, then Lens Blur.
7. Get the shape of the blur right
No two subjects are the same. A train on a railway track is likely to be somewhat long and straight, whereas a building might be more square or tall.
Ideally, you want the subject not to be blurred at all and the background and foreground fairly blurry, with a nice gradual transition from non-blurry to blurry.
Snapseed lets you switch between a linear and elliptical focus area. Linear is great for long subjects or subjects with straight edges, especially ones that span the entire width or height of the scene, such as a road. Elliptical is better for more organic, shapely subjects that are framed within the scene.
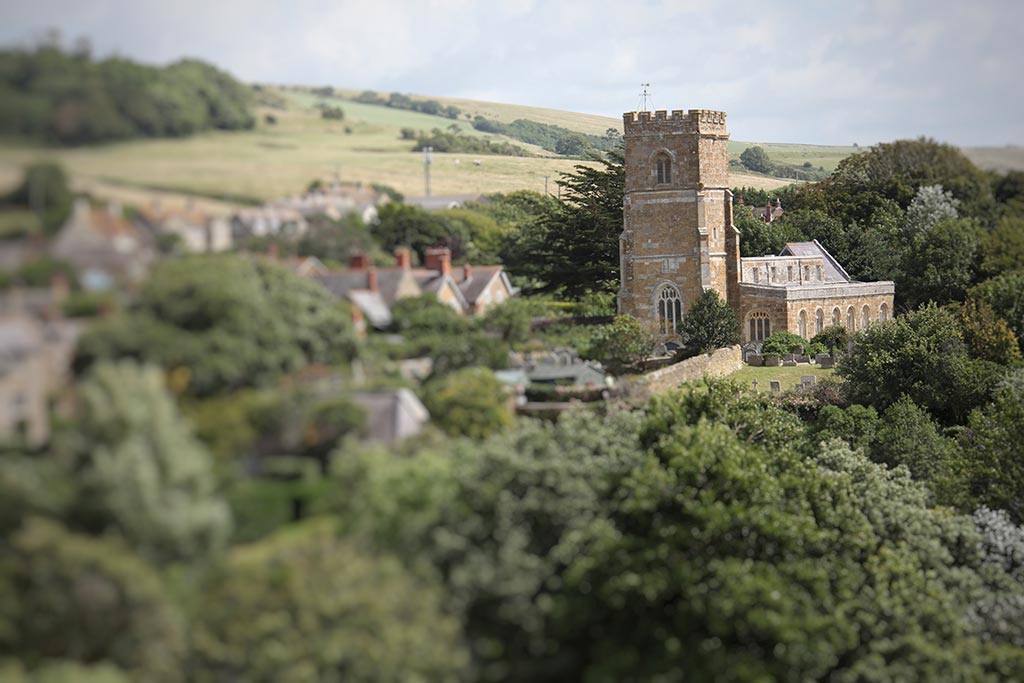
The example below show the elliptical focus area
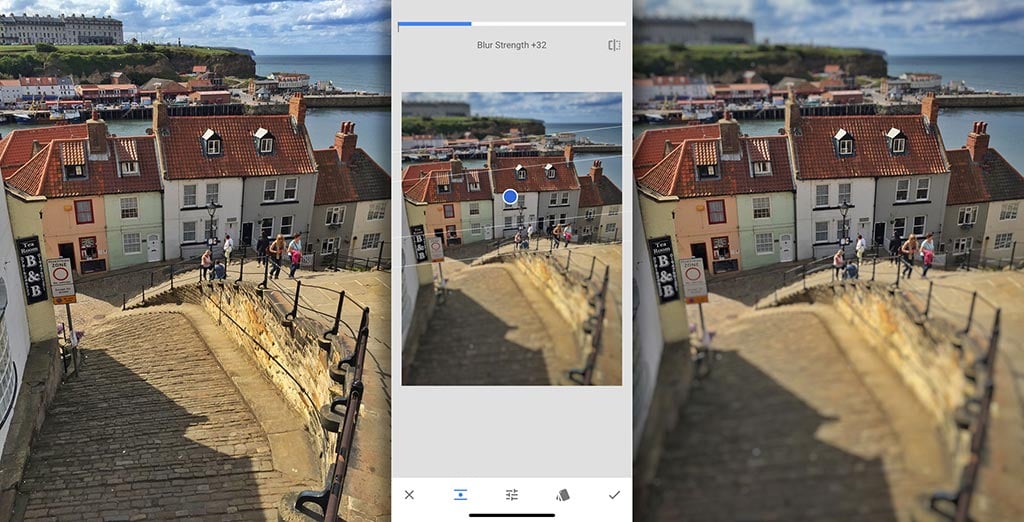
And the following example shows the linear focus area.
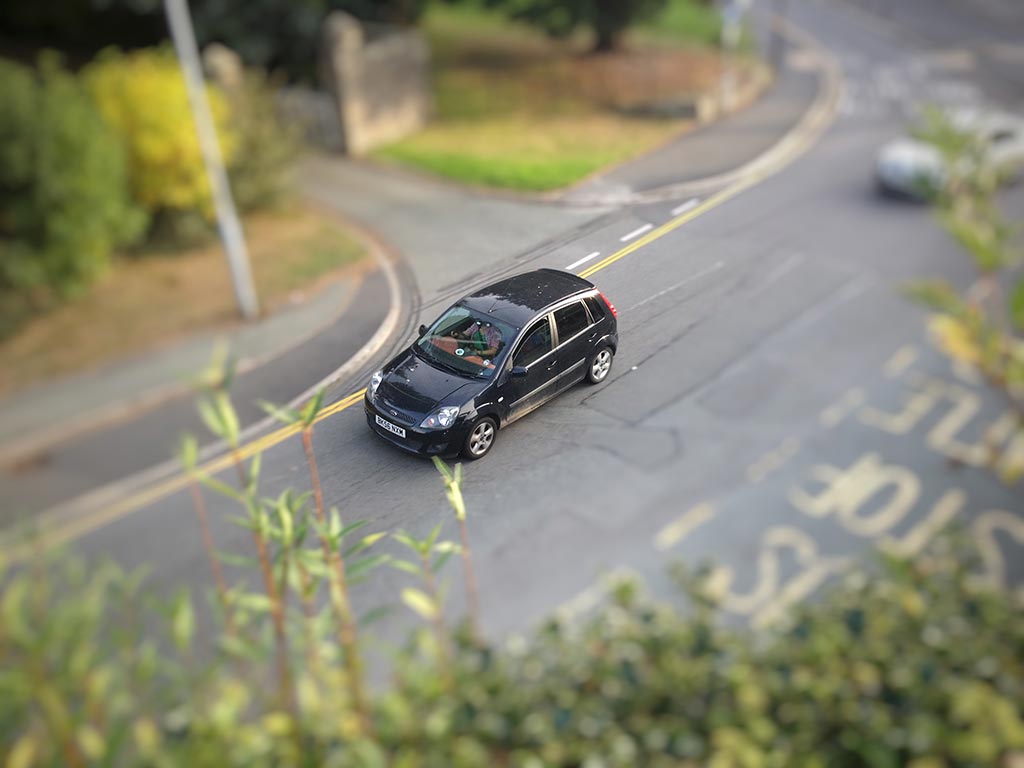
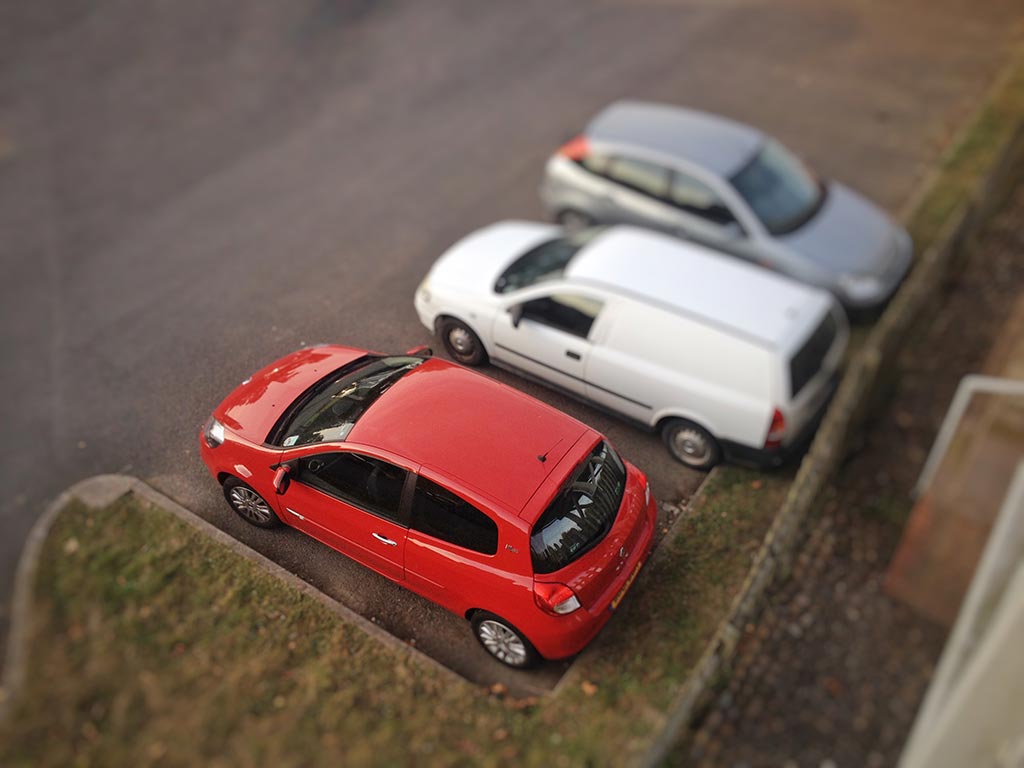
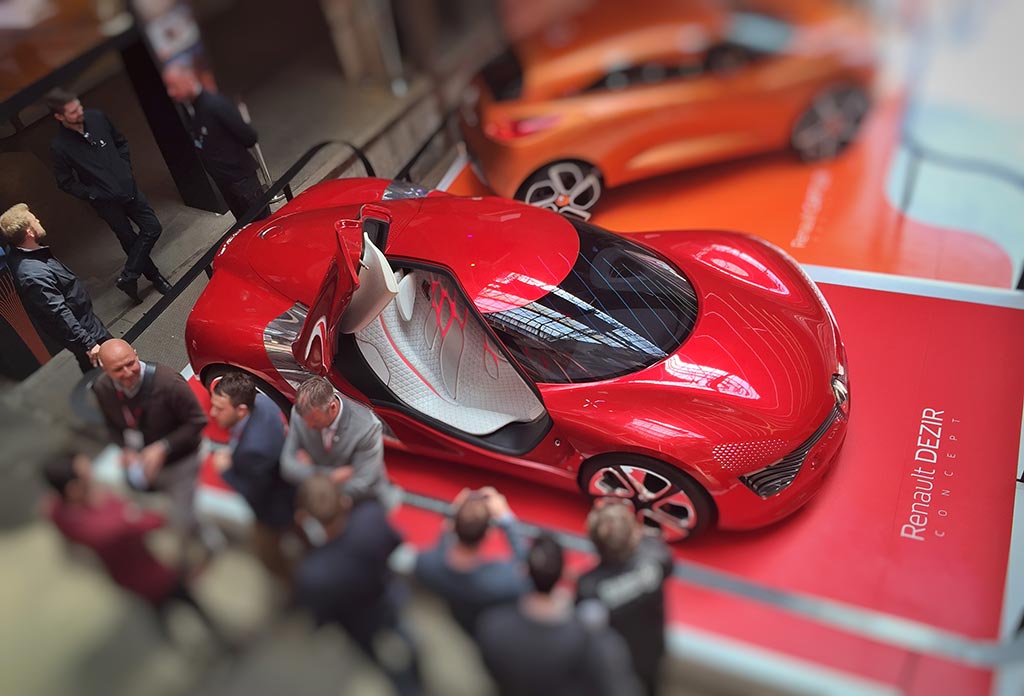
The car pictured below is fairly compact and curvy. However, it spans nearly the full width of the frame, and I wanted to make relatively large people more blurry, so the linear focus area was used.
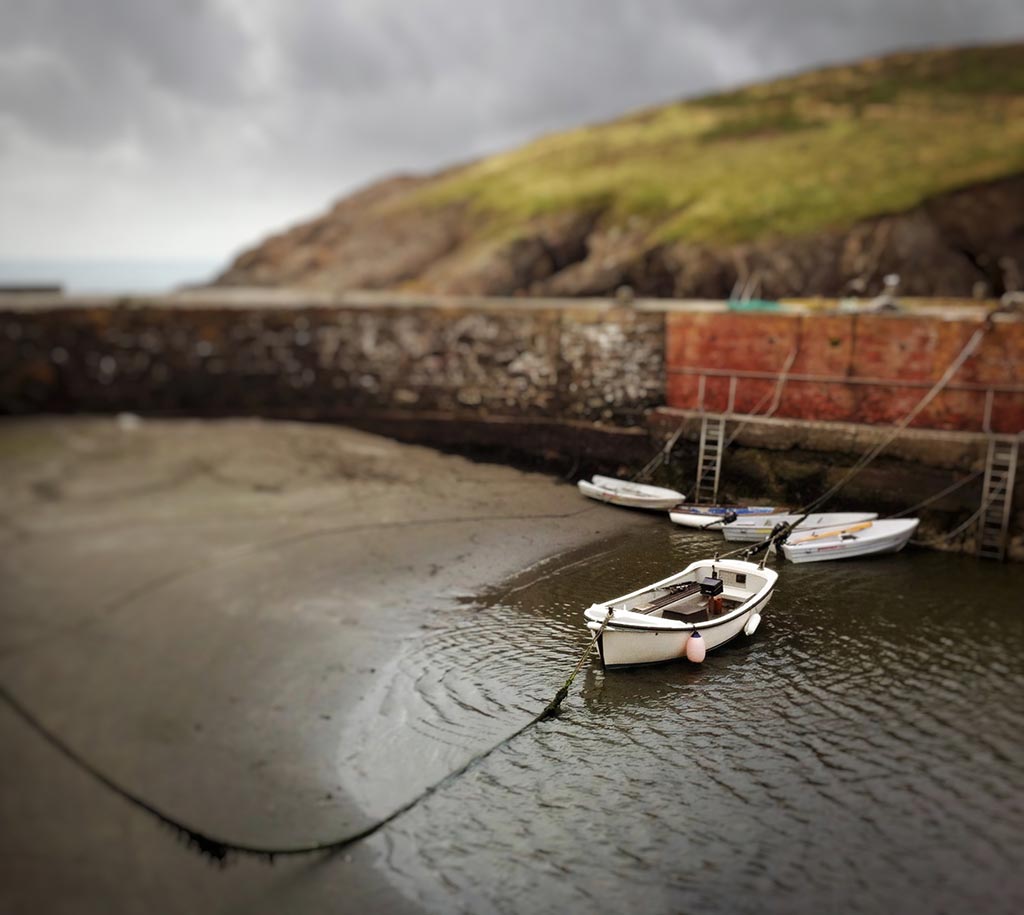
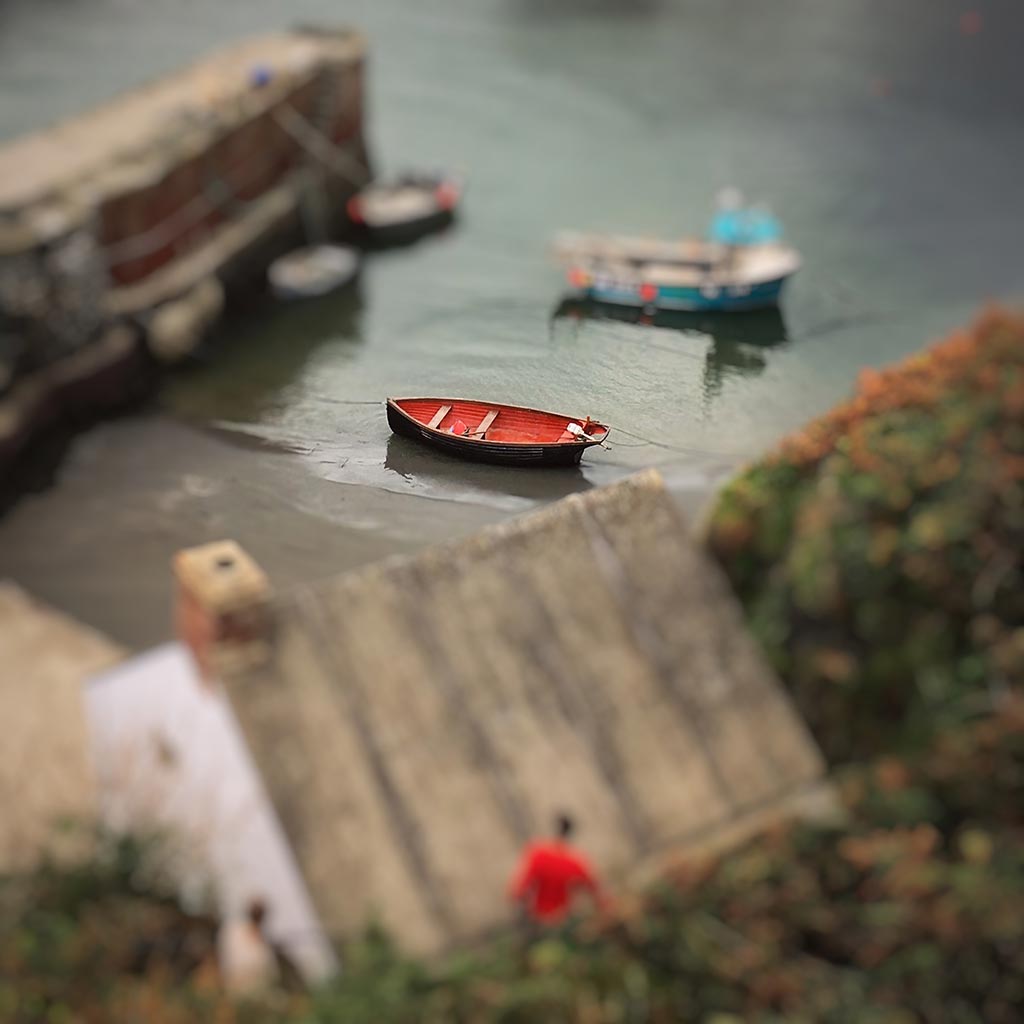
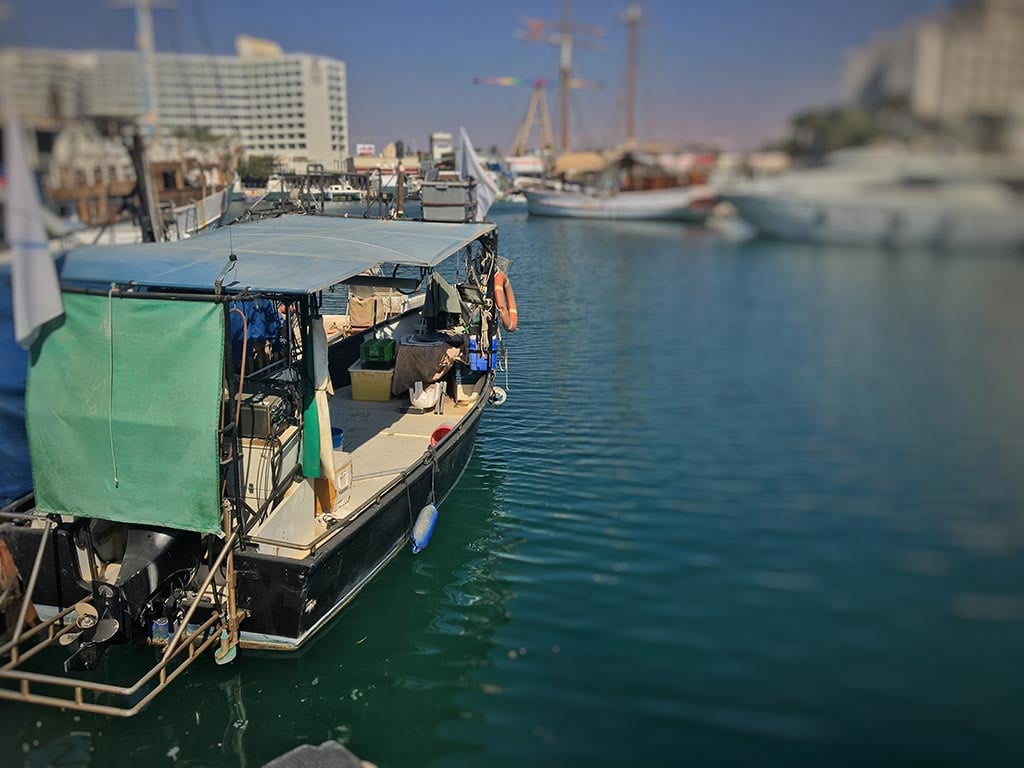
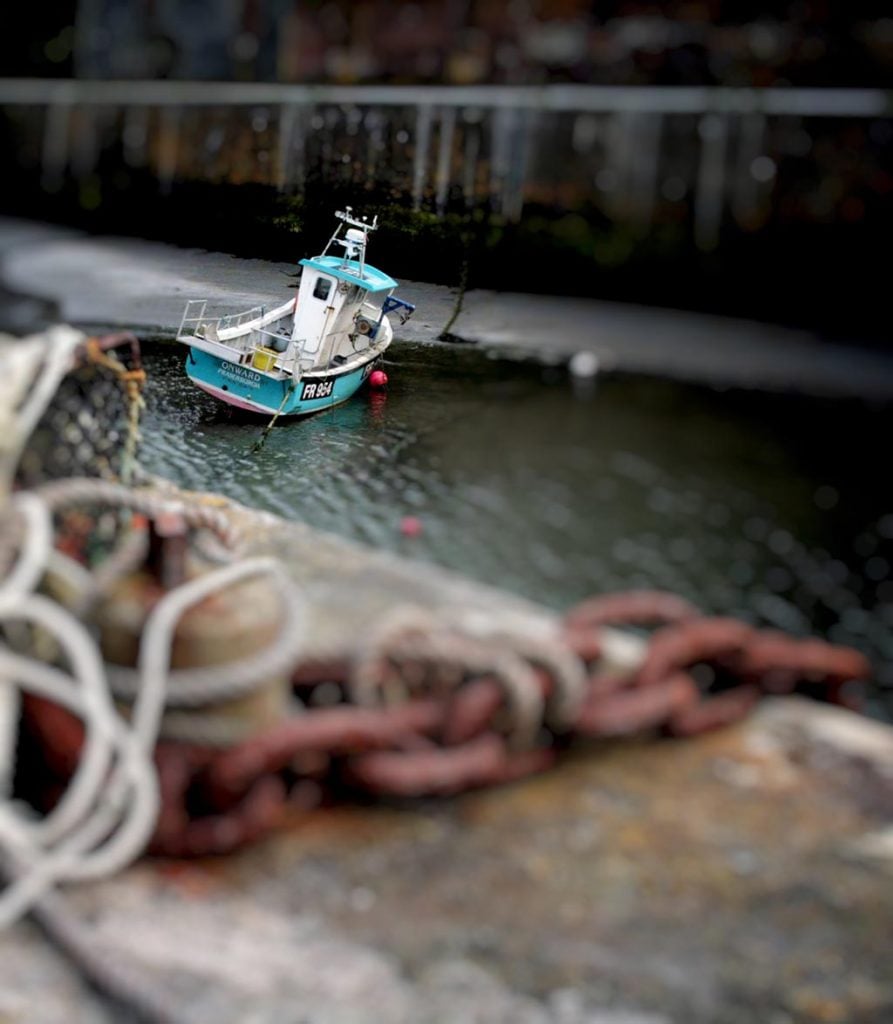
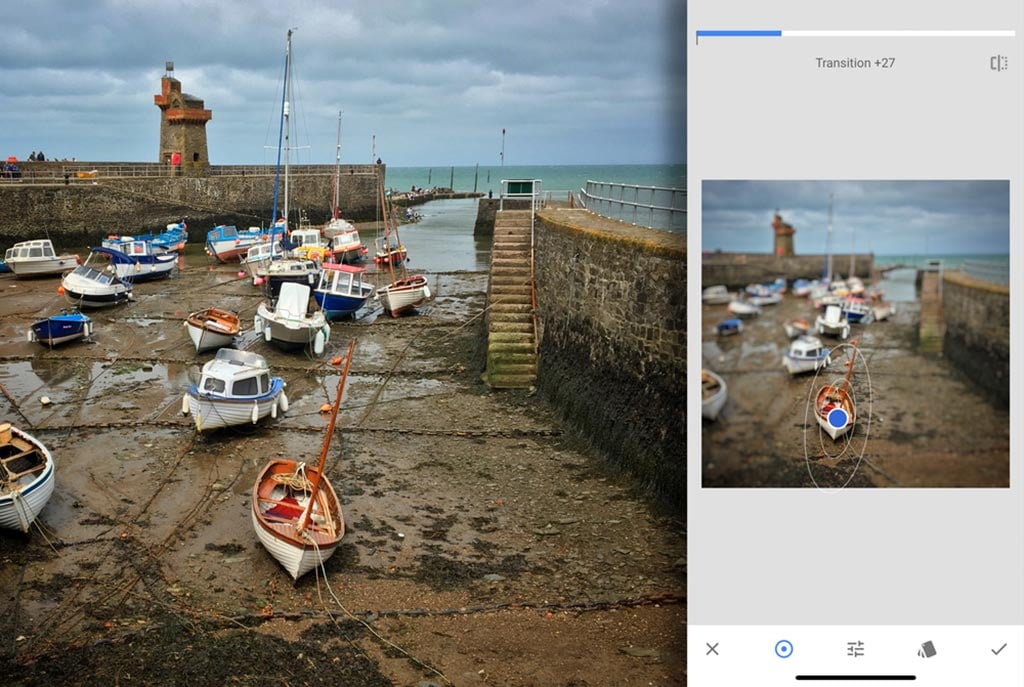
In order to pick out the small blue boat in the image below and have most of the rest of the scene blurry, the elliptical focus area was used.
In the photo below I wanted to pick out the row of houses and have the rest of the scene blurry. The linear focus area was perfect for the job.
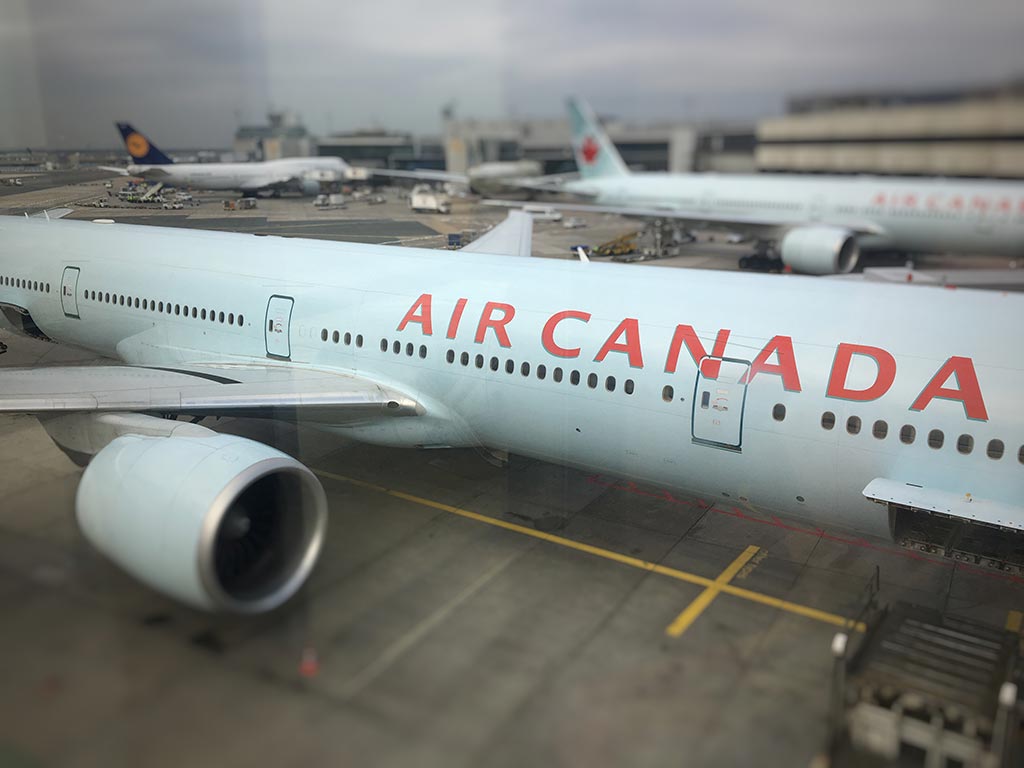
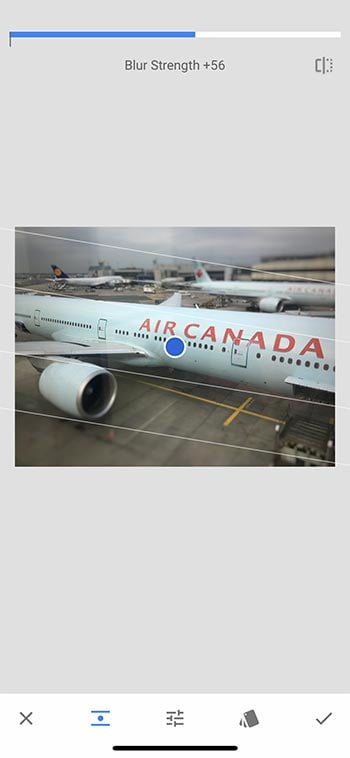
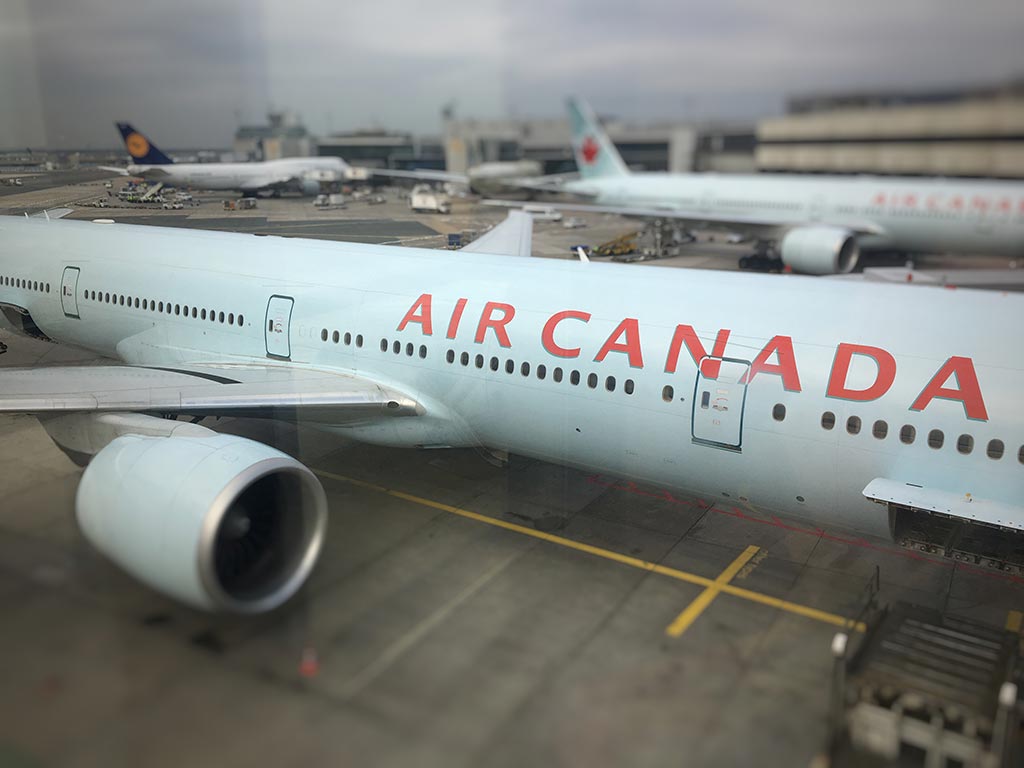
The long body of the airplane pictured below also benefited from the linear focus area. Both the elliptical and linear focal areas can be moved, resized and rotated to suit the position, angle and shape of your subject.
8. Control the transition from non-blurred to fully-blurred
The Lens Blur feature in Snapseed lets you choose where the blur starts, but also the distance over which the blur goes from non-existent to maximum blur. If your subject has long, straight edges, you can let the blur happen quite suddenly, but for more curvy or organic shapes and edges, choose a longer, more gradual distance for the blur to take effect.
In the example below, a linear focus area and a medium transition were selected to get nice balance between detail and blur.
To control the blur transition in Snapseed, swipe up or down on your image until the Transition option is highlighted. Then, release your finger briefly and swipe your finger horizontally – to the left for a shorter, quicker transition or to the right for a longer, slower transition. Alternatively, use the two-fingered pinch technique. Bring your two fingers closer together for a shorter, quicker transition or part your fingers for a longer, slower transition.
9. Use the right amount of blur
The miniature faking effect seems to work best when the background and foreground are blurry or out of focus and the subject is totally, or mostly, in focus.
The blur helps to simplify the scene by concealing detail that would otherwise give the game away and also by drawing attention to the subject.
It’s important that the subject isn’t blurred, because subject blur may be mistaken for motion blur, and usually models aren’t moving. So, to max out the miniature effect, keep as much of the subject in focus as possible.
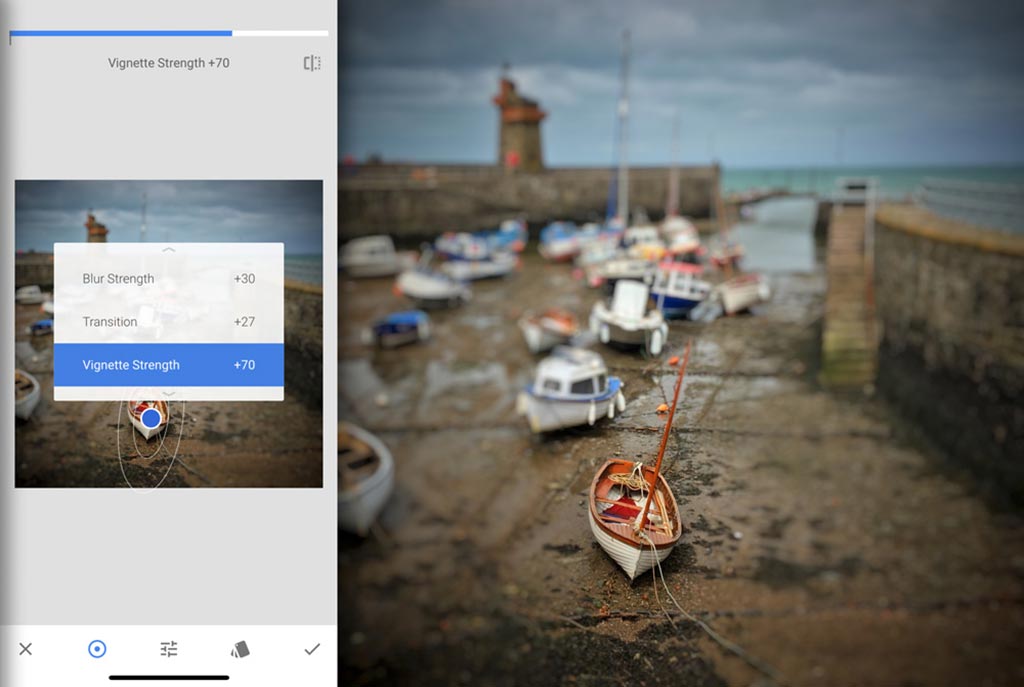
To control the strength, or amount, of blur in Snapseed, simply swipe up or down on your image until the Blur Strength option is highlighted. Then, release your finger briefly and swipe your finger horizontally – to the left for less blur strength or to the right for more.
10. Add some vignette
It’s optional, but adding a vignette can help focus attention on the subject and also reduce the impact of a distracting or messy background, especially near the edges of the frame.
In the example below, you can see how the corners and edges of the final image are darker than the original. Be careful not to apply the vignette too heavily or it can distract the viewer from the subject.
Final thoughts about tilt-shift photography using Snapseed
In this article, you’ve learned what tilt-shift photography is and how to use it to create realistic-looking miniature “fakes.” Remember that to get good results you need to put some thought into the source image – whether you’re shooting specifically for this purpose or searching your archives for a suitable image. Once you have a usable source image, you can experiment with Snapseed’s Lens Blur tool until you get the perfect tilt-shift miniature fake.

