Are you someone who loves their food? Would you like to mix your passion for photography with your passion for food? Thanks to the iPhone, food photography has never been easier. With the right tools and techniques, you can take mouthwatering images that will leave people craving more!
In this guide, I’ll dive into some essential iPhone food photography tips and techniques that will transform your food photos into culinary masterpieces.
Essential Tools for Capturing Stunning iPhone Food Photos
Every professional food photographer knows that having the right tools at your disposal can make all the difference when capturing stunning food images. For iPhone food photography, there are three essential tools: tripods, add-on lenses, and backdrops. These tools will not only enhance the quality of your photos, but will also provide you with the creative freedom to explore different perspectives and styles.
Tripods offer stability and hands-free shooting, add-on lenses provide versatility in capturing various angles and details, and backdrops ensure a visually appealing background that complements your food subject. Invest in these tools, and you won’t be far from capturing enticing photos of food with your iPhone!
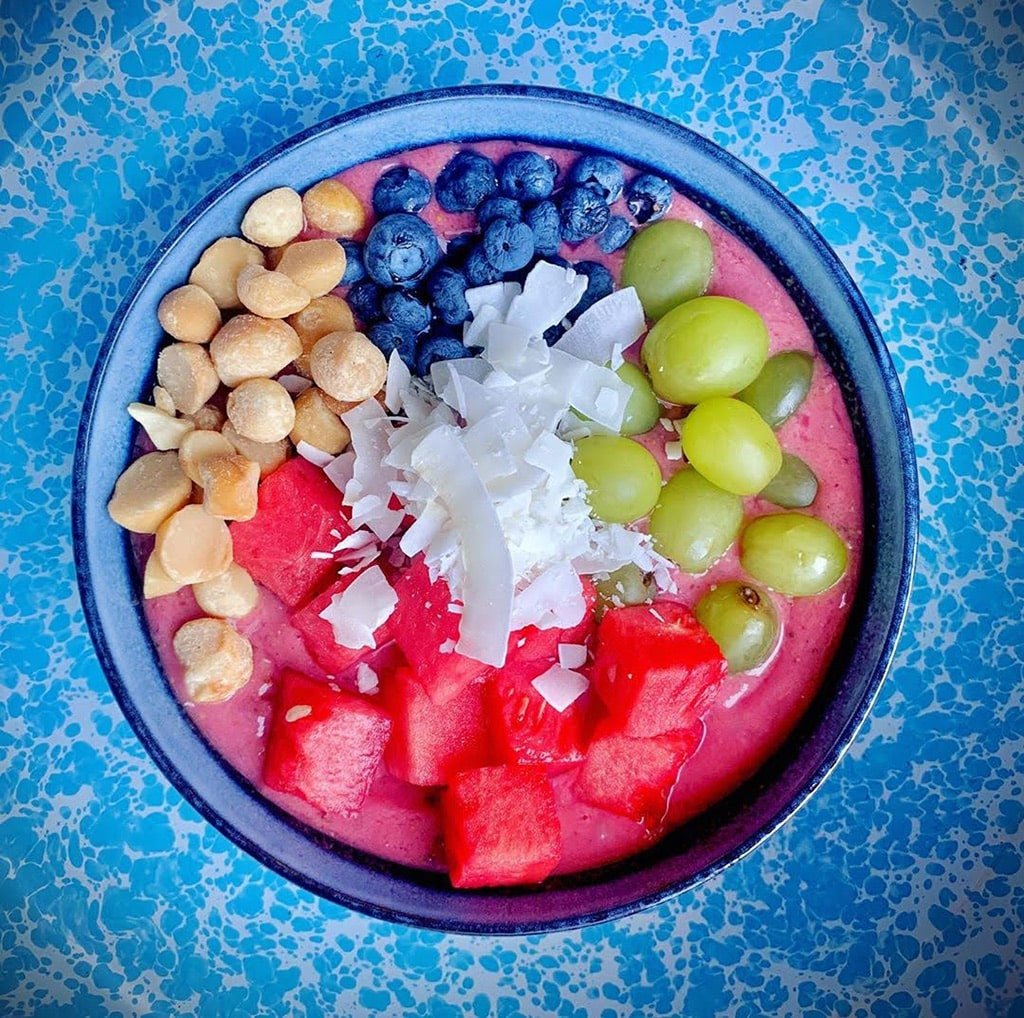
Photo by @lindsaypietroluongo
Tripods
Tripods are a godsend when it comes to iPhone food photography as they ensure stability and facilitate hands-free shooting with the iPhone’s camera. This will result in sharper images and the ability to experiment with creative angles.
Some fantastic tripods for iPhone food photography include:
- JOBY JB01550-BWW Telepod Mobile Tripod
- Manfrotto PIXI EVO 2-Section Mini Tripod
- Manfrotto Element Small Traveller Tripod
- Benro SystemGo Plus Aluminum Tripod
These tripods are designed to work well with your iPhone camera and provide the perfect setup for capturing food photos in natural lighting conditions.
To help mount your iPhone to the tripod, you will also need an iPhone tripod mount attachment.
Add-On Lenses
Add-on lenses, such as a telephoto, wide-angle lens or macro lens, can dramatically improve your iPhone food photography results by creating different perspectives and enhancing details.
Telephoto lenses will condense your field of view and allow you to frame your subject more closely without having to get too close. This will give breathing space between you and the subject. Wide-angle lenses are perfect for capturing the whole scene, while macro lenses excel at close-up shots, revealing the intricate textures of your food subjects. Macro lenses will also create some fantastic bokeh effects which will provide interest and help to remove any distractions in the background.
While you could use the built-in lenses of your iPhone, I often find that a good quality add-on lens such as those by Moment, will give better results. Attaching the lenses to your iPhone is simple as they often fit into a dedicated fitting on a case or clip-on over the camera lens itself.
Backdrop
A visually appealing backdrop can make or break your food photos. Choose backgrounds that complement your food without distracting from the main subject. Wooden surfaces, neutral colors, and seasonal themes are all excellent options for creating clean and attractive backdrops. Avoid backgrounds that will distract the viewer’s eye from your subject. If it’s possible to use depth of field blur in your composition, then this will help to strengthen the viewer’s connect with the subject.
Remember, the background plays a vital role in the overall composition of your food photography, so choose wisely and let your culinary creations shine!
Mastering Natural Light in iPhone Food Photography
Natural light is the secret ingredient for stunning iPhone food photography. Mastering the art of using natural light results in accurate colors and a professional look in your food photos. Let’s look at some ways you can use light to take better food photos.
Shoot in Natural Light
Shooting in natural light is the holy grail of iPhone food photography, providing the best color accuracy and avoiding harsh shadows or color casts from artificial lighting. To make the most of natural light, position your food setup next to a window and use a diffuser to soften the light. Additionally, you can adjust the exposure settings on your iPhone to ensure proper lighting.
Avoid harsh, direct sunlight or using flash, as this type of light can distort the colors of your subject and result in unflattering images. Embracing natural light will breathe life into your food photos!
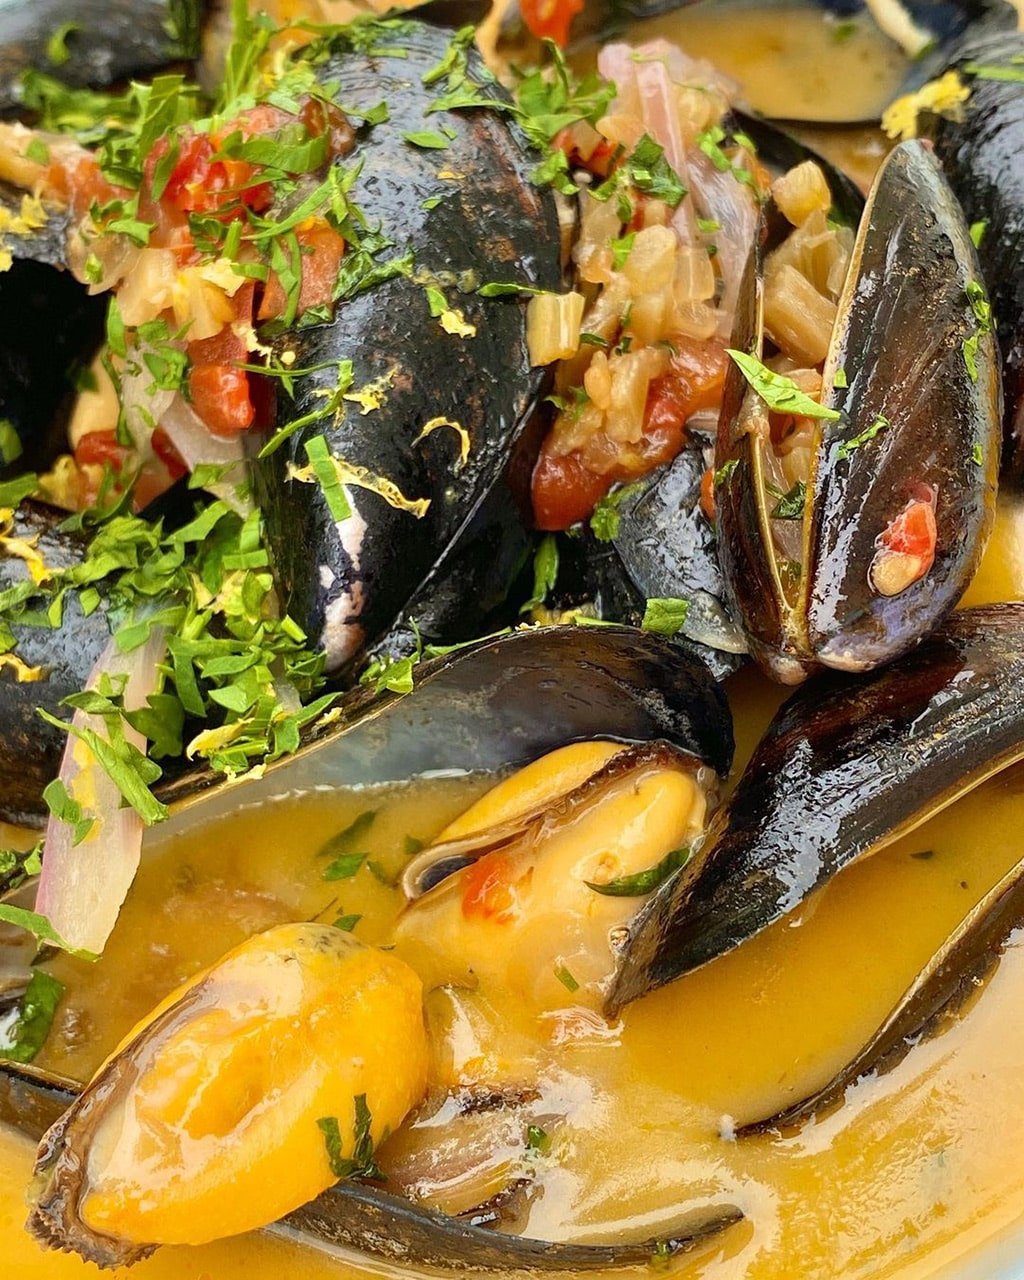
Photo by @jackhollingsworth
Manage the Shadows
Managing shadows in food photography is crucial in order to create a balanced and visually appealing image. If you are shooting in artificial lighting environments, try using a diffuser or reflector if you have one, or if possible, adjust the position of the light source to help control the shadows and create the perfect atmosphere for your food photos.
If you are shooting in natural light, overcast days will help to provide some soft shadows. However, in strong sunny conditions, try moving the subject into a lightly shaded area, this will help to reduce the effect of harsh shadows.
Remember, shadows can make or break an image, so take the time to find the best angle and light source to showcase your culinary creations!
Pay Attention to Color
Color plays a significant role in the overall appeal of your food photography. Blending harmonious or contrasting colors can create different moods and help craft more visually engaging images. Harmonious colors create a cohesive look while contrasting colors, add excitement and draw the viewer’s attention into the photo.
Pay close attention to the colors in your food photos, and experiment with different color combinations to find the perfect balance that complements your subject.
Avoid Using a Flash
As I have already mentioned, using a flash in food photography can result in harsh shadows and unflattering reflections on the food. Instead, focus on harnessing natural light or using artificial light sources like mini strobes or continuous lights to achieve a more balanced and vibrant image.
Experiment with different lighting setups and techniques to find the perfect lighting setup for your food photos. Avoiding the use of a flash guarantees that your images highlight the authentic beauty and deliciousness of your culinary creations.
If you have to use a flash, try not to direct it straight at your subject and also look for ways to diffuse it somehow.
Creative Composition Techniques
Composition is the key to creating eye-catching and visually appealing food photos. Let’s take a look at some common creative composition techniques that you can use. These include:
- the rule of thirds
- negative space
- angle experimentation
- detail focus
By mastering these techniques, you’ll be able to create captivating food photos that tell a story and engage the viewer.
Remember, the best iPhone food photography tips will often involve experimenting and finding the perfect balance between composition and creativity. Don’t be afraid to try new techniques and push the boundaries of what’s possible with your iPhone camera!
Rule of Thirds
The rule of thirds is a powerful composition technique that can help you create balanced and interesting food photos. By dividing your image into a grid of nine squares and placing the main elements of the photo along these lines or at their intersections, you’ll create a visually appealing and dynamic composition.
This technique avoids placing the subject directly in the center of the frame, which can result in a more static and less engaging image. Experiment with the rule of thirds in your iPhone food photography to create images that truly captivate your audience.

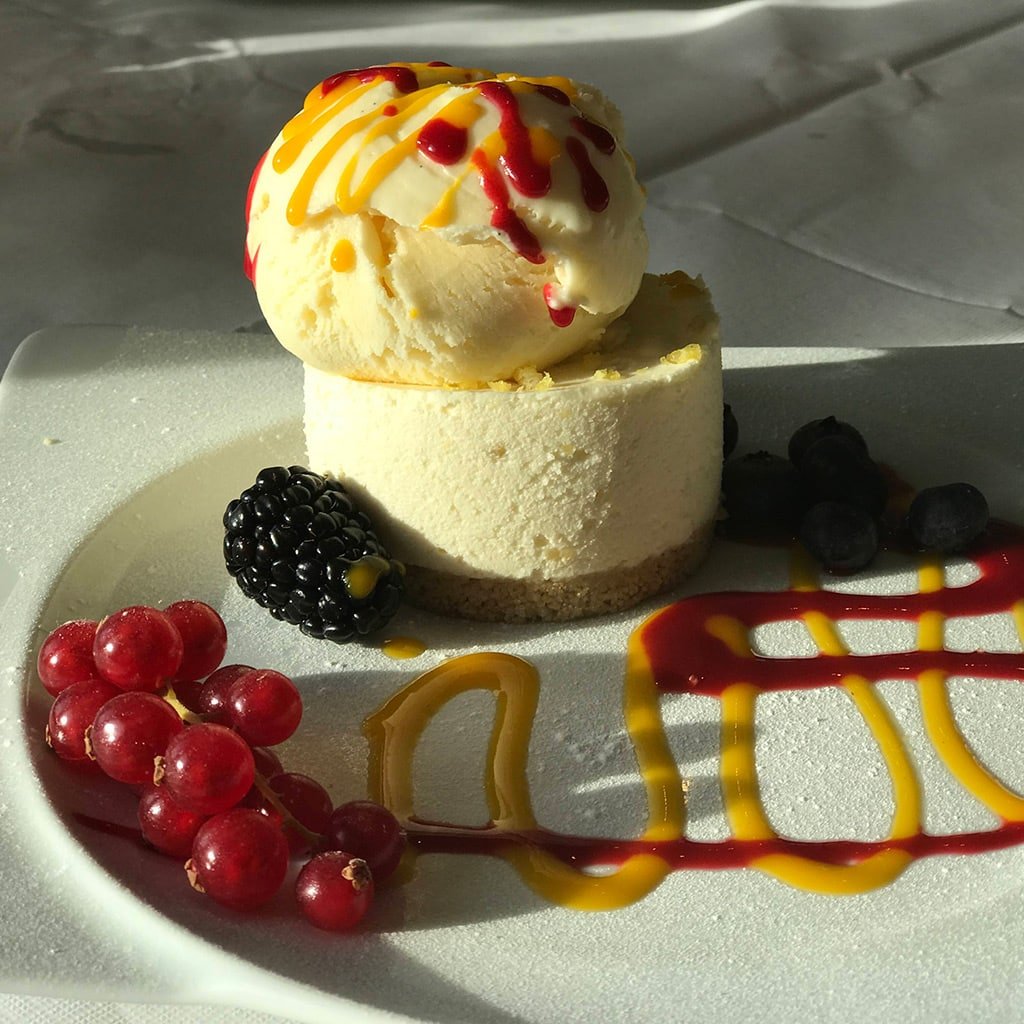
Negative Space
Negative space is the area around the main subject in a photo that is left intentionally blank in order to draw the viewer’s attention towards it. Using negative space in food photography can create clean, uncluttered images that allow the main subject to shine.
To effectively use negative space, consider placing your subject off-center or including large expanses of empty space to create a sense of balance and simplicity. By incorporating negative space into your compositions, you’ll create food photos that are both visually appealing and engaging.
Experimenting with Angles
Experimenting with different angles is an excellent way to highlight the texture and dimensions of your food subjects. Try shooting overhead, from the side, or diagonally to capture unique perspectives and reveal the intricate details of the culinary creations in front of you.
By trying different angles, you’ll not only add visual interest to your photos of food but also discover new ways to highlight the beauty and deliciousness of your dishes.
Focus on the Detail
You may also want to consider getting up close to your subject and focus in on the detail. This will allow you to highlight the patterns, textures, or any unique features. By focusing on the detail of your subject, you will be able to create visually engaging food photos that tell a story. Pay close attention to these details and use them to enhance the overall composition of your food photography.
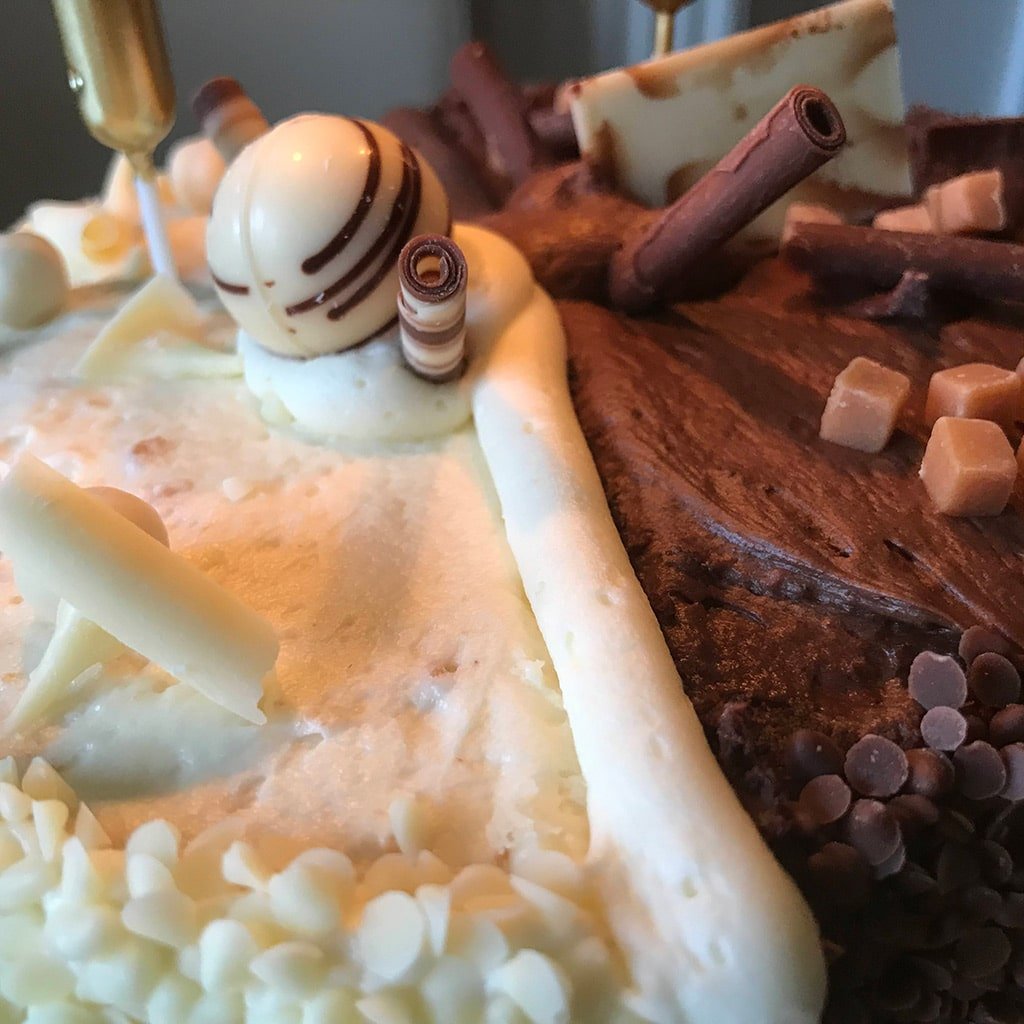
Remember, it’s all in the details!
Adding Life to Your iPhone Food Photography
Adding life to your iPhone food photography can make your images stand out and create a sense of authenticity and connection with the viewer. By incorporating human elements, action, and storytelling, you can improve the quality of your food photos from simple snapshots to captivating visual narratives that truly engage the viewer.
You can try out various techniques to strike the ideal balance between composition and creativity. And remember, the best iPhone food photography tips involve pushing the boundaries of what’s possible with your iPhone camera and creating images that truly captivate your audience.
Include a Human Element
Including a human element, such as hands or arms, in your food pictures will help to give a relatable and authentic feel. Hands in the frame or showing a person handling or eating the delicious food can convey traditions, heritage, and location. It also helps to strengthen the connection between the viewer and the food, making the scene more relatable and engaging in food photos.
Adding a human element to your food photos will help to give it context and will allow you to craft images that genuinely resonate with your audience.
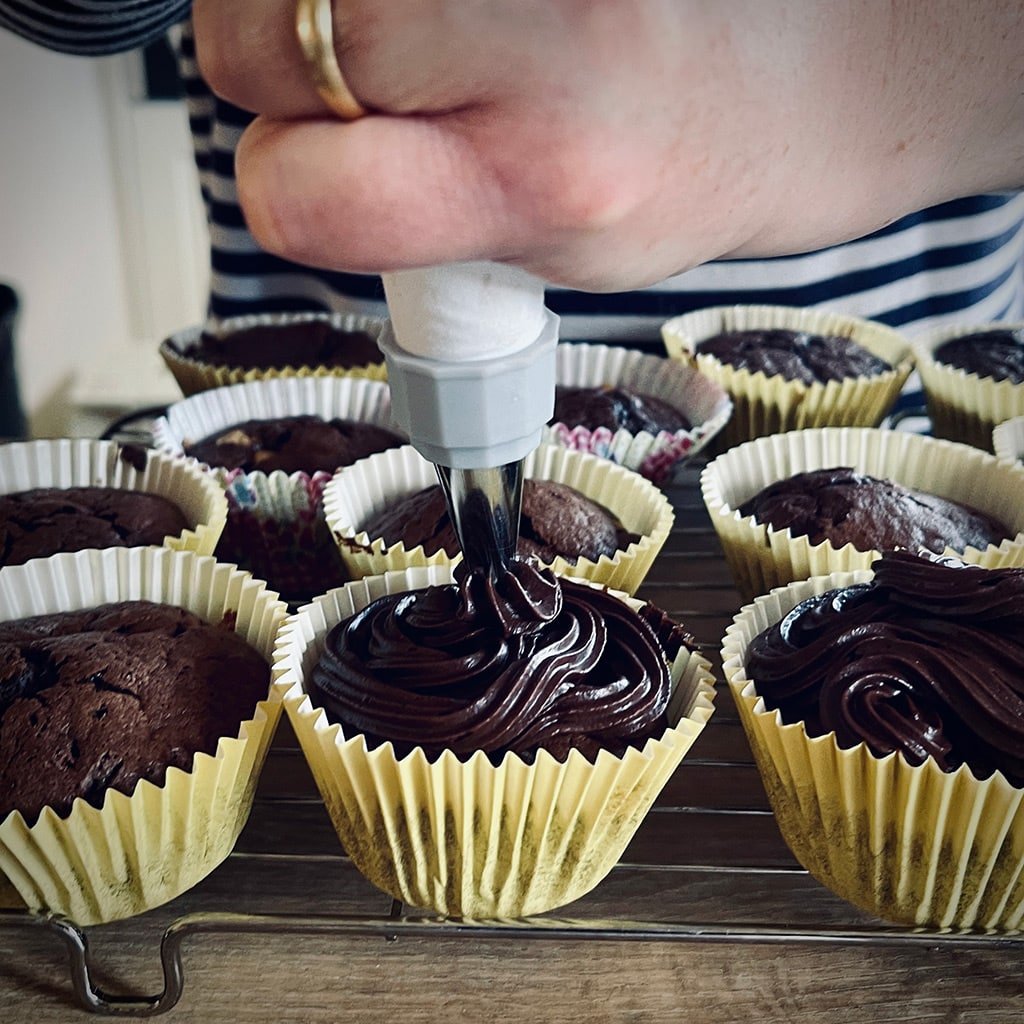
Capturing Action
Capturing action shots, like pouring sauce or sprinkling toppings, can add movement and excitement to your food photography. To achieve this effect, try moving and taking photos using burst mode or experimenting with different shutter speed settings. This way, you can freeze the action and create dynamic images that showcase the deliciousness of your dishes as they move around.
Don’t be afraid to get creative and try new techniques to capture the perfect action shot. After all, a picture is worth a thousand words!
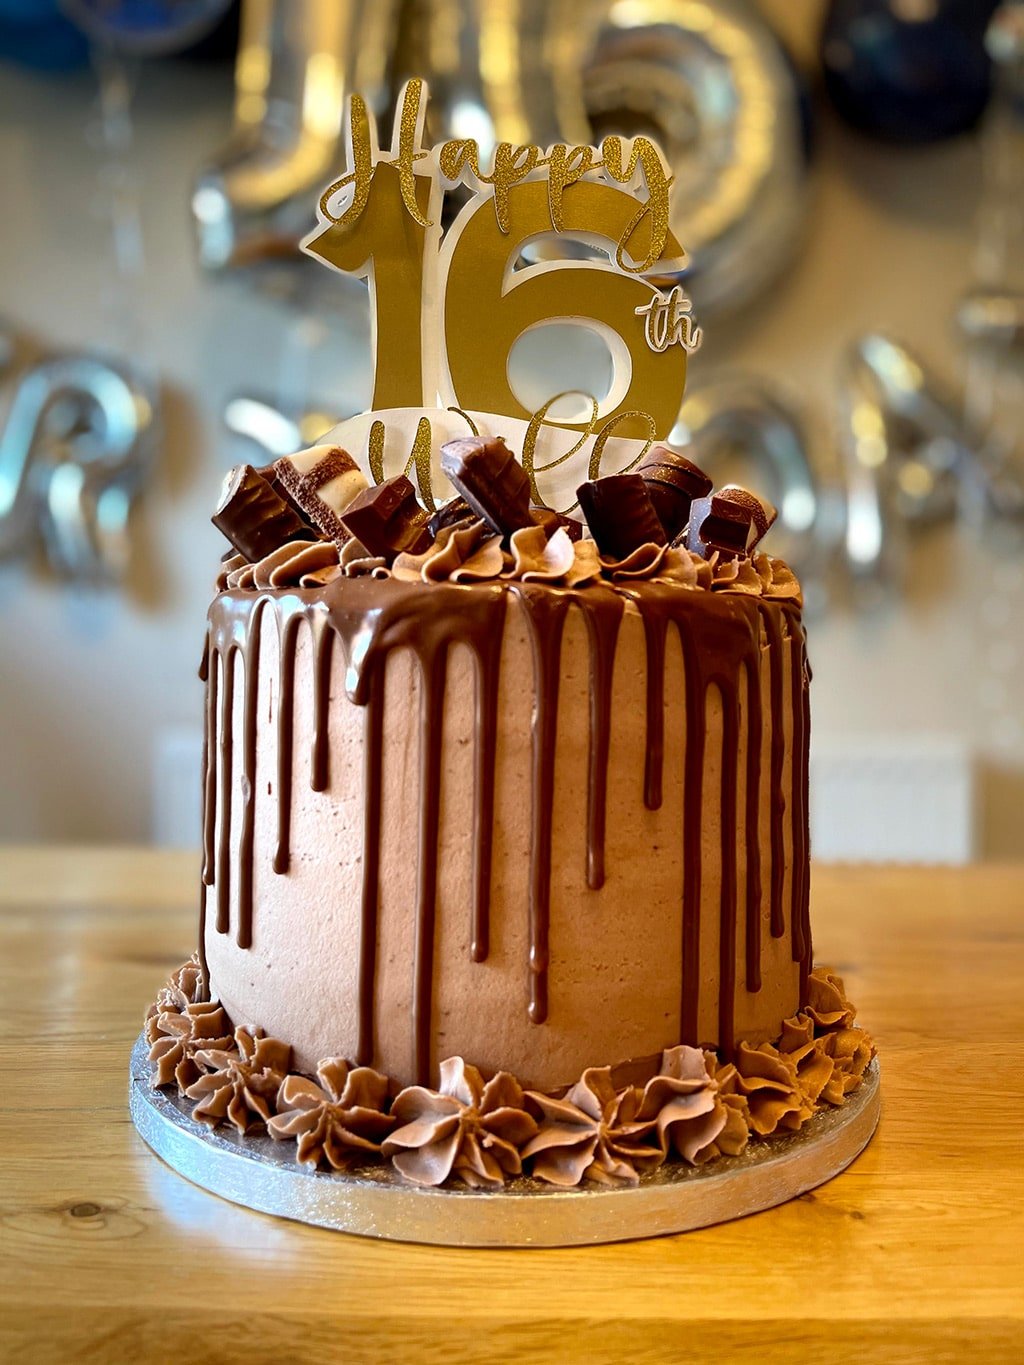
Storytelling
Storytelling has always been a key part of photography. By making a conscious decision to incorporate storytelling elements in your food photos will allow you to create a captivating and engaging atmosphere.
Here are some ideas to use that you could try out:
- Use props or background items to set the mood and emotion for the shot.
- Add depth and layers to the composition. For instance, if you’re photographing a bowl of pasta, you can add depth and layers to the composition by arranging ingredients around the bowl. Scatter some fresh basil leaves, garlic cloves, and a grater with some parmesan cheese nearby. For the layers, you can place a checkered cloth under the bowl and perhaps a wooden cutting board under the ingredients. This arrangement not only gives a depth of field to your photo but also creates a story around your main subject, making the photo more engaging and visually appealing.
- Create a visual narrative that draws the viewer in. For example, if you’re photographing a homemade apple pie, consider placing a few freshly picked apples, a rolling pin, and some scattered flour in the scene. This creates a visual narrative that tells the story of the pie’s creation, drawing the viewer into the image and making it more engaging.
By incorporating these storytelling elements, you can create more compelling and memorable food photos.
Weaving a story into your food photography results in images that not only display the beauty of your culinary creations but also stir strong emotions and connections with the viewer.
Editing and Enhancing Your iPhone Food Photos
Editing and enhancing your iPhone food photos can take them from good to great! With the right tools and techniques, skillful editing can make sure your images truly shine. Let’s take a look into the iPhone’s built-in editing tools and a few suggested editing apps that can assist you in achieving professional-level adjustments and creative filters.
By learning to use these apps, you can perfect your food photos, ensuring they stand out from the crowd.
Editing with the Photos App
The iPhone’s built-in photo editing app provides a quick and easy way to enhance your food photos.
Firstly, open the Photos app, select the photo you wish to edit and tap Edit in the top right corner.
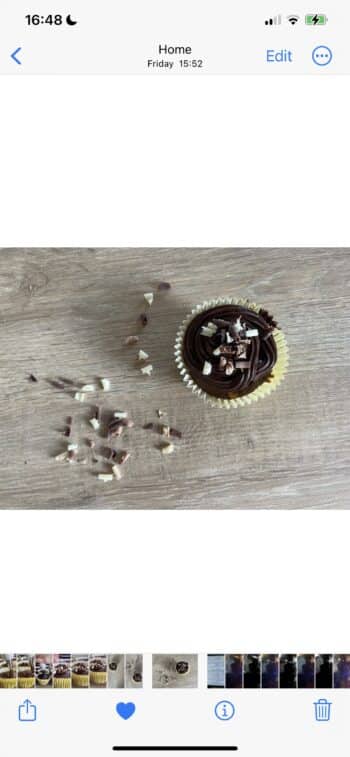
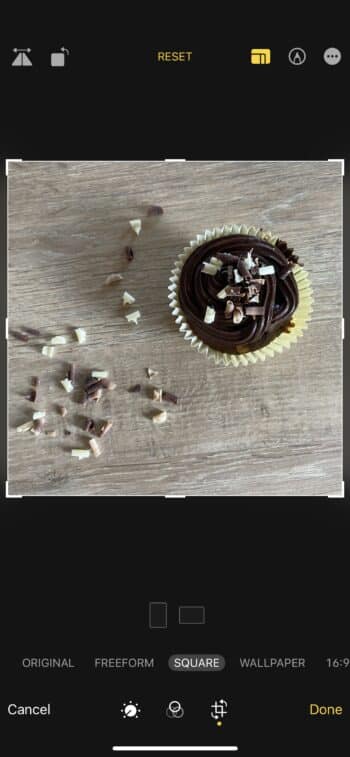
Usually, the first step in my editing process is to crop the image. To do this, tap the cropping icon (bottom of the screen towards the right).
Next, tap the crop ratio icon (top of the screen to the right). This will reveal a number of different preset and commonly used ratio at the bottom of the screen. Select the one you wish to use, then move the image to fit into the frame using your finger. You can zoom in or out by using a two-finger pinch gesture, although I would try to avoid zooming in too much as this will degrade the quality of the image if you do it too much.
Next, you will want to enhance the colour and lighting levels. To do this, tap the magic wand icon at the bottom of the screen. This will auto-correct the various levels and settings to create an evenly balanced image. You can then use this as a starting point.
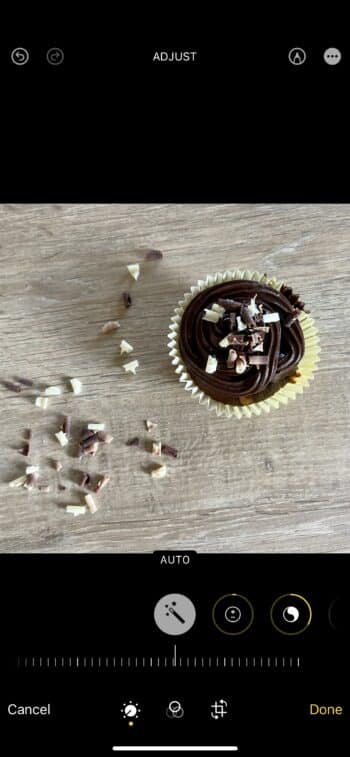
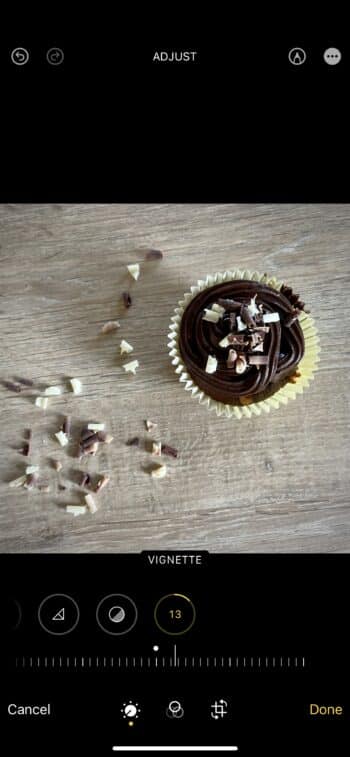
By swiping left, you can scroll through the various settings and make adjustments to further enhance the image to your liking. Don’t forget to experiment with other settings, such as white balance and focus, to make sure your photos are truly stunning.
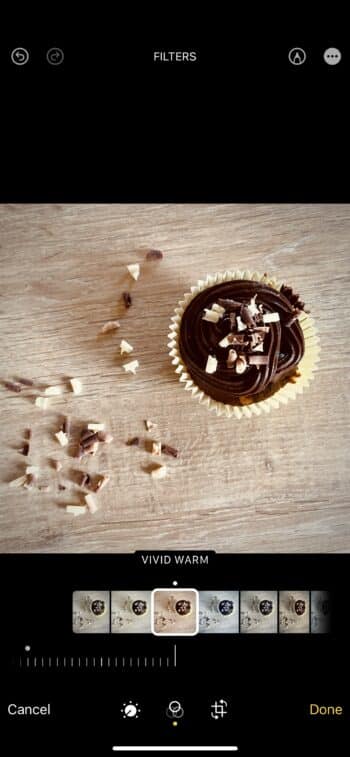
The iPhone’s Photos app comes with several preset filters that can be applied at the touch of a button. These filters can help to give your photos a consistent look and feel. To apply a filter, tap the three-circle icon (bottom of the screen) to reveal the various filters. Next, swipe through and tap each one to see how the filter looks on your photo. You can always switch between the filter and making additional adjustments.
Finally, when you are happy with your edit, tap Done.
With a little practice, you’ll be amazed at what you can achieve with your iPhone’s built-in editing tools!
Recommended Editing Apps
For those looking for even more editing power, there are several amazing apps available for the iPhone. Some highly recommended apps include:
- Snapseed
- Adobe Lightroom
- VSCO
- Darkroom
These apps offer professional-level adjustment features as well as creative filters that will enhance your food photography, making it easier for you to achieve the sort of results that you’d expect from a professional photographer.
These apps provide a wide range of tools and features, allowing you to:
- Fine-tune your images
- Adjust brightness, contrast, and saturation
- Crop and straighten your photos
- Apply filters and effects
- Remove blemishes and imperfections
- Add text and graphics
- Create collages and photo montages
Exploring these editing apps enables you to take your photos of food to the next level and wow your audience with your culinary creations!
Final Thoughts…
To round things up, iPhone food photography is a hugely enjoyable and creative endeavor that allows you to showcase your photography and share your passion for food with the world. By mastering some essential skills, simple photographic techniques, and composition principles, you can create stunning food photos that will captivate your audience and leave them craving more.
Remember, the key to great food photography lies in experimentation, practice, and a keen eye for detail. So, grab your iPhone, get in the kitchen, and start snapping away!
Frequently Asked Questions
Is the iPhone good for food photography?
The iPhone can produce great food photography results with the right lighting setup. Using natural, diffused light will help you get the best shots for your food photography projects. Natural light is the best way to get the most out of your food photography as it can be used to create a soft, even light that will enhance the colors and textures of your food, bringing out the best in your culinary creations.
What are some essential tools for iPhone food photography?
Creating amazing food photos with your iPhone just got easier – with tripods such as the JOBY JB01550-BWW Telepod Mobile Tripod, add-on lenses like those from Moment or Reeflex, as well as simple backdrops you’ll be able to take professional quality shots every time!
How can I use natural light effectively in food photography?
Natural light is the best. Position your food setup near a window, use a diffuser to soften the light and adjust the exposure settings on your device to capture great natural light food photos!
What is the rule of thirds and how can it improve my food photography?
The rule of thirds is an easy-to-use composition technique that will make your photos of food look stunning – just divide your image into nine squares and position your main elements along the lines or at their intersections to create a dynamic composition. You can enable the Grid on your iPhone which will give you some guidelines to work with.


