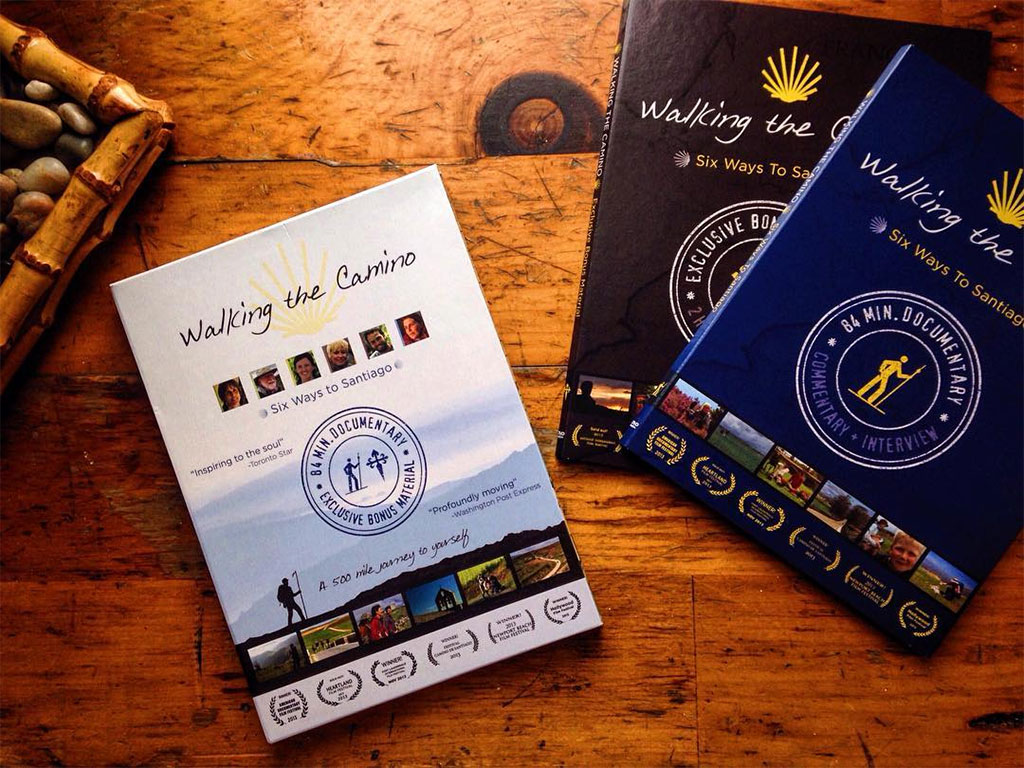
If you regularly scroll through Instagram or Pinterest, you’ve probably come across examples of flatlay photography at some point. Brands use this style of photography to highlight a single item or showcase a collection of products, and everyday photogs love flatlays for storytelling. The flatlay is the modern version of a traditional still life – an overhead shot taken of a variety of pieces that are laid flat on a surface. You don’t need a pricey DSLR to shoot flatlays either, especially with the following tricks and tips.
What is Flatlay Photography?
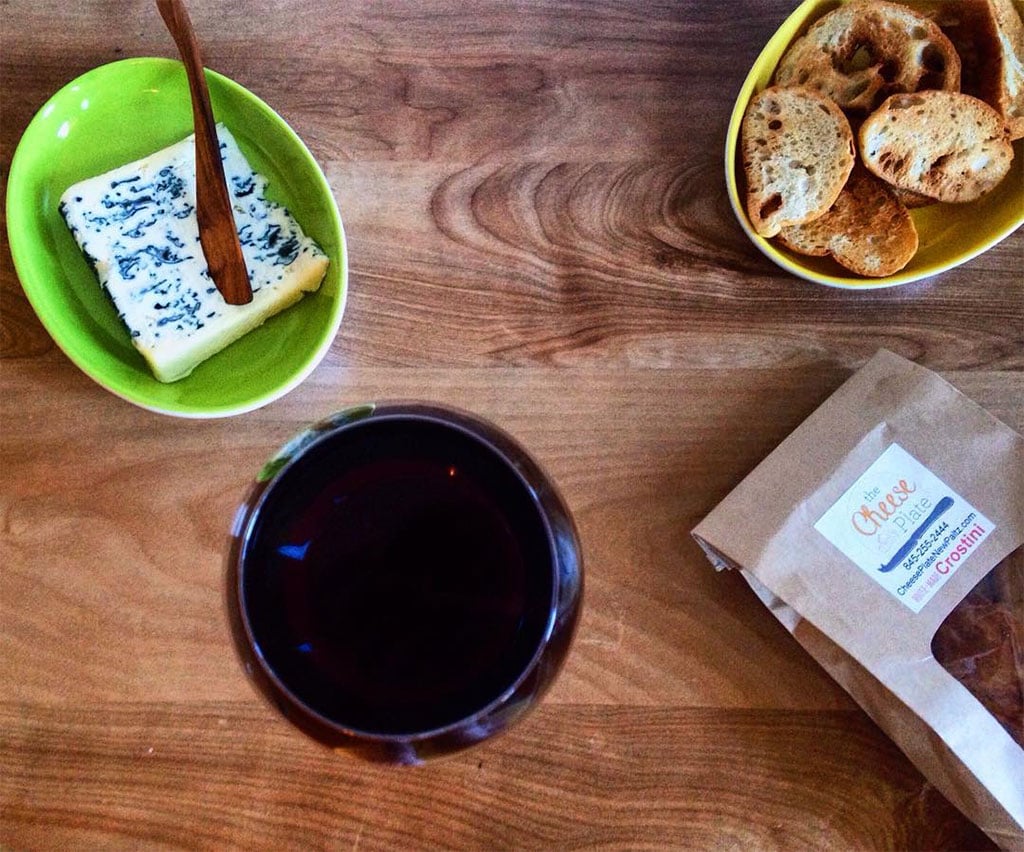
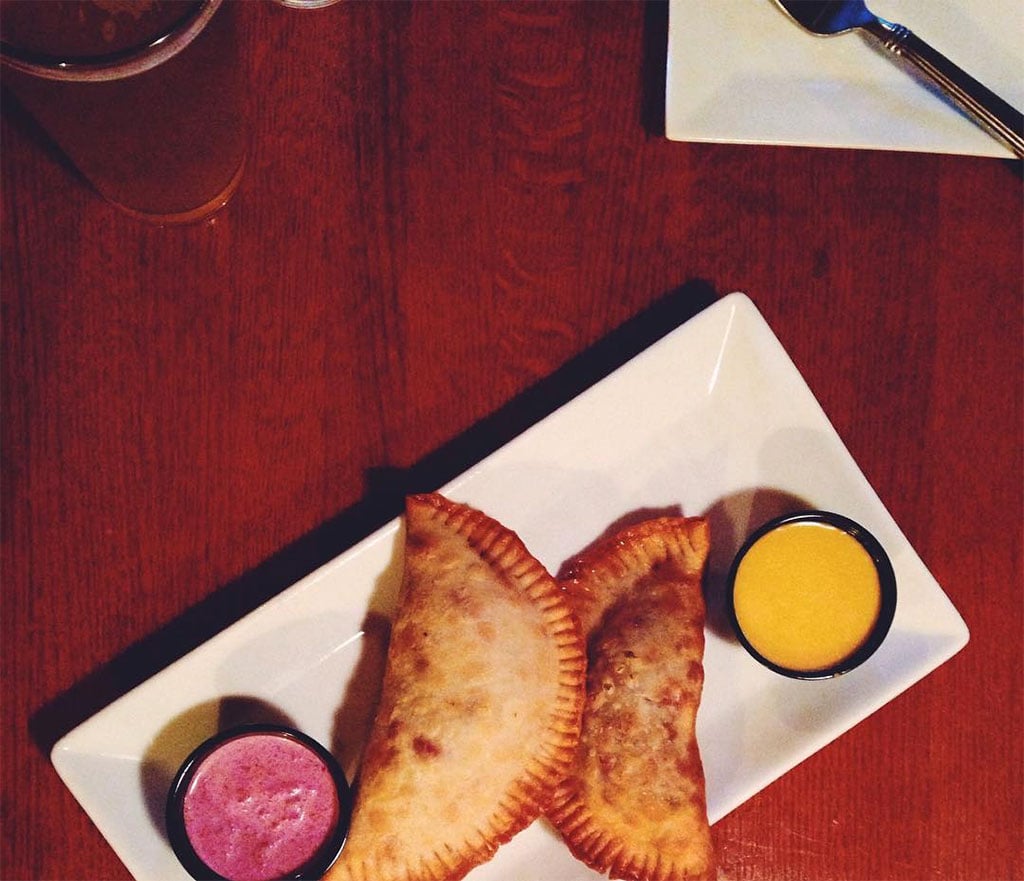
Flatlay photography is a form of photography that captures a simple layout of objects that have been shot from directly above. This form of photography gives a birds eye view of carefully selected objects that have been thoughtfully laid out in an interesting composition. It is often a very popular approach taken when photographing food, fashion or interior subjects.
How to Get Started Shooting Flatlay Photography
There is so much more to flatlay photography than simply throwing a group of objects onto a table and shooting them from above. A lot of thought needs to go into capturing a good flatlay image. Photographers need to think about the story behind the collection of objects and their relationship with one another as well as the composition of the flatlay itself.
If you want to get started taking stunning flatlay photos with your iPhone then here are some useful tips to help you get started.
Use Natural Lighting
Decide where you’re going to shoot first – you don’t want to get your shot completely setup and then have to move it next to a window. Natural lighting is always the best way to go, but since you’ll probably find it easier to setup your flatlays inside, shoot near a window. The golden hour is the ideal time for shooting (right around sunrise or sunset), and bright overhead light is best, like from a skylight. Overcast days also provide natural, filtered light that isn’t too harsh.
Clean Your Camera Lens
This is an overlooked part of photographing with your smartphone. You use your phone umpteen times a day, and when you’re not using it, it’s stashed in your pocket, purse or car’s cup holder. There’s a lot of dust, debris and gunk that’s coating the lens, and it’s going to make any photo you take fuzzy. Give it a wipe with a microfiber cloth or lens cleaner before your photo session.
Tell A Story
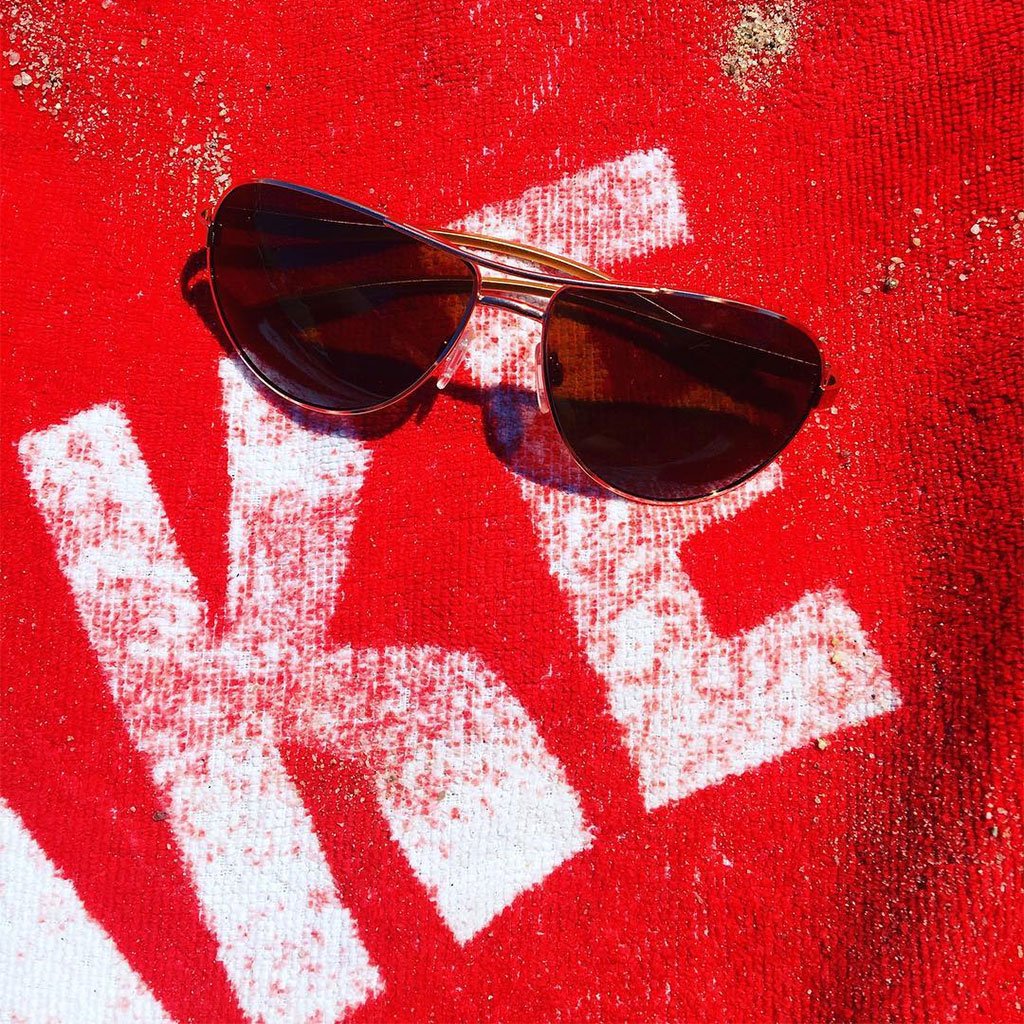
The elements of your flatlay should make sense so that you can tell a story, one that goes beyond, “Here’s a selection of cute items I put close together.” If you want to tell a story about having a beach day, you wouldn’t put high heels next to your swimsuit, laid out on a fur blanket, even if all of the colors coordinated and the items fit perfectly within your frame. Instead, you’d put colorful sandals next to a swimsuit and a pair of sunglasses laid out on a beach towel or the sand.
Choose Your Subjects
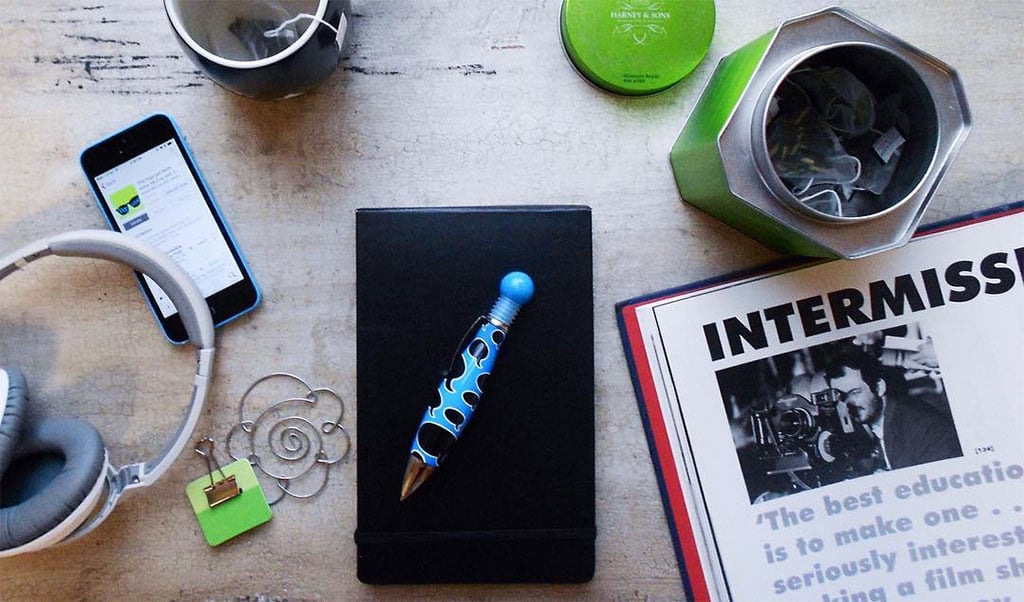
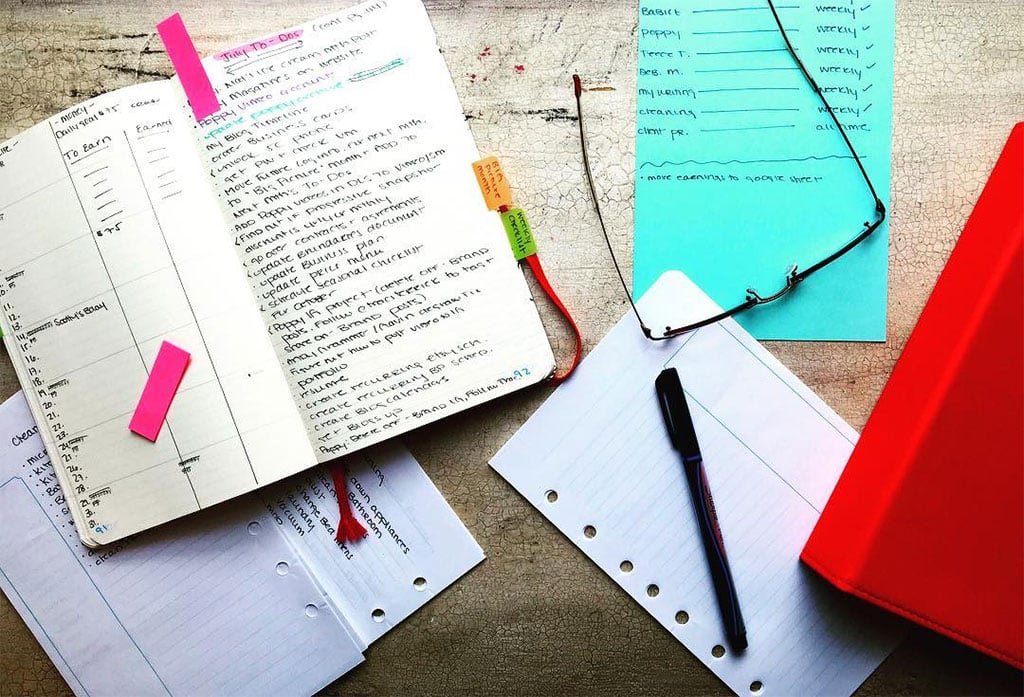
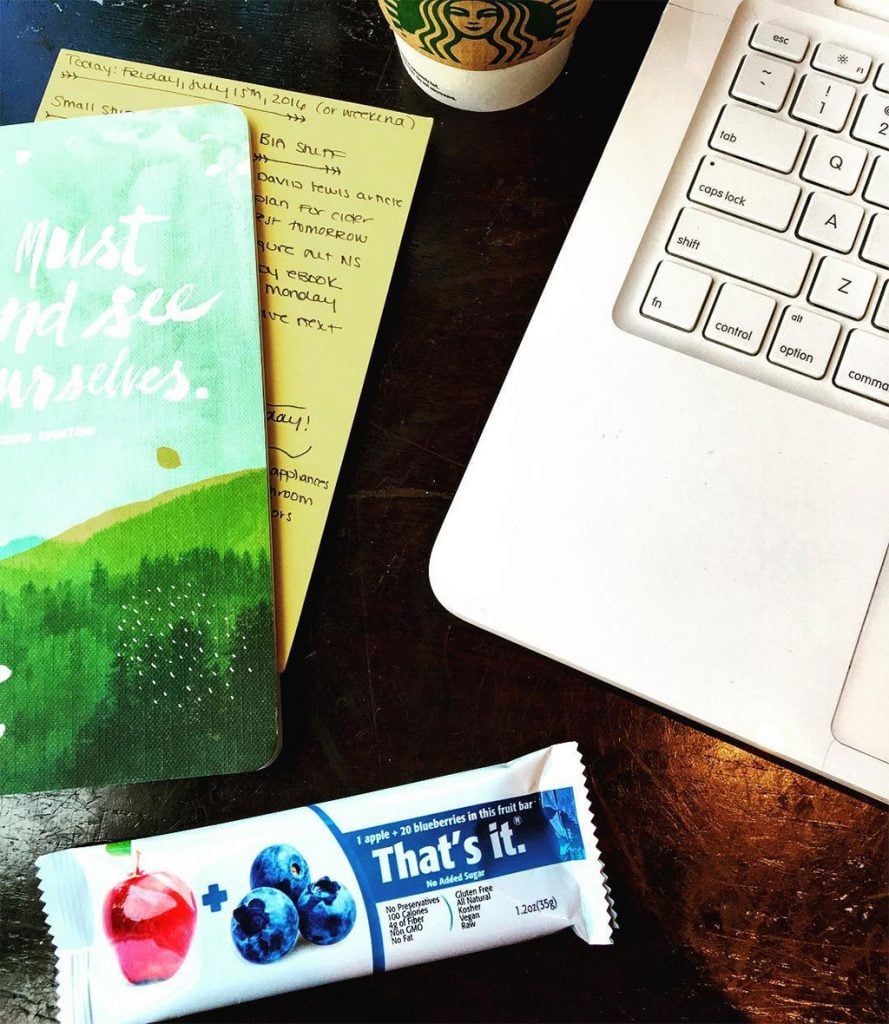
The items you use for a flatlay can be off-the-cuff (check out what’s in my bag; here’s what’s on my desk) or more planned out. They can also be obvious or subtle. An obvious flatlay theme may be your writer’s desk, complete with journals, pens, fancy writing paper, reading glasses and a book or two. A more subtle theme could be a serene moment, shown through a cup of tea, a sprig of greenery and an inspiring quote on a postcard. Apply the rule of odds, which says that an odd number of items is more appealing (and easier to arrange) than an even number.
Here are a few more tips about choosing your flatlay subjects:
Color: Try to keep your palette limited to two or three colors, including your background. If your background is white or a stark neutral, you can work with as many as three additional colors in your items.
Shape: The stronger and more unique the shape, the more the item will stand out in your flatlay. Different shapes are also easier to arrange around one other.
Texture: Add textured items or a background with an interesting finish. If none of your main items are textured, embellish with petite textured elements, like flower petals, stones or sugar crystals.
Go Vintage: Older items and antiques tend to have a lot of texture and detail, and mixing them in with more modern pieces will add an interesting element. Search your home for vintage books, your grandfather’s pipe, old buttons, antique vases or that typewriter that’s crammed in the back of your closet.
Find The Right Background
Most flatlay backgrounds are white or neutral. Arrange everything on a white sheet of paper or a tablecloth, or paint wooden boards white for a more rustic feel. For a dramatic layout, use a black background. If the items you’re displaying are neutral, it’s fine to use a colored background, so long as it’s not busy. You’d be surprised at what can work well for a flatlay background – blankets, floors, desks, countertops, tables, corkboards, pavement and even dirt.
Stay away from patterns, which will just confuse your composition. There’s always an exception to the rule, though, and something like a colorful map could make an excellent background for a travel-themed flatlay, so long as it doesn’t distract too much from the items. You could also use a patterned background if your flatlay is minimalist or if you’re using simple neutral items.
Create The Illusion Of Motion
It’s possible to create the feel of motion even in a static photograph. Instead of placing shoes side-by-side, put one slightly in front of the other, as though they’re moving. Don’t carefully lay out a t-shirt, but instead mess it up a bit, so it looks like you tossed it down. Take the cap off a pen, open a book, add coffee to your mug – anything that will make the scene look like it’s mid-use will be more realistic.
Now, Balance It All Out!
You’ve chosen your story and have the colors, shapes, and textures to match. Now comes the main rule of creating a flatlay: balance. If the balance is off, the flatlay could look amateurish or fail to highlight the most important items.
You don’t want to place something large next to something tiny, like a big messenger bag next to a thin pen. It’s okay, even normal, to use one large item – photographers do this to anchor the image. However, you don’t want to place your largest item next to your smallest item. Instead, incorporate various sizes and position them so that none of the items are dwarfed.
Also, the items should be balanced on both sides of the frame. If you have a certain color on the left side, for example, add a burst of that color somewhere on the right side, too. If you have an item that’s purposely going out-of-frame on the top, do the same on the bottom.
Again, though, you can break this rule for composition’s sake – maybe you want to make the right side of the flatlay heavy and keep the left portion filled only with blank space. Consult the rule of thirds if you want to fill only part of the frame.
Cleverly Use Negative Space
Part of creating balance is to know how to use negative space – you shouldn’t fill in every single part of your shot with an item. One of the easiest ways to see if you’re using the negative space effectively is to take a trial photo so you can see just what’s in the frame. Analyze the photo to determine if anything feels too crowded or if it seems like something’s missing. You may have to add or remove a product, but not always – rearranging or repositioning the items may be the best fix.
Keep Everything In Place
You have your flatlay just the way you want it, but every time you look away, something seems to shift. Keep light and roll-able items in place with double-sided tape. If you’re including certain items because you hope the brand will take notice, make sure they’re positioned so that the logo is showing.
Find The Best Angle
When shooting a flatlay, keep your camera level so that it doesn’t distort any one part of the image. You’ll have to hold your camera horizontally, aiming straight down. It’ll be easier to do this if you get above your camera by standing on a chair instead of raising your arms higher than your eye line. While your shot is setup, take the opportunity to shoot a traditional still life, too. Pick a portion of the shot to focus on (such as the largest item and two of the items surrounding it), then shoot from different front and side angles.
Zoom In For A New Perspective
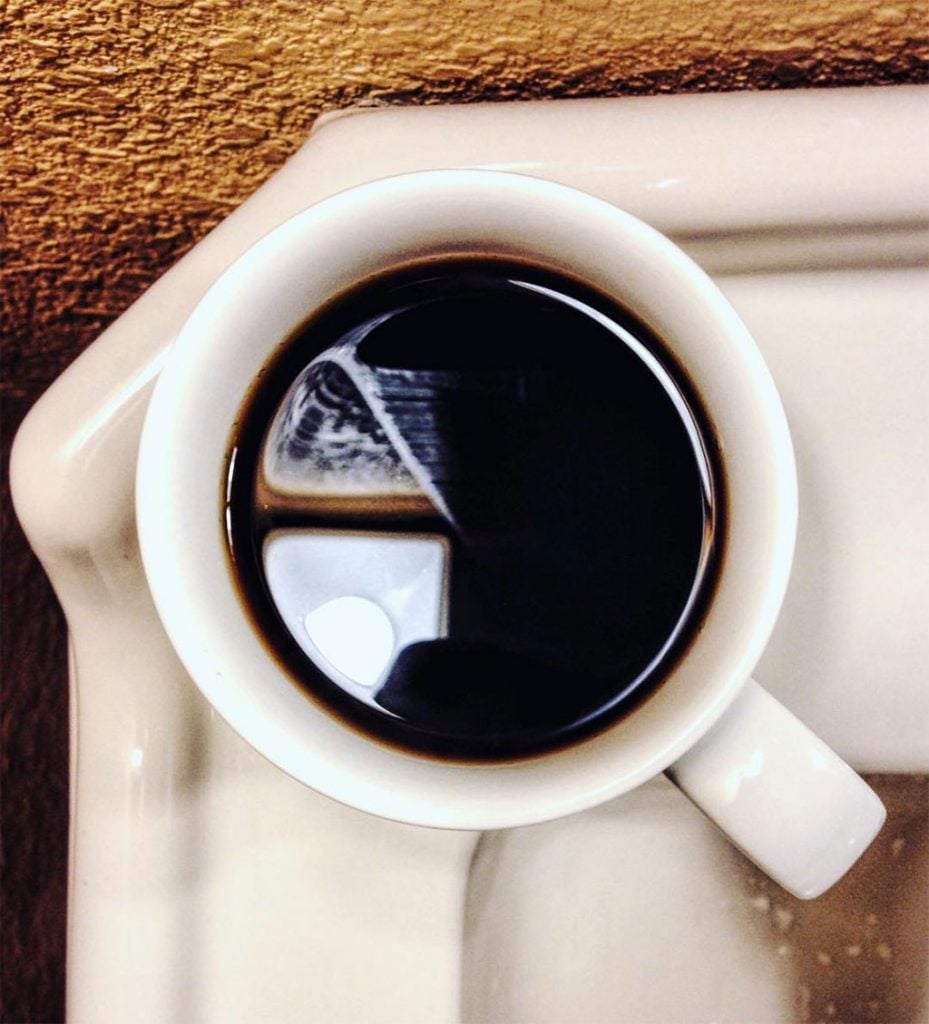
Before clearing your setup away, take a few shots that are zoomed in (zoom in with your hands, not your camera’s digital zoom). Cutting items off can put the focus on the most important item in the frame, and it may also help you to fill the frame in a new, more interesting way.
Edit Away The Imperfections
Flatlays can be difficult to shoot because there are so many different colors, textures and focuses, and if you didn’t get an ideal lighting situation, your image could be dull. In editing, adjust clarity and sharpness to bring out detail, brightness, and highlight to makeup for lighting issues, and saturation to make the colors pop. Minor adjustments will improve your image without it looking fake or over-edited.
The great thing about experimenting with flatlays is that your subjects aren’t going anywhere. You can leave your table setup for an entire day as you work on the ideal layout. Once you start creating flatlays, you’ll find yourself glancing at items in your home, considering where they could fit in a theme.

