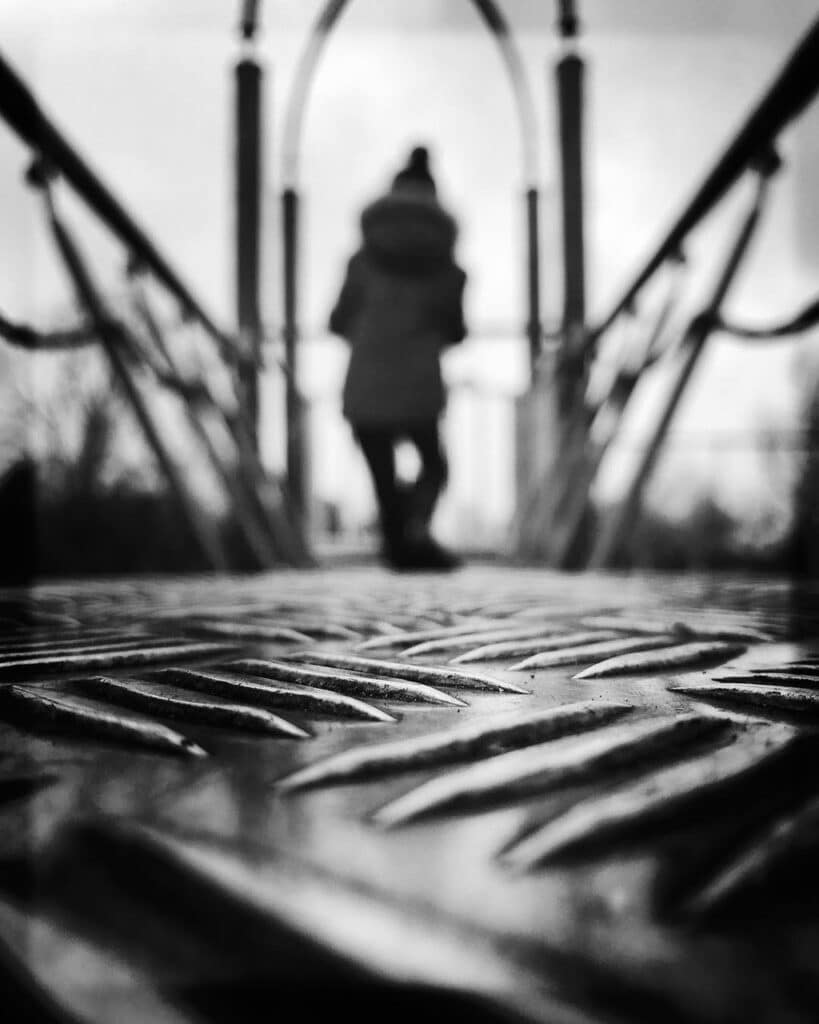
In traditional photography, it is common for the area behind a subject to be blurry or softly focused. This is called depth of field or bokeh and is a key element of photography.
Photographers can easily create this bokeh effect by selecting a larger aperture setting on their lens, but as an iPhone doesn’t have such a setting, how do you blur the background of your iPhone photos so you too, can create blur and depth in your photos?
In this guide, I will walk you through various methods, tips, and apps on how to blur background on an iPhone, helping you create eye-catching iPhone photos with beautifully blurred backgrounds.
Short Summary
- Master iPhone’s Portrait Mode for stunning blur background effects
- Choose the right iPhone model to optimize results
- Experiment with lighting, lenses and editing tools to create captivating photos with beautiful blurs
Mastering iPhone’s Portrait Mode for Stunning Background Blur

Portrait Mode on the iPhone is a game-changer when it comes to creating impressive background blur. The feature was first introduced on the iPhone 7 Plus back in 2016. It uses an algorithm to replicate a large aperture, which creates the shallow depth of field effect that you get when using a DSLR camera. This means that the subject of the image will be in focus while the background is out of focus, this helps to add depth to the image.
To capture a photo in Portrait mode on an iPhone is simple, all you need to do is:
Open the iPhone Camera app and slide the mode selector until the Portrait option is highlighted.
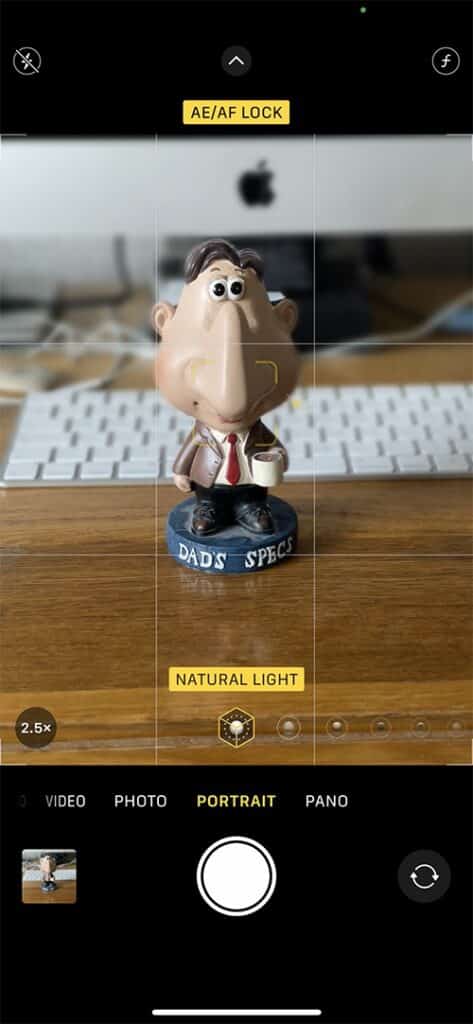
Tap the subject to set the focus. In order for the Portrait effect to be applied, you will need to ensure that you have adequate distance between you and the subject.
If you want to adjust the blur effect being applied to the image, all you need to do is:
Select the “f” button located in the top right.
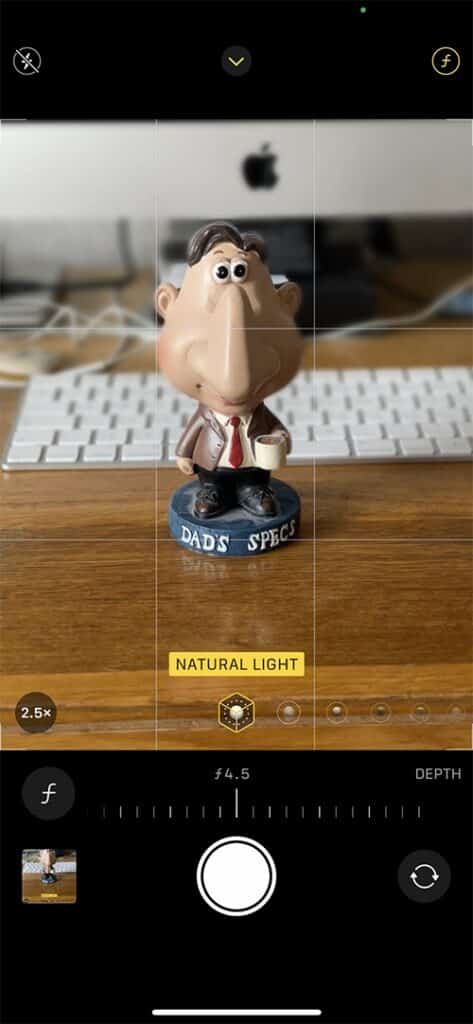
This will bring up the depth control slider, which will allow you to adjust the f-stop number.
The viewfinder will refresh, showing a preview of the blur effect. This will allow you to see how the image will look before taking the shot.
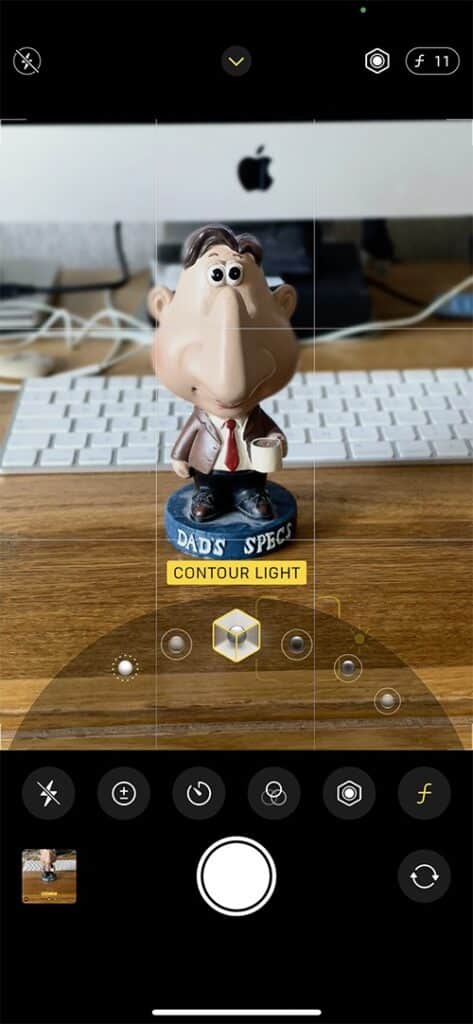
You can also apply various lighting effects by sliding the lighting effects dial from left to right. Options include Natural, Studio, Contour, Stage, Stage Light Mono and High-Key Light Mono.
Tips for Capturing Perfect Portrait Mode Photos
In order to take the perfect photo, it is important to pay attention to a number of different aspects of the scene in front of you and be aware of how you approach the capture of the image.
Be mindful of lighting
As with all forms of photography, lighting is key. Try to avoid harsh light. More shaded or diffused light will give better results.
However, in dim lighting or natural light, the portrait feature may not perform optimally, in which case a notification may appear to indicate that additional light is necessary.
Pay attention to distance
Portrait mode will only be applied once you are a certain distance from the subject. If you are too close, then you won’t see any background blur, and a notice will appear asking you to move further away. The same is true if you are too far away, although this time, the message will ask you to place the subject within 8 feet of the camera. The ideal shooting distance for portrait mode is between 0.5-2 meters.
Ensure the subject is the focus of the image
For the iPhone camera app to blur the background, it needs to be able to identify what the subject of the photo is. As with all photos, you need to make sure that the subject is in focus. To do this, tap the screen where you want to set the focus. To lock that focus, tap and hold until the AE/AF Lock notice appears.
Experiment with different lighting options
As mentioned, when in portrait mode, you will notice various lighting option effects at the bottom of the screen. Experiment with these by swiping the slider to the right. These will help enhance your photo’s overall look and give it a more professional appearance.
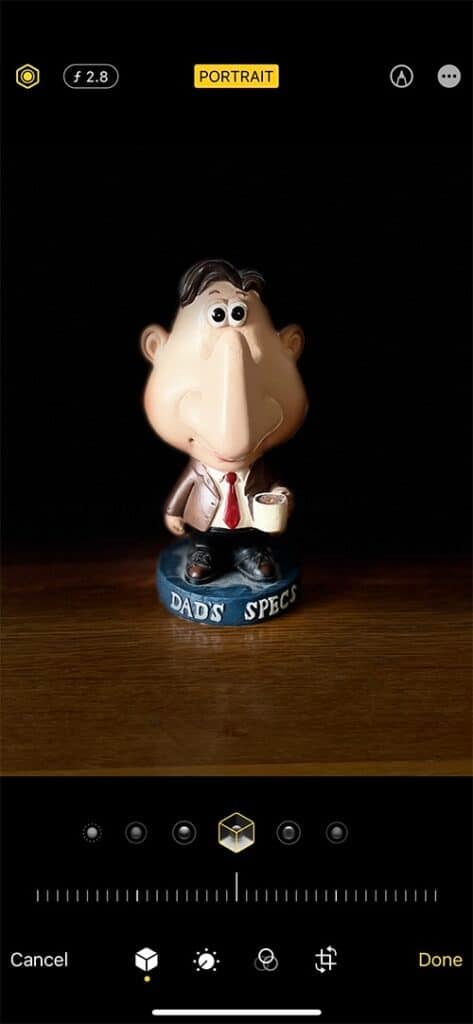
Editing Background Blur in Portrait Mode Photos
After capturing your photo, you can edit the blur background effect using the Photos app’s Depth Control and Portrait Lighting effects. To do this, open the Photos App and locate the photo that you’d like to edit.
Next, tap the Edit option in the top right corner of the screen.
To adjust the level of blur, select the “f” button located in the top left corner.
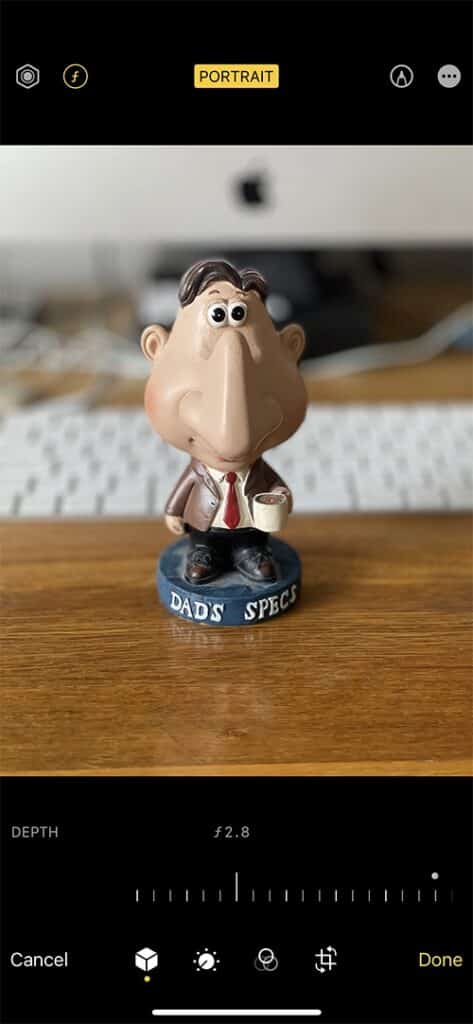
This will bring up the depth control slider, which will allow you to adjust the f-stop number.
The viewfinder will refresh, showing a preview of the blur effect. This will allow you to see how the image will look.
To adjust the lighting options, tap the lighting option icon located next to the f-stop icon (top left).

Next, adjust the slider at the bottom of the screen to select the desired lighting effect.
By experimenting with the different depth control settings and portrait lighting effects, you’ll be able to add a lovely bokeh blur effect to your photos.
Achieving Natural Background Blur Without Portrait Mode
If your iPhone doesn’t support Portrait Mode, you can still achieve a natural blur background in a number of different ways, such as moving closer to your subject or using add-on lenses.
The key is to identify the best position where the main subject is sharp but the background is blurred out.
Getting Closer to Your Subject
As I mentioned, getting closer to your subject can help create a shallow depth of field, resulting in a blurred background. To have the best chance of achieving this, you will need to set your focus point in the Camera app. To do this, tap and hold the area of the screen where you want to set the focus point. This will be indicated by a yellow box. If the background of your photo isn’t blurred out, move closer to the subject and reset the focus point.
If your subject becomes blurred when taking extreme close-up photos, you will need to move further away and retake the photo again.
Utilizing Different iPhone Lenses
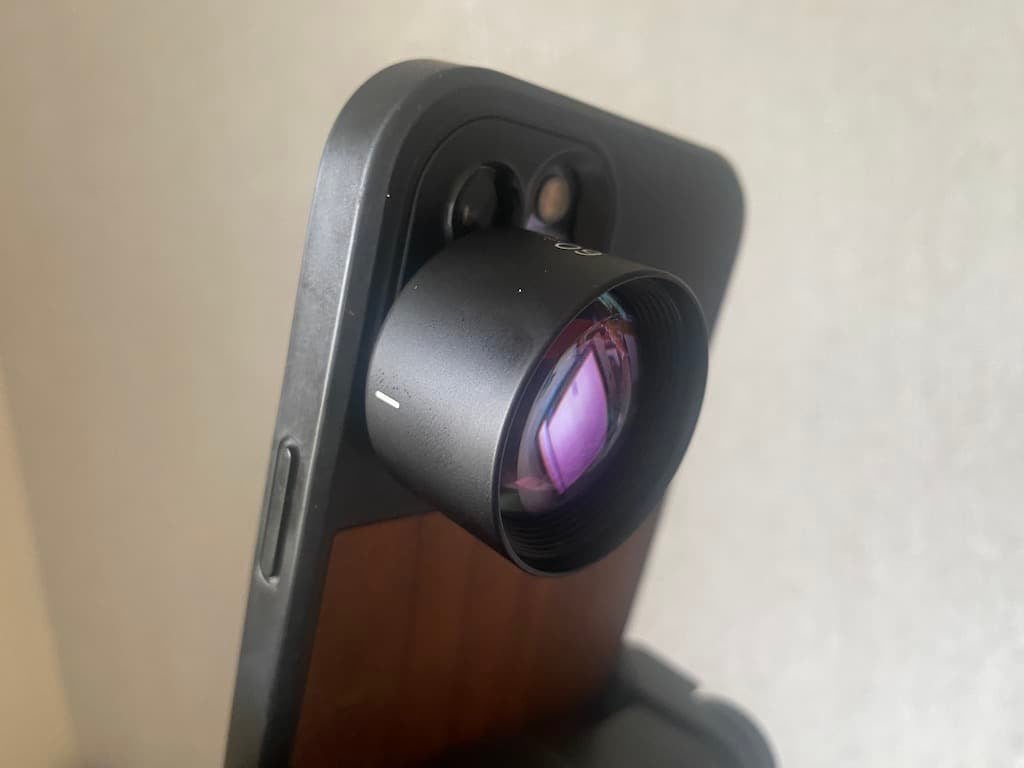
Macro and telephoto lenses are two options available to iPhone users that can be used to create a natural background blur.
Telephoto lenses have an increased focal length, which allows you to blur out the background more easily than if you were using the standard iPhone lens. This makes them a great option if you want to add depth to your photos.
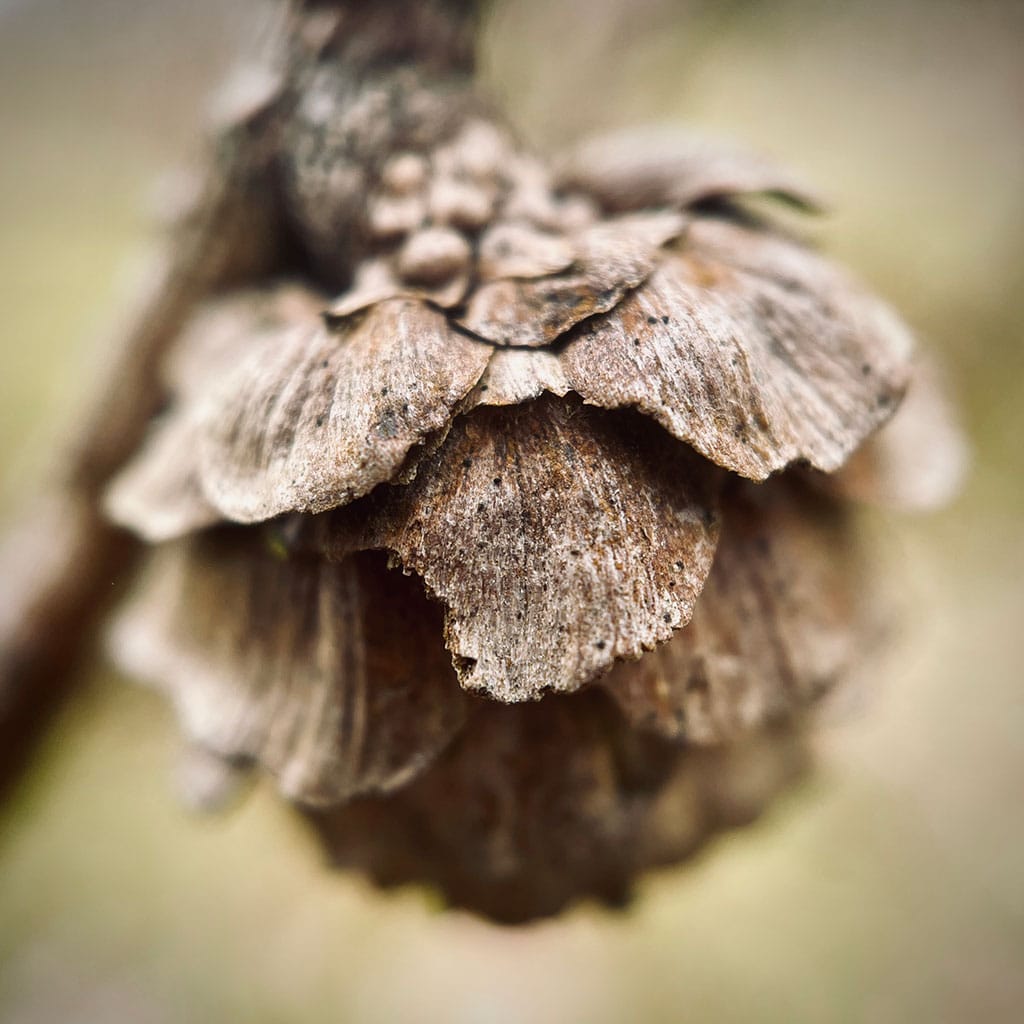
If you are taking extreme close-ups of flowers, insects, and other natural subjects, you will want to use a macro lens. This will give you a superb blurred background due to macro lenses’ very shallow depth of field.
Enhancing iPhone Photos with Third-Party Apps
Third-party apps like Snapseed and AfterFocus offer additional options for enhancing your photos and achieving customizable background blur effects. These apps can be especially useful if your iPhone doesn’t support Portrait Mode or you want more control over the blur effect in your photos.
Snapseed: A Comprehensive Photo Editing Tool
Snapseed is a free app that has a range of photo editing tools and is compatible with all iPhone (and Android) models. This means you can use the Snapseed app to edit your photos and add blur to the background of any iPhone photo, regardless of the model.
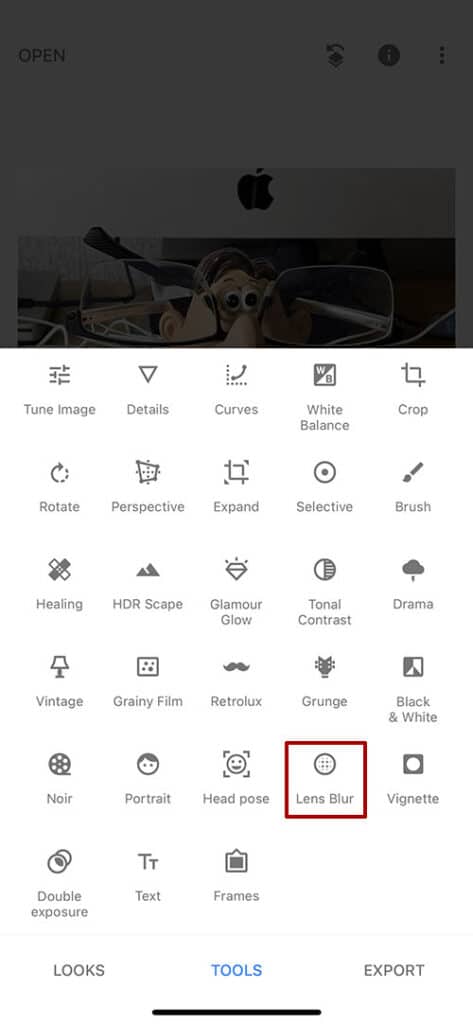
To apply a blur effect to a photo using Snapseed, start by opening your photo in the app, then head over to the Lens Blur tool.
Next, select whether you want to use a radial or linear blur. Which is best will depend on your photo. Linear blur tends to be best for landscape shots, while radial works best for portraits.
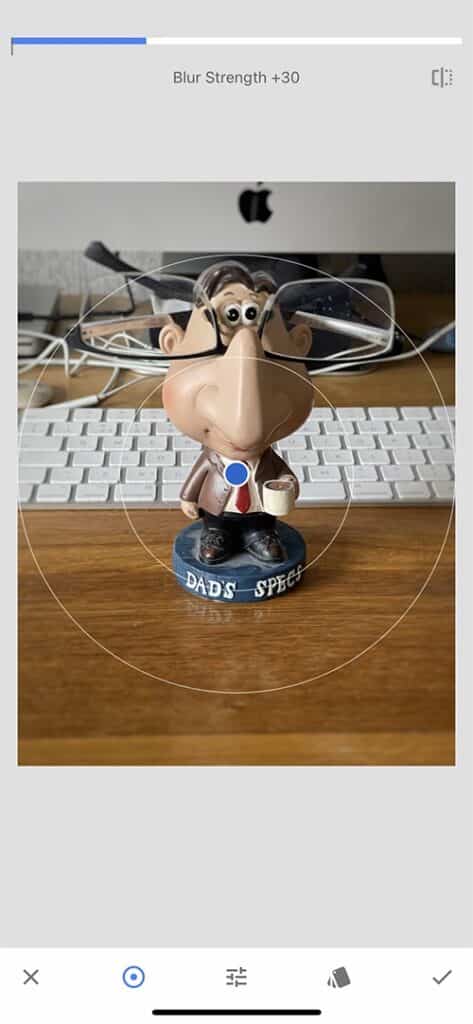
Using a two-finger pinch gesture, you can alter the positioning and shape of the blur.
By swiping up and down, you can select whether you want to adjust additional settings such as Blur Strength, Transition and Vignette Strength.
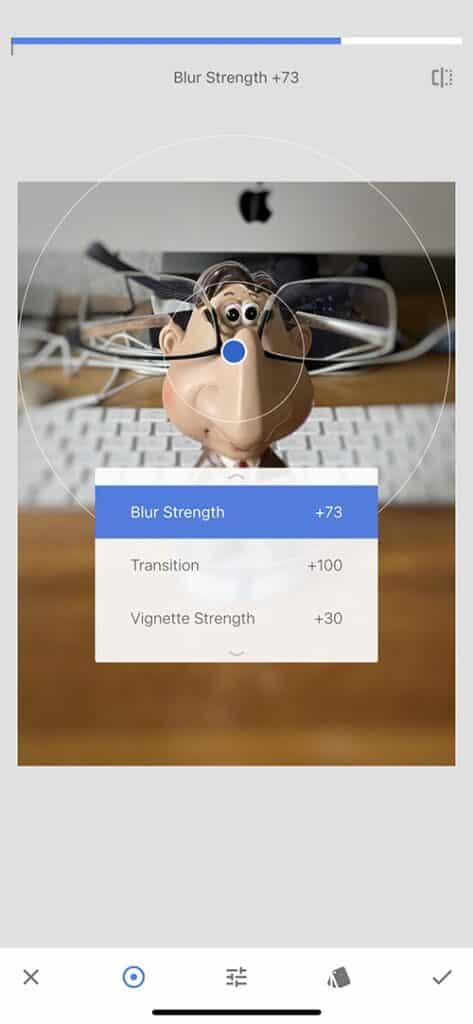
By swiping left and right, you can increase or decrease the amount of blur that is applied.
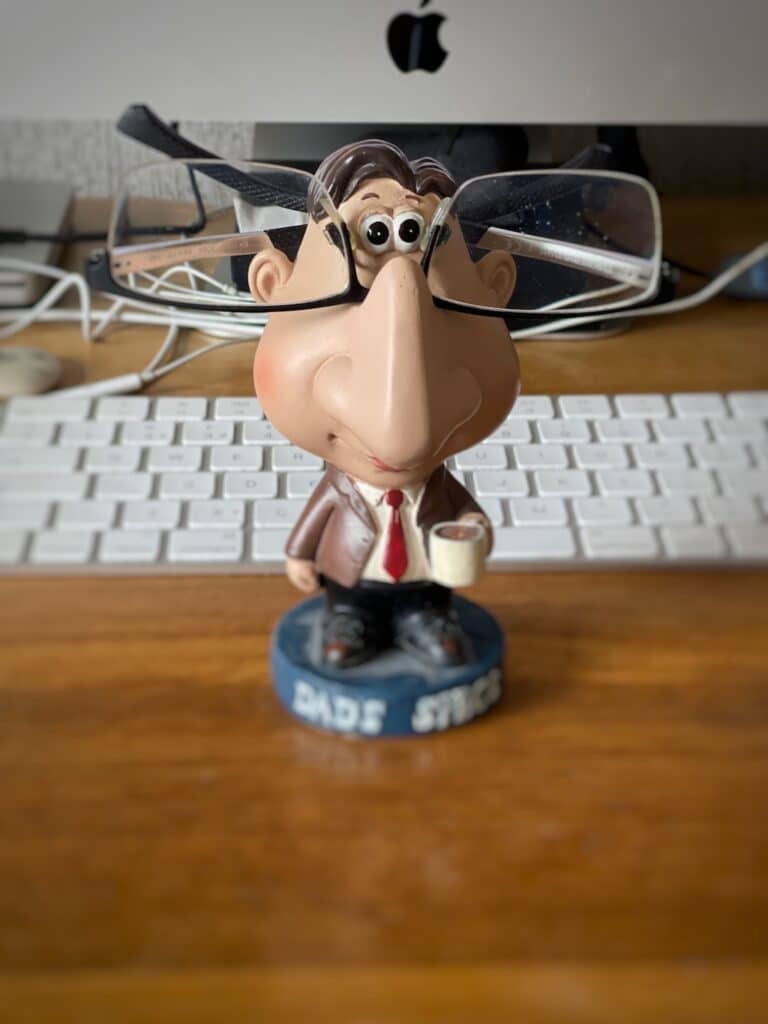
The main downside of using Snapseed to add blur to your images is that it is quite restrictive and doesn’t always look natural. This is especially true if you overdo the level of blur that you are adding.
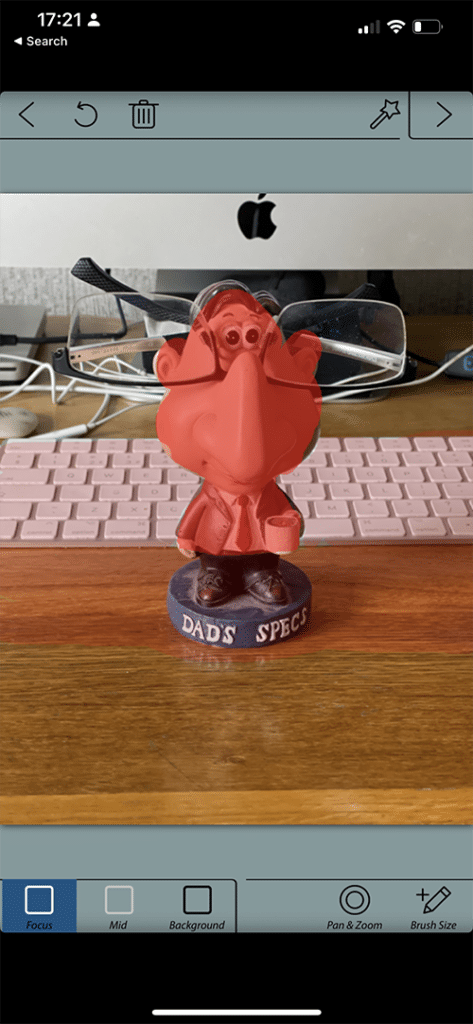
AfterFocus: Customizable Background Blur Effects
After Focus is an app that gives you more control over the background blur effect. The app lets you define the focus area, background and midground areas, then adjust the blur intensity.
You can add blur to a photo using After Focus in various ways. One way is to create mask areas for the focus area, midground and background by painting with your finger. Depending on how accurate you want to be, this can be a little time-consuming.
Alternatively, you can use the Smart Mode feature. When using Smart Mode, all you need to do is draw with your finger and AfterFocus will work out the boundaries between the focus area, midground and background for you. I found this method to achieve the best results.
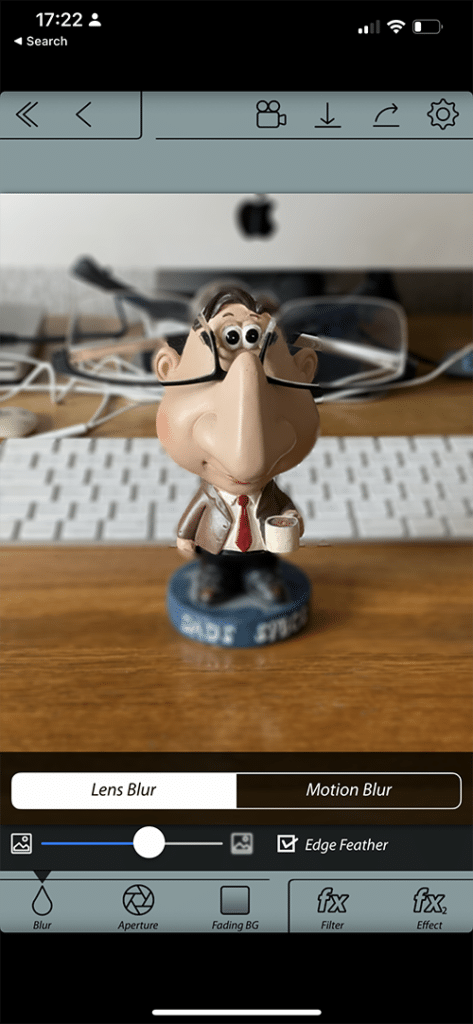
Once you’ve created the mask areas, you can adjust the level of blur that is applied, the type of blur (lens blur or motion blur) to be applied, as well as make adjustments to brightness and contrast or apply filter effects.
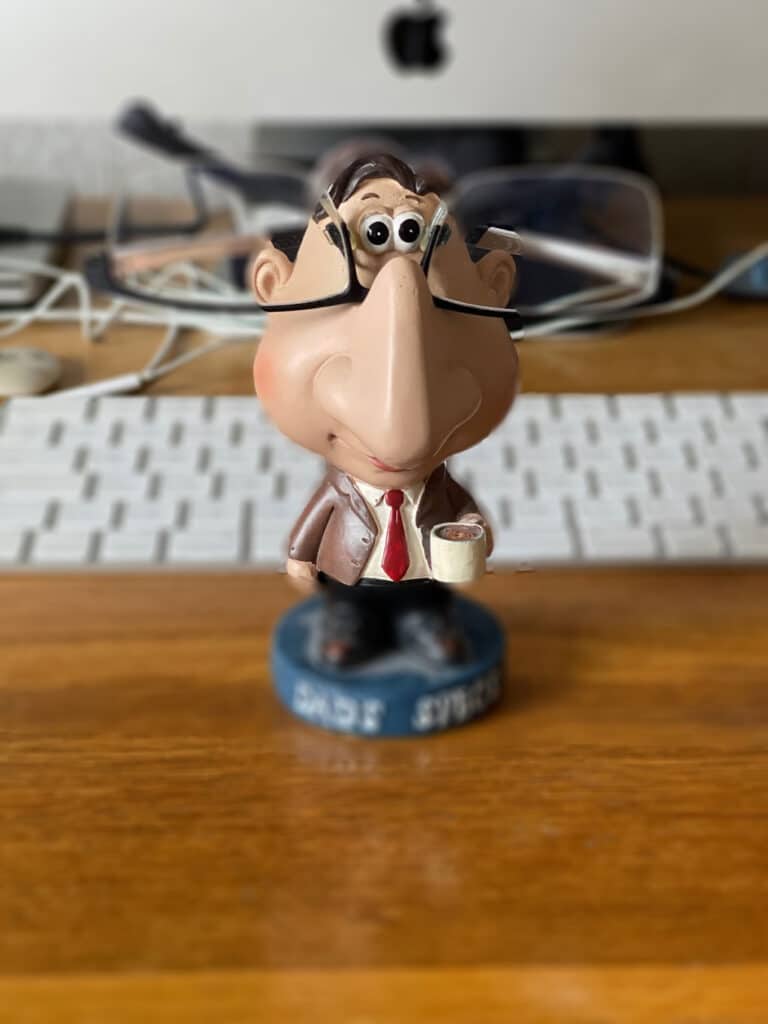
I have found that AfterFocus gave better results than Snapseed, but getting the various masks set up correctly required more time and patience.
Summary
In summary, achieving background blur in your photos on an iPhone is possible through a variety of methods, including using Portrait Mode, getting closer to your subject, using different iPhone lenses, and utilizing third-party apps like Snapseed and AfterFocus.
Additionally, creative techniques such as creating dreamy vignettes and experimenting with manual focus can further enhance your iPhone photography. By exploring these methods and tips, you will be able to transform the photos you take using your iPhone into captivating, professional-looking images that have depth and stand out from the crowd.
Frequently Asked Questions
Does the iPhone camera blur backgrounds?
The iPhone camera is capable of producing a natural blur effect on the background of photos, achieved by using the device’s large sensor and wider aperture.
Portrait mode also enables users to further adjust the depth control for an even stronger blur effect.
How do you blur the background on iPhone without portrait mode?
By tapping the screen of the Camera app to set the focus, you can blur the background without using portrait mode.
However, to do so, you will need to move closer to your subject so the will results will give a more pronounced blur effect.
How do I make the background blurry in a picture?
To blur the background of a picture, use a wide aperture lens, shoot at a long focal length, increase subject-to-background distance, and move the camera closer to the subject.
Adjust the intensity using editing apps or tools to get the desired effect.
Which iPhone models support Portrait Mode?
Portrait Mode is available on iPhone 7 Plus, iPhone 8 Plus, iPhone X, iPhone XR, iPhone XS, and iPhone 11 and right up to the latest iPhone models.
What are some third-party apps for enhancing iPhone photos?
For enhancing iPhone photos, Snapseed and AfterFocus are great options to explore. Both provide customizable blur background effects.


