Hipstamatic is probably one of the original camera apps for the iPhone. It was certainly one of the first I discovered back in the early days of iPhone photography, and it’s fair to say it really fired up my passion for mobile photography.
Recently, I’ve felt like I’m in a bit of a photographic rut, which hasn’t been helped by the recent lockdown caused by the COVID pandemic. To try to energize and reignite my creative passion, I’ve been revisiting Hipstamatic, now called Hipstamatic Classic.
In this tutorial guide, I’ll walk you through the Hipstamatic app and show you how you can use it to take and edit photos to inject some fun into the images you take.
What is Hipstamatic?
The original concept behind Hipstamatic was about making decisions before taking a photo rather than afterwards, by selecting film and lens ‘combos’ first. Some of the film and lens combos had a retro, vintage or analog look and feel to them, and once taken, it wasn’t possible to edit the image. The app interface was basic and, in a way, went back to the days of shooting on film.
In 2015, Hipstamatic released a major update to introduce the ability to edit photos, and renamed the app Hisptamatic 300. The new look app enabled users to change the look of their images after taking their shot. There was more flexibility in applying different film and lens combos that best suited the look the photographer wanted to capture. Editing sliders and tools were also introduced so that other adjustments could be made during post-processing.
Hipstamatic 300 has since been updated and renamed Hipstamatic Classic. It sits alongside a separate new app called Hipstamatic X (released in 2019 to celebrate Hipstamatic’s 10th birthday). The new app gives users a more simplified point and shoot analog experience closer to that of the original app.
The Modes
Hipstamatic Classic has two choices of modes. There is the classic mode or the pro mode.
The Classic Mode
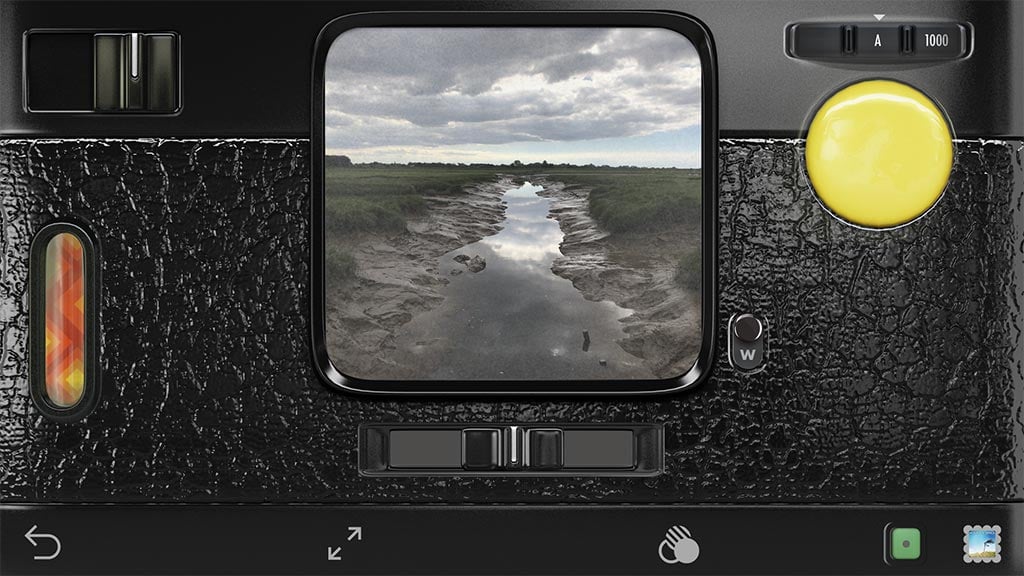
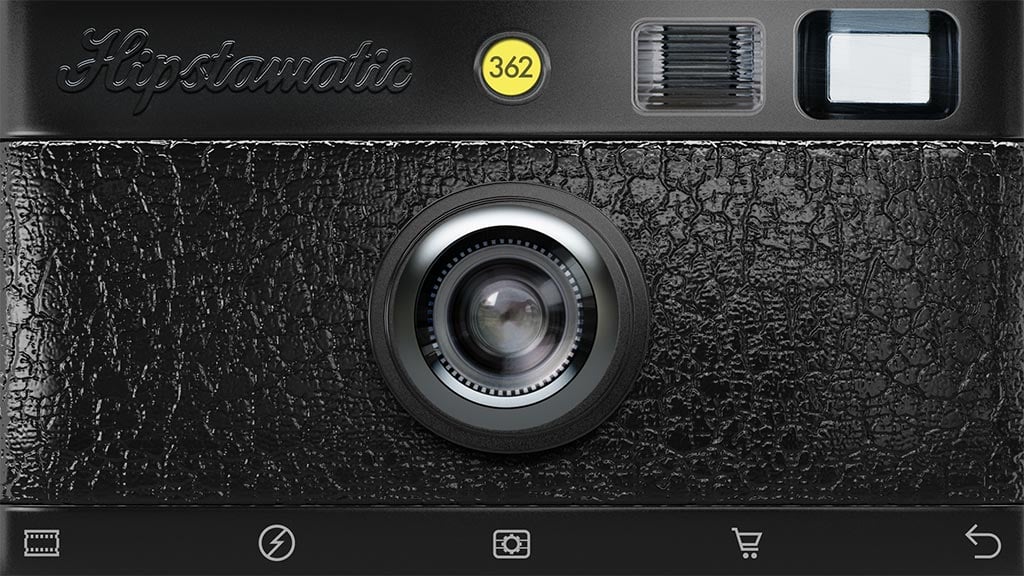
The Classic mode is the original app design and looks similar to the rear of an old point-and-shoot camera, with the main viewfinder in the center of the screen.
Tapping the arrow icon in the bottom-left corner flips the camera around and allows you to select the lens you want to use by simply swiping from left to right.
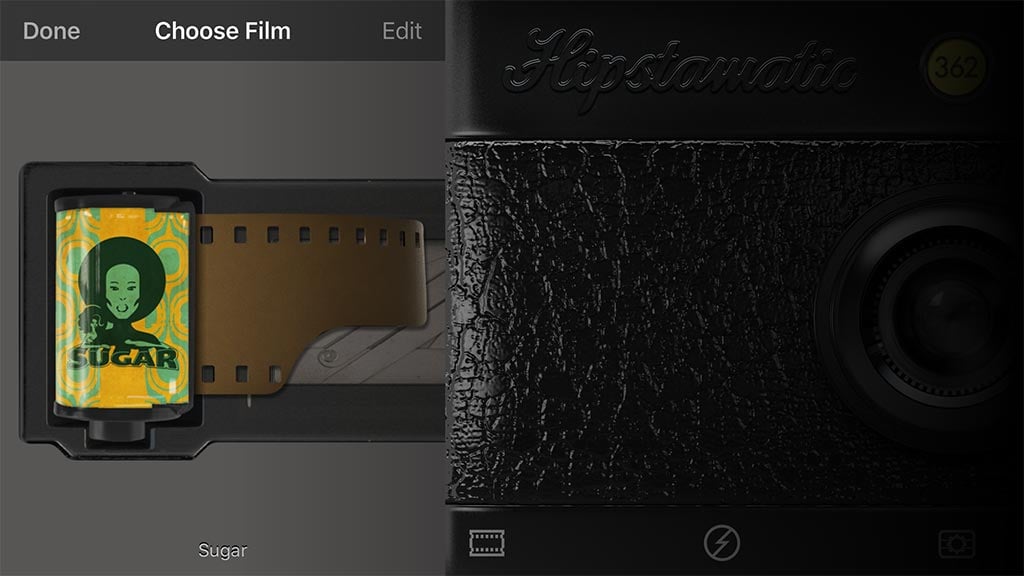
From here, if you tap the film icon (in the bottom-left), you can select the film you want to use by swiping up and down.
You can also select the type of flash you want to use as well as the case. Tapping the arrow icon (now in the bottom-right corner) will return you to the rear-view layout.
To take a photo, simply tap the large yellow shutter release button. By double-tapping the viewfinder, you can increase the viewfinder’s size, and in this view, double-tapping the viewfinder will also trigger the shutter and take your photo.
To alternate between the classic and pro mode layouts, tap the two-arrows icon (just left of the center).
The Pro Mode
The pro mode is my preferred choice, as the layout is closer to other camera apps that I use.
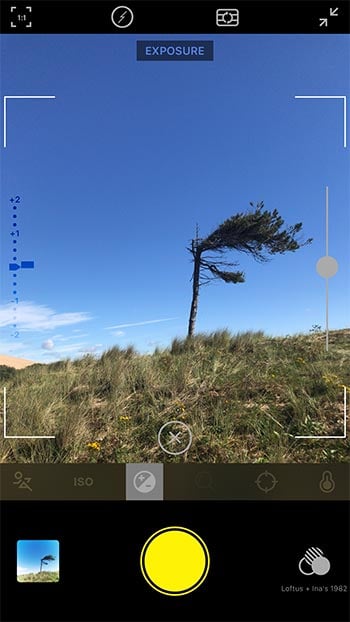
At the top of the screen, you’ll find icons to control the aspect ratio of the viewfinder, the flash control and the front/rear camera selector.
At the bottom of the screen, you’re able to select the camera roll and the film/lens combos you’d like to use, as well as a big yellow shutter release button in the center. The central part of the screen is given over to the viewfinder.
How to Take Photos With the Hipstamatic App
To set the focus and exposure, simply tap the screen. In doing so, an exposure compensation gauge will appear on the screen’s left and right sides. Sliding your finger up and down will increase/decrease the exposure.
At the bottom of the viewfinder, you’ll notice several ghosted-out icons. Selecting these will allow you to adjust other settings such as shutter speed, ISO, focus and white balance. Again, sliding your finger up and down will increase/decrease the settings of that option.
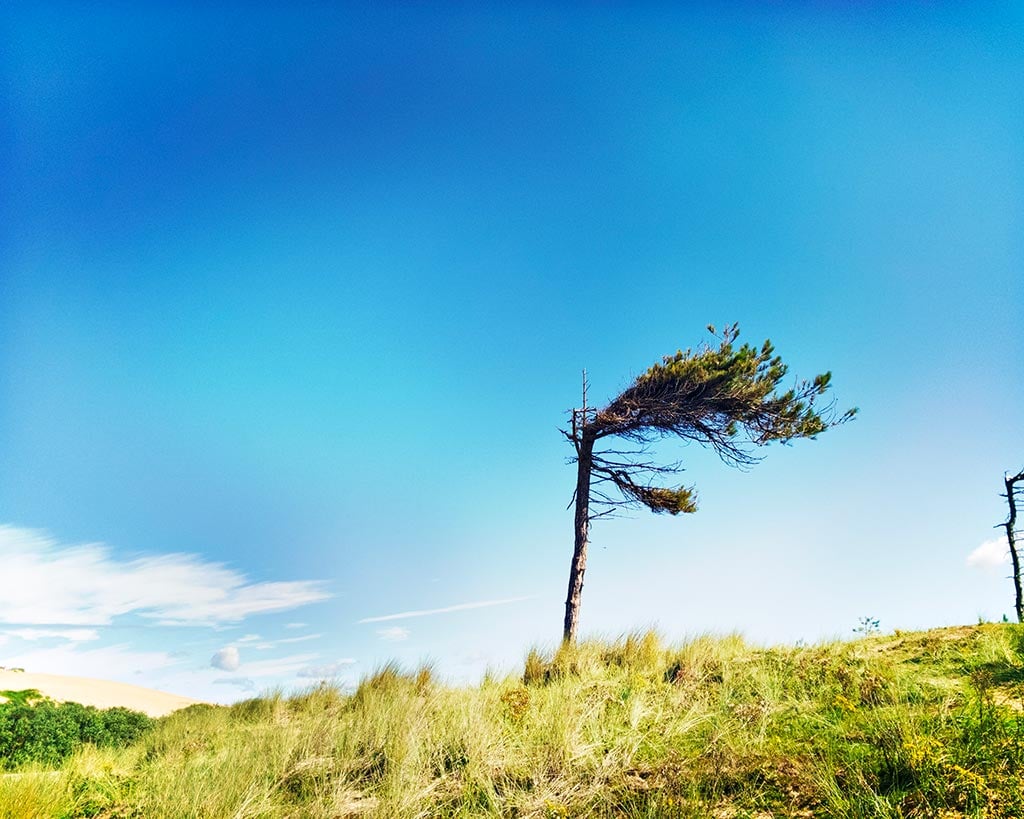
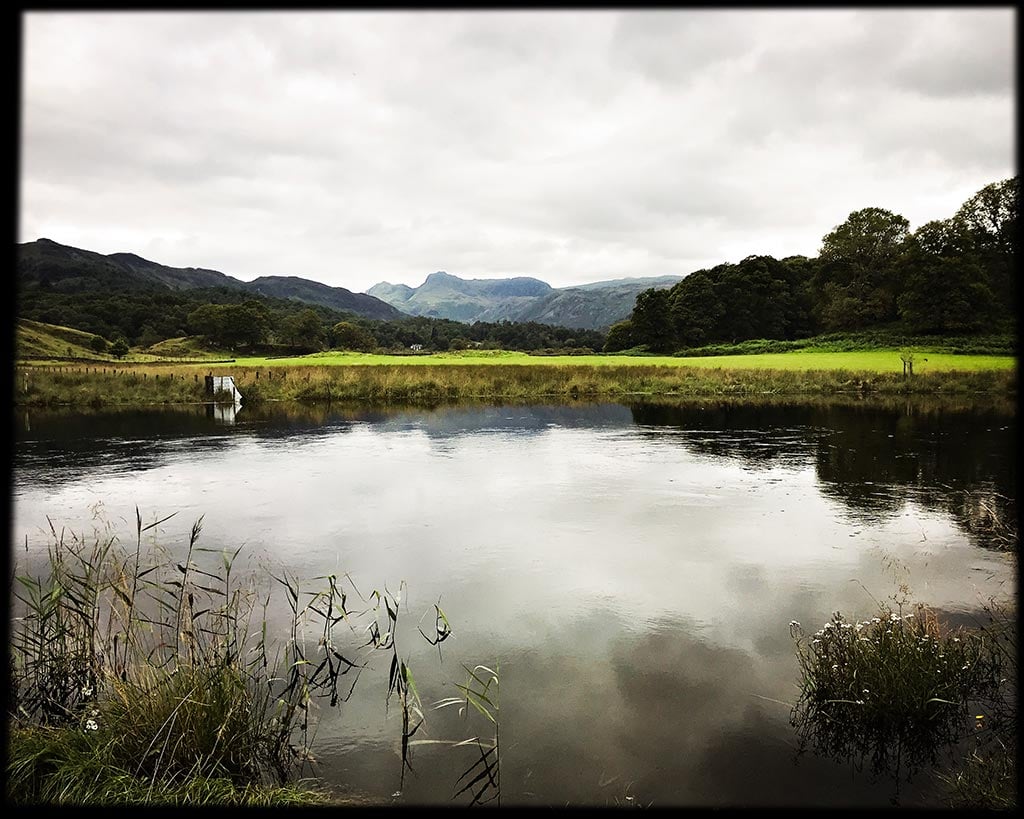
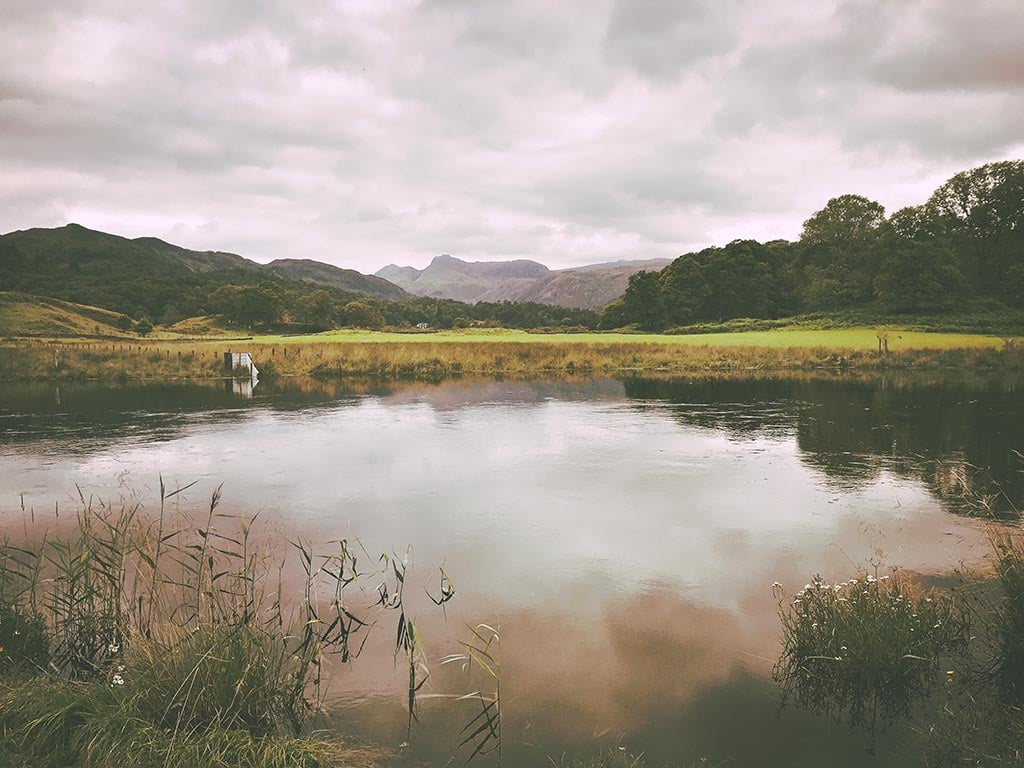
Lens: Jane / Film: Irom 2000
How to Edit Photos With the Hipstamatic App
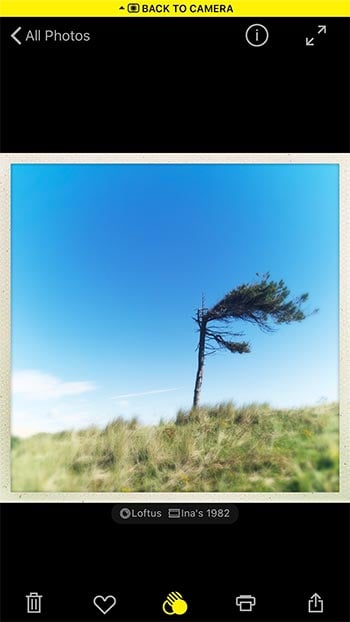
Once a photo has been taken, it’s saved to the camera roll. From the pro mode, this is accessed by tapping the small thumbnail in the bottom-left corner.
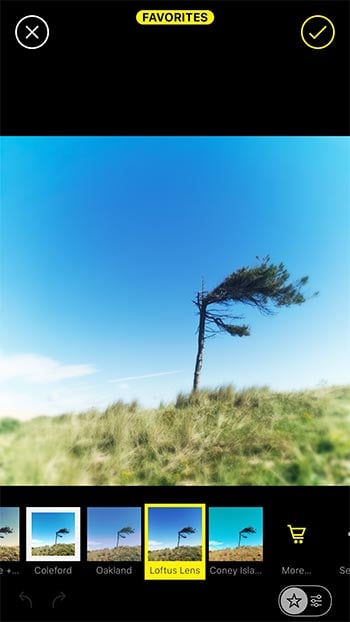
Next, select the photo you wish to edit and open it in the editor by tapping the three interlocking circles icon. This will display a list of favorite film/lens combos.
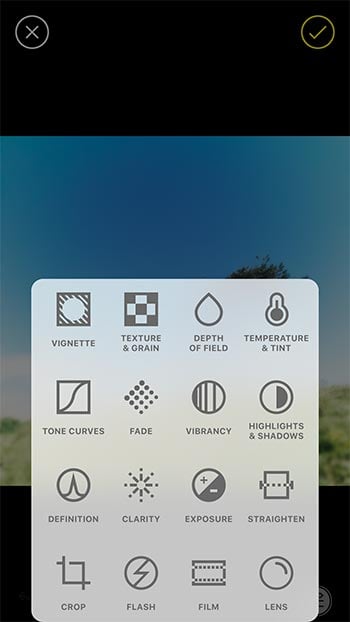
Tapping the favorite/manual setting icon switch in the bottom-right will then allow you to change the lens, film and flash combos as well as adjust other settings, such as Highlights & Shadows, Vibrancy, Exposure, Crop, Rotation, Clarity, etc. Choosing any of these settings will present a simple slider that will increase or decrease that aspect of the image.
Once you are happy with your changes, simply tap the tick icon in the top-right.
Using Hipstamatic Film/Lens Combos
Hipstamatic’s unique selling point has always been the film/lens combos. There are hundreds of film and lens options to choose from, and when combined, this creates an endless supply of creative opportunities.
With so many combos to choose from, it can be difficult and a bit overwhelming for beginners to know where to start. It’s often fun to use the ‘shake to randomize’ button to apply a random film and lens. It’s a great way to discover new combos to play with.
Once you find a combo that you want to use time and time again, you can save it as a favorite, so you can apply it to all future photos as you shoot them.
Lenses
To illustrate how these lens options affect the look of an image, below is a series of photos that use six popular lenses in the Hipstamatic range.
Jane – The Jane lens gives a lovely warm glow to an image and even works well on its own. It’s by far one of my favorites, and it’s often my go-to lens choice.
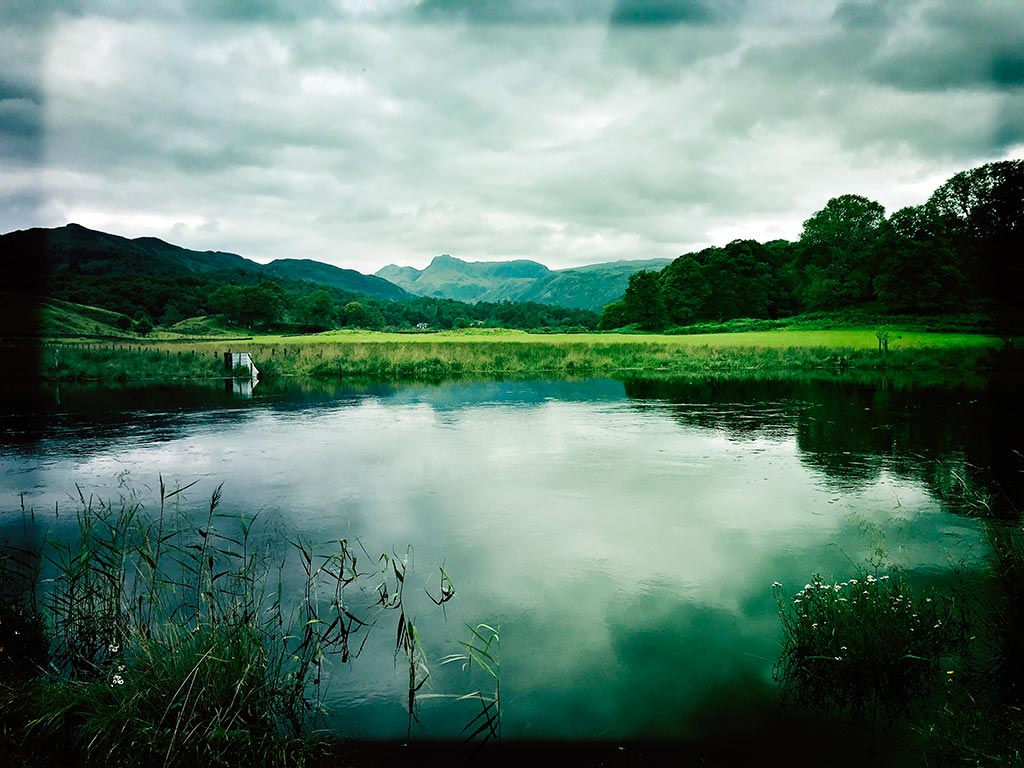
John S – John S will give a blue-ish/green-ish cast to an image, along with a subtle mottled pattern. John S works beautifully with black and white films.
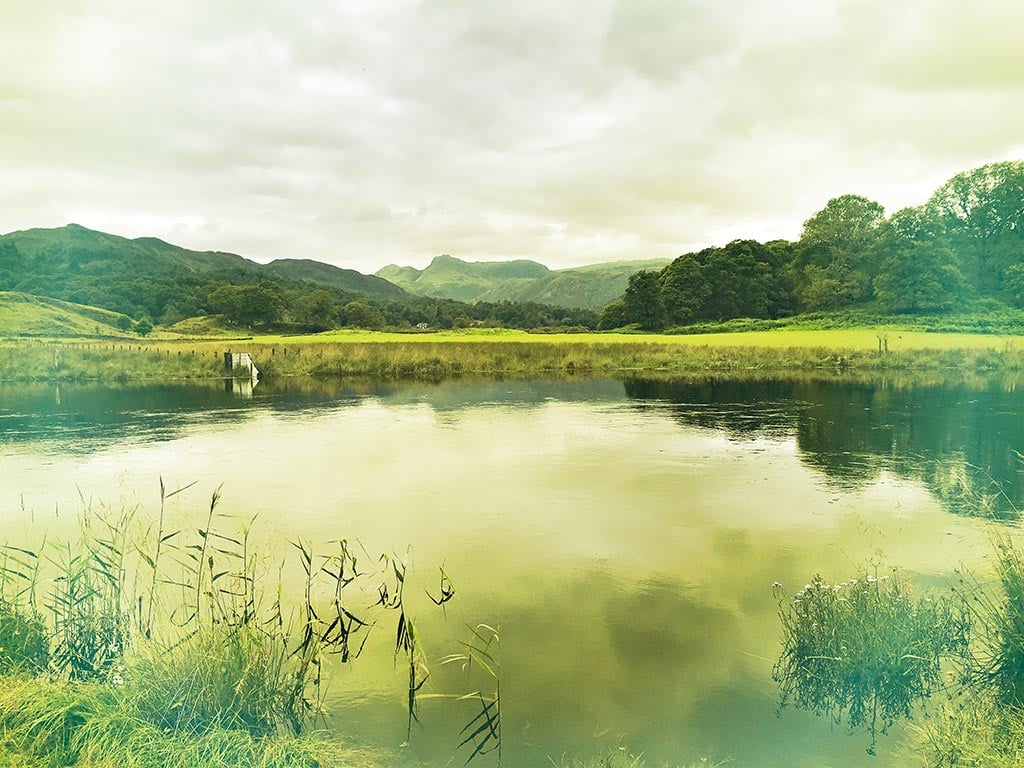
Jimmy – Jimmy lens gives a light yellow cast to photos.
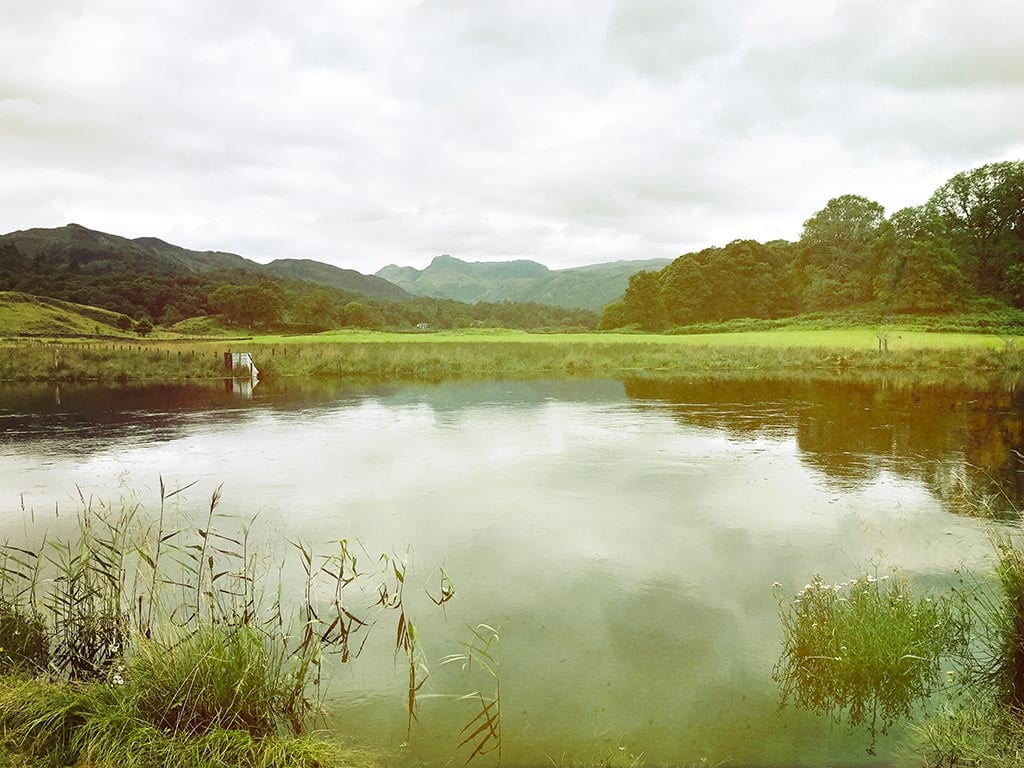
BuckHorst H1 – The BuckHorst H1 lens is similar to the Jimmy lens but provides a more muted and less intense look.
Jack London – The Jack London lens gives a sharp crispness to an image with rich colors and contrasts. It’s another of my personal favorites.
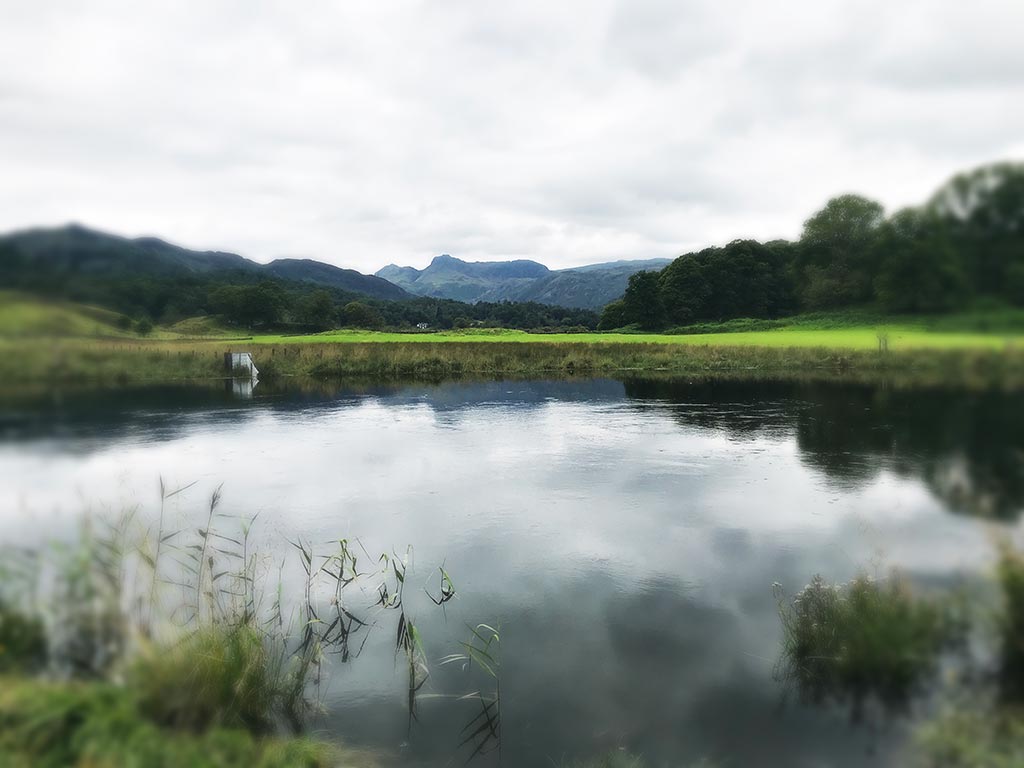
Loftus – Like Jack London, the Loftus lens has a similar sharp crispness and richness of color and contrast, except that Loftus’ outer edges are blurred in a sort of tilt/shift way.
Other lenses that are worth exploring include Beard, Anne-Marie, Penny and Wonder.
The intensity of all the lenses can be increased or decreased by way of the intensity slider, giving an extra level of control to your editing.
Film
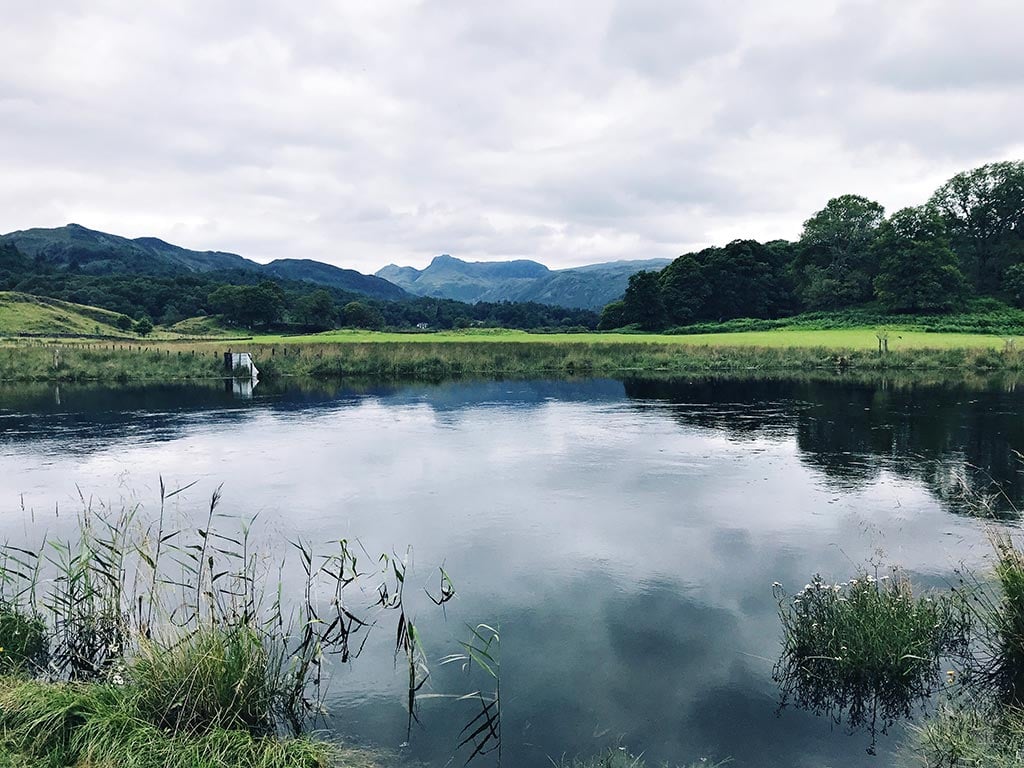
Your choice of film will mainly add different framing and vignetting effects to an image, along with varying levels of adjustment to the coloring of the photo. Here are six popular films to illustrate how they can change the look of a photo when combined with the Jane lens.
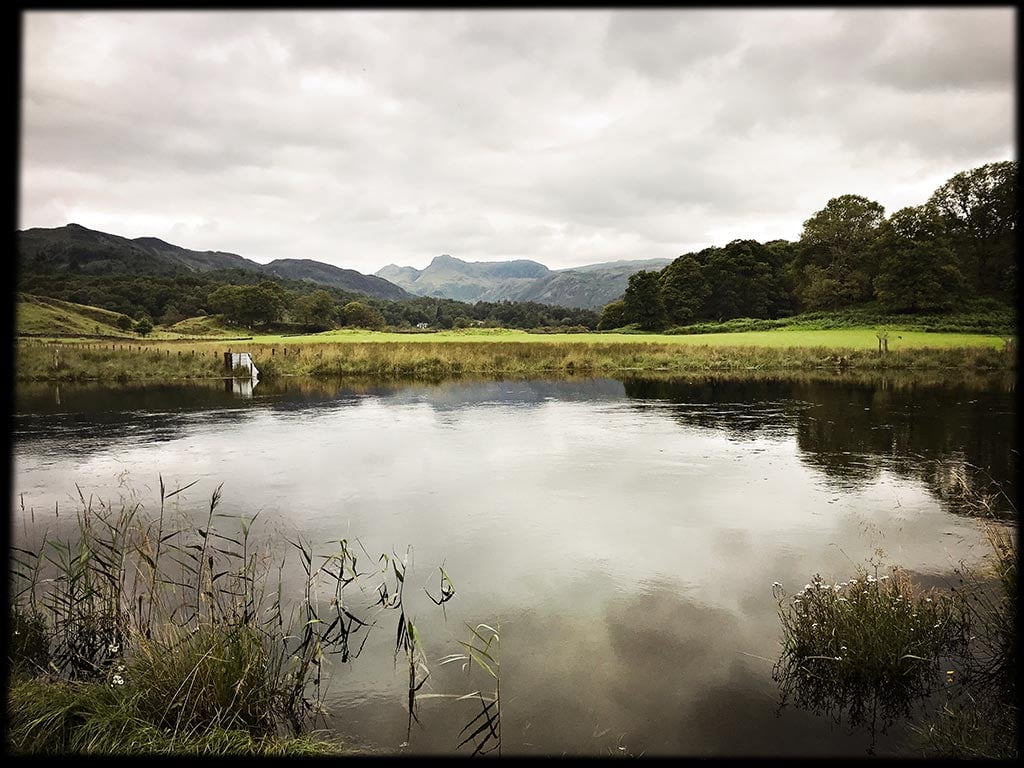
Sugar – The Sugar film provides a soft, blurred black frame to a photo and works beautifully with the Jane lens. This is one of my favorites.
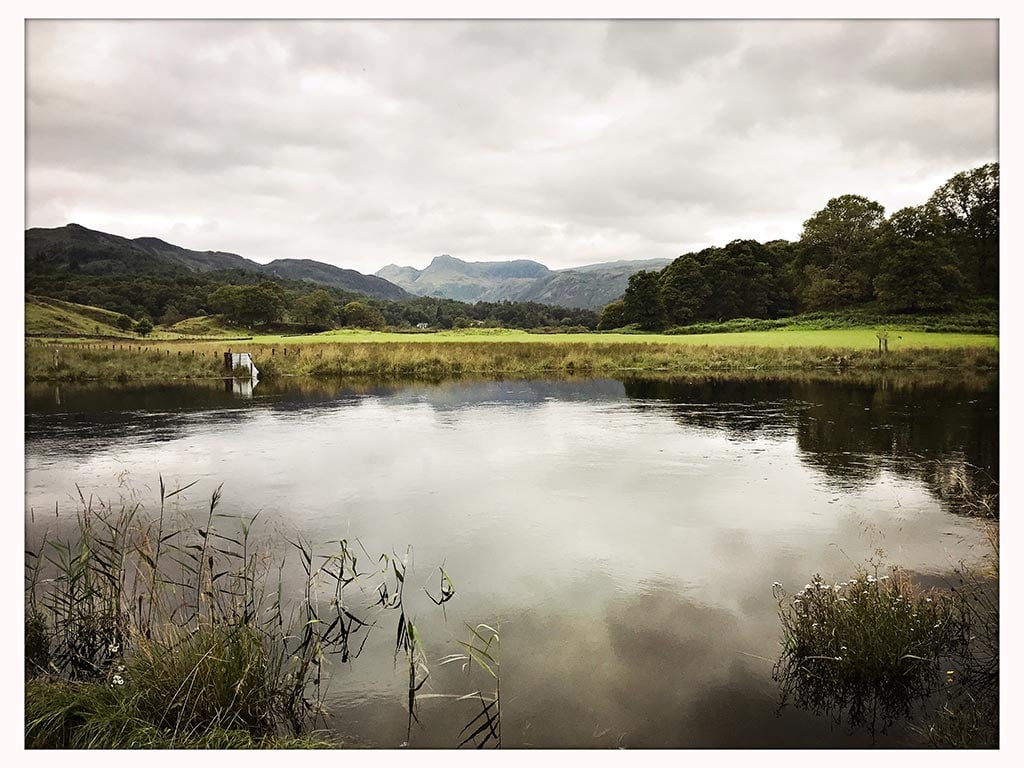
Blanko – Very similar to Sugar, Blanko doesn’t change the coloring of a photo but adds a sharp, white border to an image with an ever-so-slight black edge.
Telegraph – The Telegraph film will create more muted tones, which, for my tastes, often need some manual adjustments to the highlights and shadows, as well as the vibrancy levels.
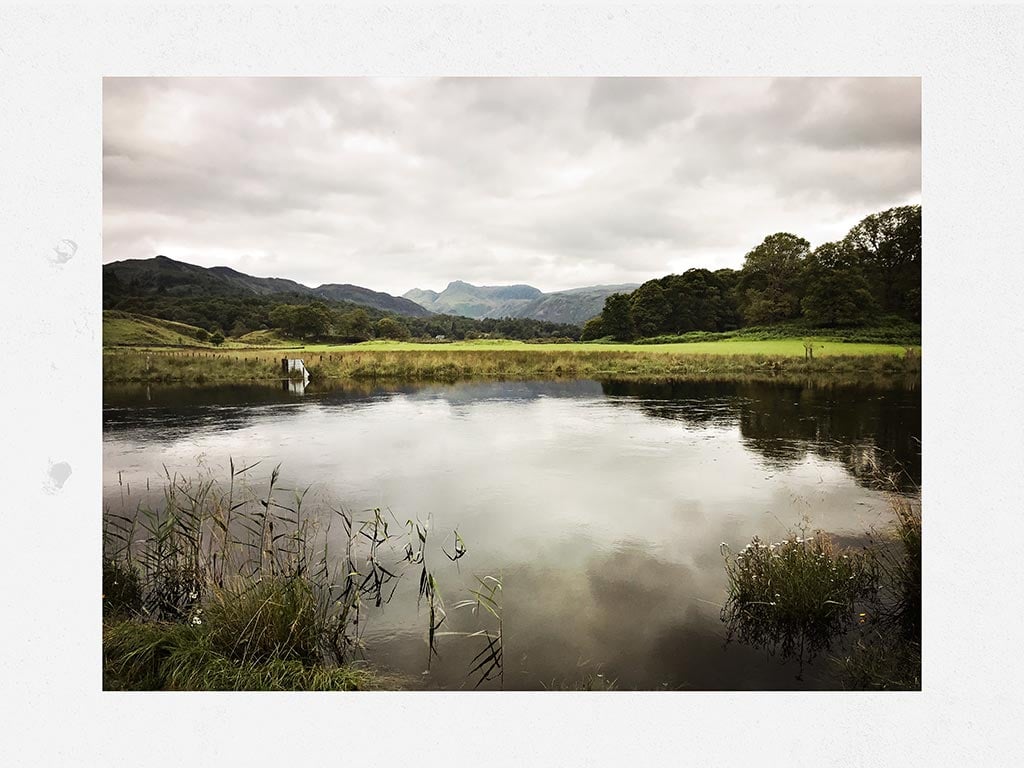
Bream – Bream creates a Polaroid effect with a thick white border that features subtle gray stains on the white edges.
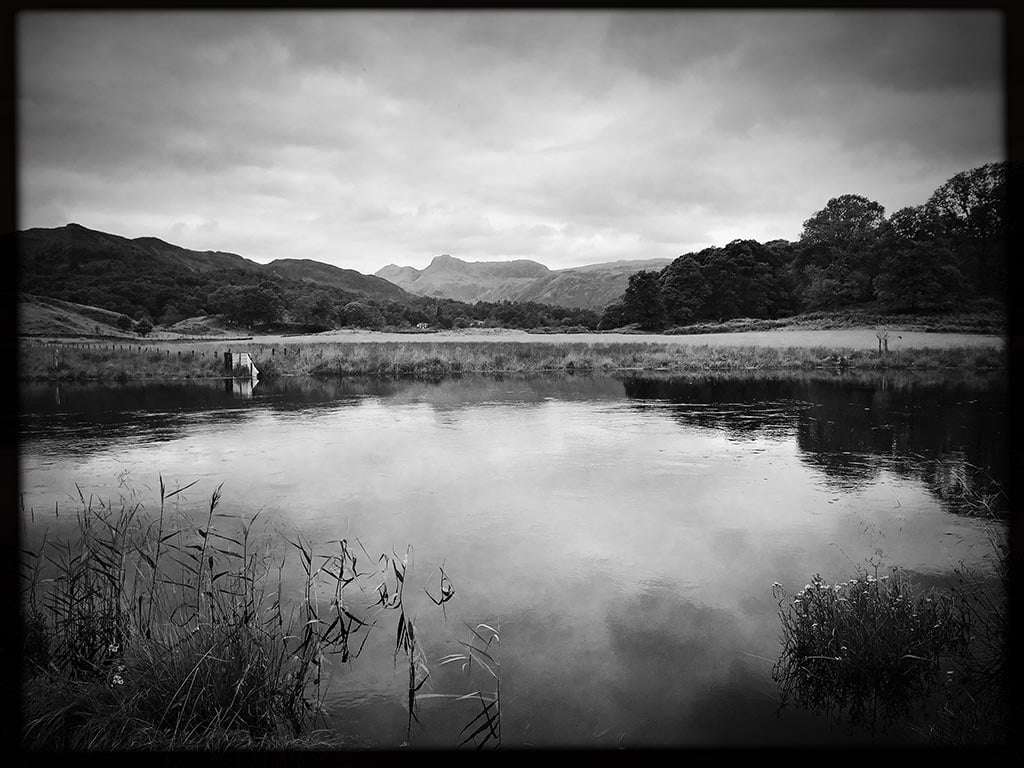
Blackeys Supergrain – Blackeys Supergrain is a popular choice amongst black and white fans and gives a heavy contrasty look with a soft, black-framed edge. This film also works very well with the John S lens.
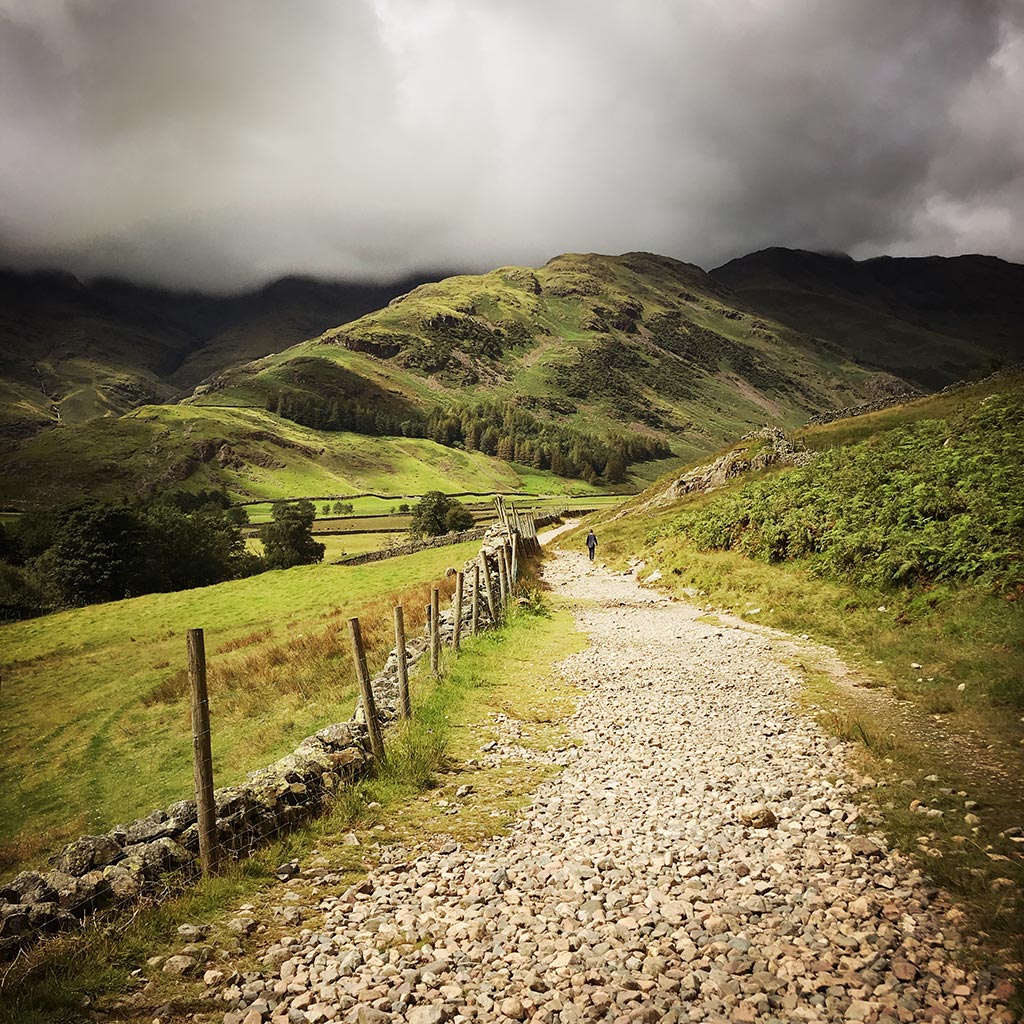
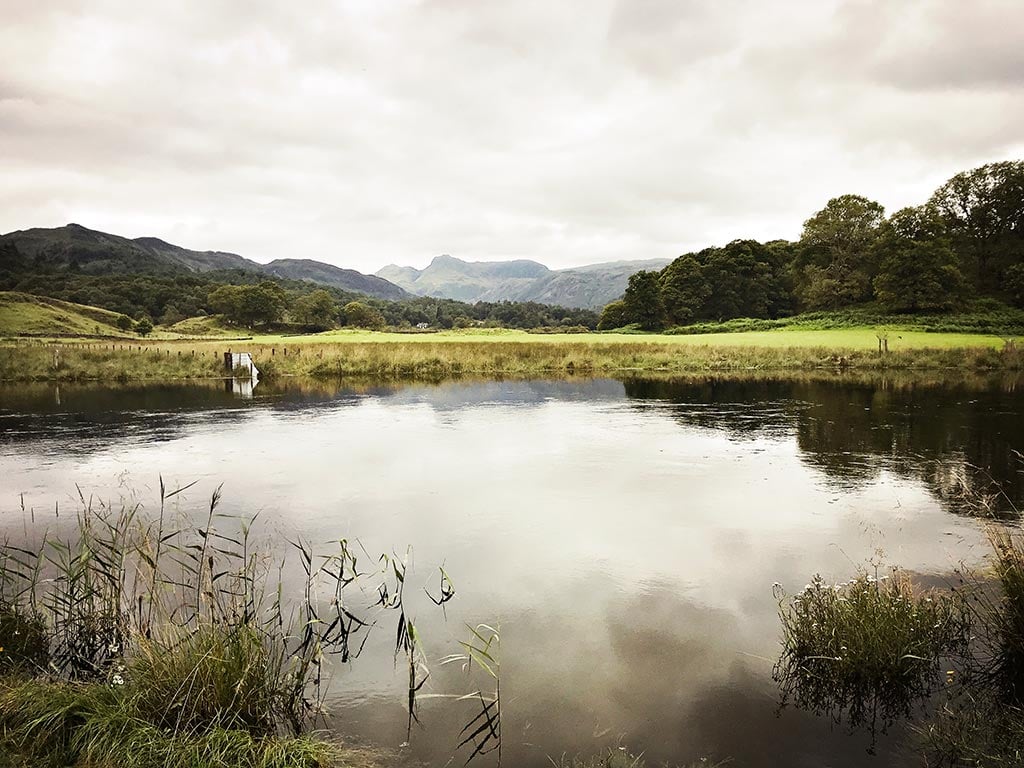
Irom 2000 – The Irom 2000 film is another of my favorites. The film is subtle, increases the brightness of the photo slightly and doesn’t add a border to the outer edges of the image. This works well with many lenses, particularly the Jane lens.
Other lenses worth exploring include Aristotle, Otto, Blackeys XF, Love81 and Sussex Film.
The film intensity can be adjusted using the intensity slider, although this isn’t available on all films.
Flash
A third layer of image effects can be added to a photo by way of Flash options. These overlay different lighting effects onto a photo, the intensity of which can be adjusted using the slider.
The examples below illustrate the flash effects using the Jane lens and Sugar film combo.
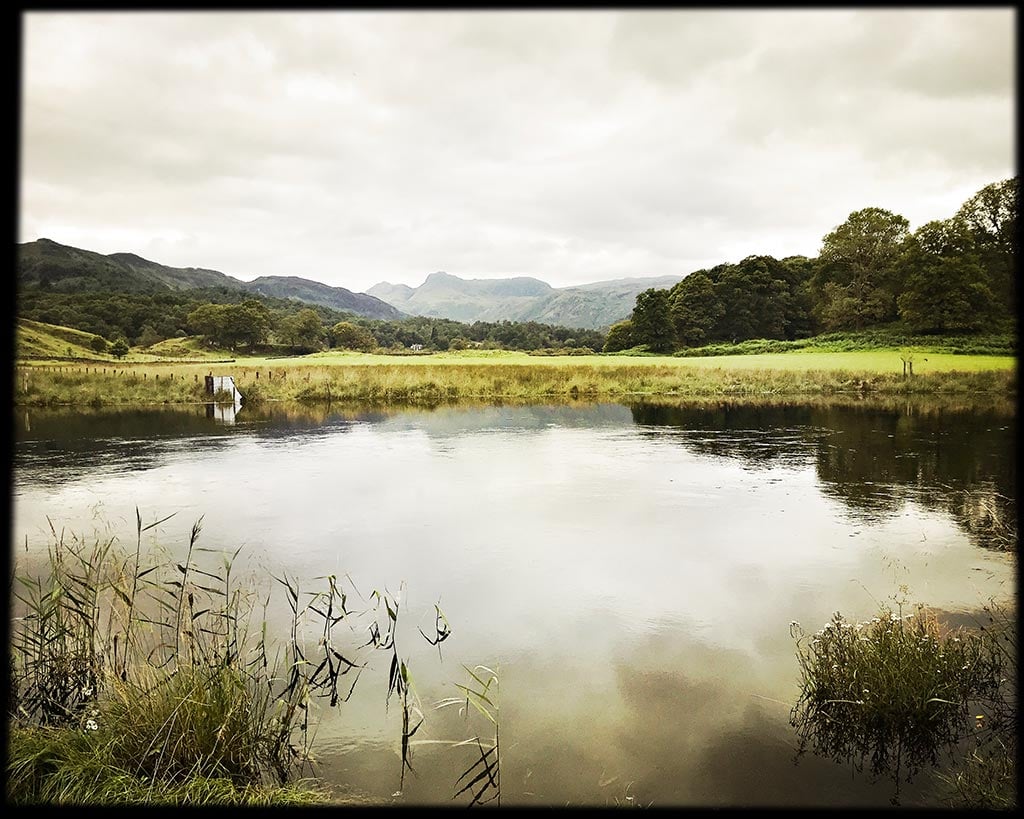
Standard Flash
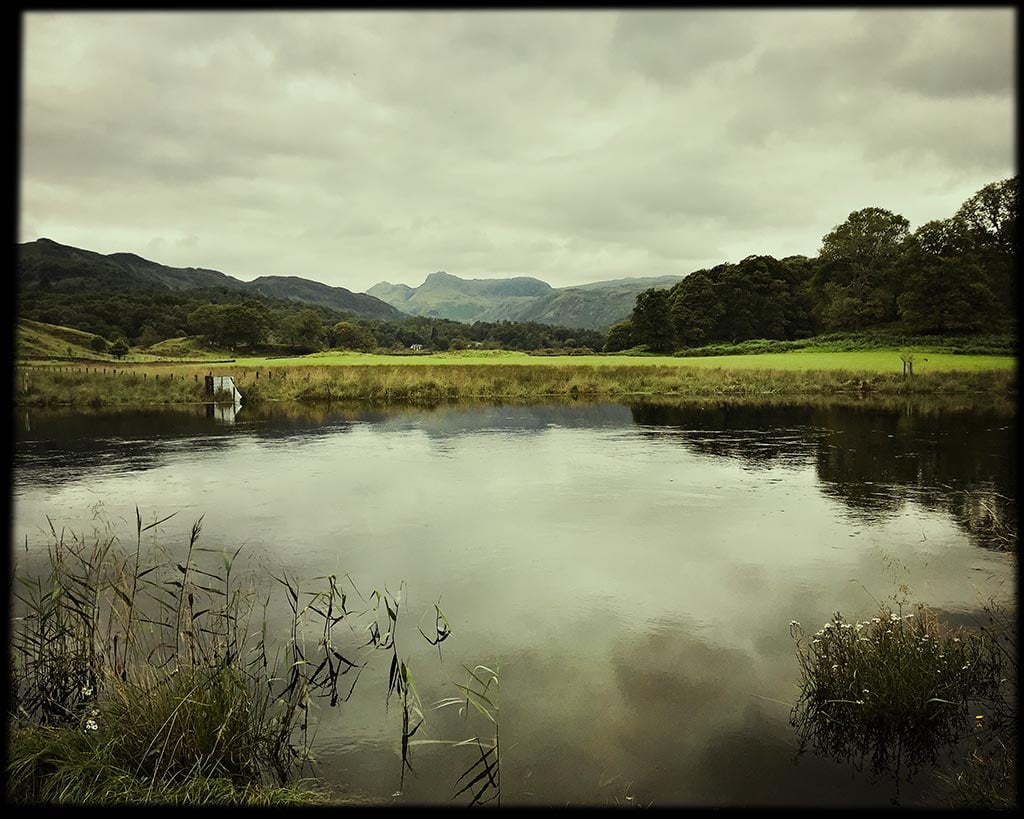
Dreampop Flash
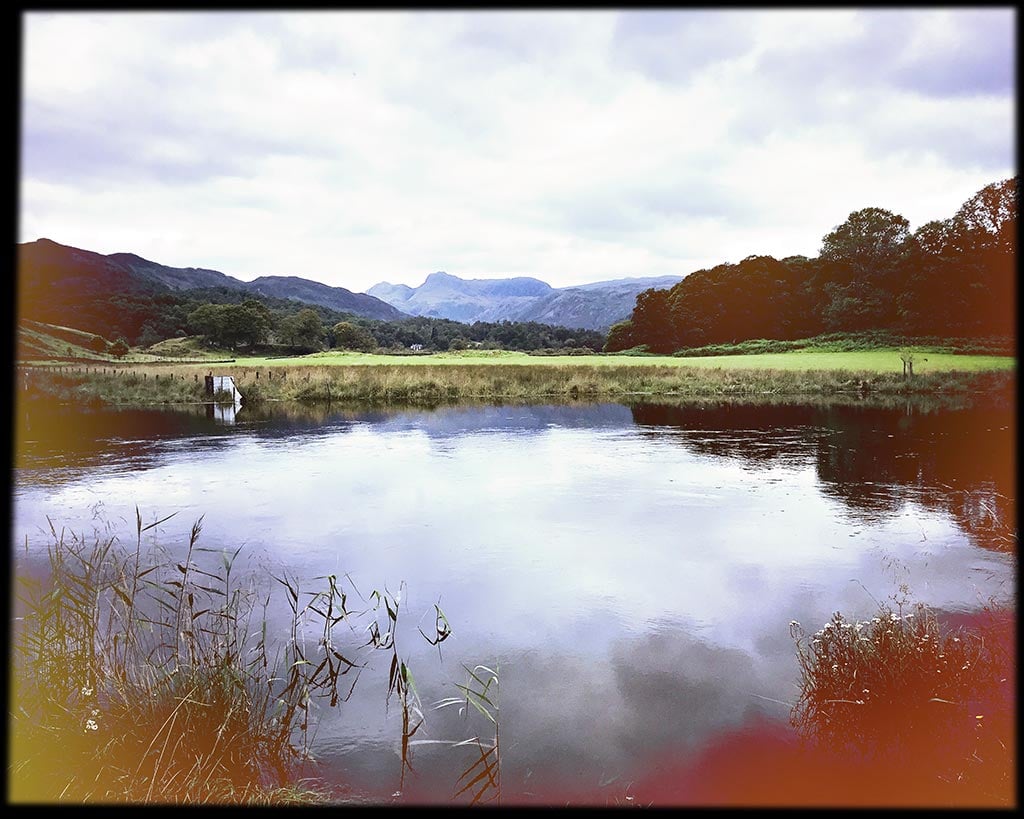
Cherry Shine Flash
Triple Crown Flash
The HipstaMart Store
The film/lens combo choices are endless thanks to the HipstaMart store. The HipstaMart store can be accessed from the favorites menu by way of the shopping cart icon. Here, you can discover an endless supply of new and exciting film and lens combos. With HipstaPaks costing from the throwaway price of $0.99, you can easily see how Hipstamatic can become quite addictive.
Final Thoughts about the Hipstamatic App
Hipstamatic has been a firm favorite amongst iPhone photographers since the early days of this new form of photography. As a result, there is a thriving and passionate community centered around the app.
While Hipstamatic isn’t always my go-to camera app of choice, I find it a fun app to use from time to time. If you find yourself stuck in a creative rut, I can highly recommend getting out and exploring the infinite possibilities offered by the Hipstamatic Classic app.
For purists, I’d recommend using the classic mode, but if you prefer to have more control over the images you take, then I suggest using the pro mode.
One criticism I have of Hipstamatic is that the editing options sometimes don’t go quite far enough. For example, there isn’t a way to directly adjust the contrast of an image, which I’ve found frustrating at times.
For more information or inspiration about Hipstamatic, check out the Hipstamatic.com website or other community sites like Hipstography.com or the #hipstamatic hashtag on Instagram.




Thanks for showing some possibilities