I’m a big fan of black and white photography. My usual approach to shooting black and white with my iPhone has always been to use a camera app like ProCamera or the iPhone’s native camera app, then import the photo into Snapseed where the black and white conversion magic happens.
I know there are features within these camera apps that allow you to see a live preview of the scene in black and white but to be honest, these features have never really grabbed my attention.
However, I recently came across a new app by Brutality Arts called ‘Blackie’, which is a camera app that specialises in shooting in black and white.
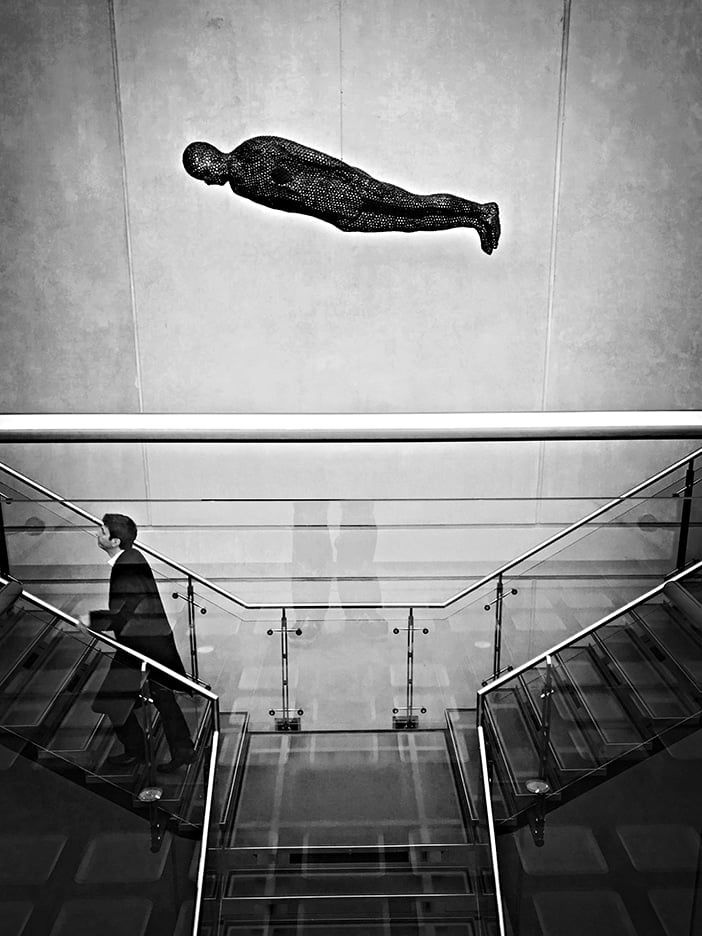
What does Blackie do?
Blackie is a camera app which offers the photographer a host of pre-set’s, adjustment options and settings that allow you to setup and shoot a scene in a way that is close to how you’d like the final image to appear.
When people shoot using film or DSLR cameras, you tend to spend more time thinking about the technical aspects of the photograph. Things like ISO, shutter speed, aperture settings, focus and depth of field and how these factors will influence the end result. In a way, this is something that has been lost in mobile photography as people tend to point and shoot quickly, then worry about the finished result later.
So, let’s take a look at Blackie.
The interface
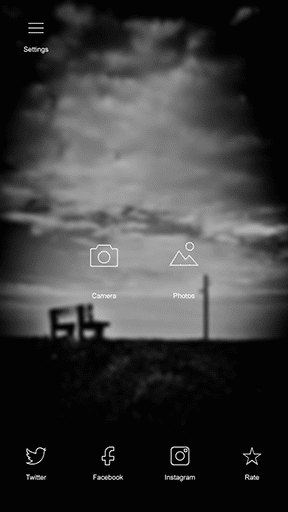
On initially opening Blackie you get a screen where you are prompted to select either the camera or a photo from your camera roll gallery. Selecting the camera takes you to the camera interface, selecting a photo from camera roll will import the image into the app where you can then give it the Blackie treatment.
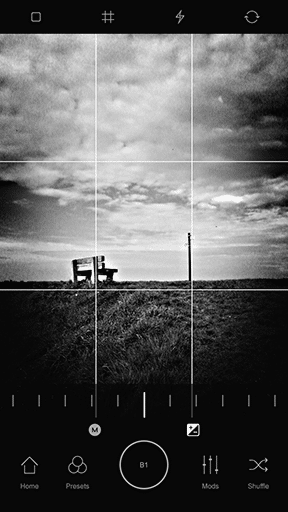
The app has a simple layout and contemporary design with the shooting preset’s, adjustment settings and filters located at the bottom of the screen and controls for the compositional grid layout guides, flash and front/back facing camera controls at the top. In between these, you will find the rest of the screen is devoted to the viewfinder.
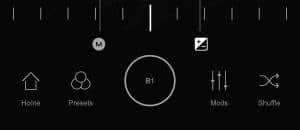
The main controls along the bottom of the screen display a home button which takes you back to the initial opening screen. A Preset option button that shows a choice of eight different presets offering various default black and white settings. These make a good starting point from which to work.
To the right of the central shutter release button is the Mod’s option. Opening this gives you nine different settings that can be fine-tuned. These settings include film type, brightness, contrast, filter (which applies a colour filter over the screen similar to those you would use in DSLR photography), vignette, fade, shadow and highlight control and finally image sharpness.
The last option in this portion of the screen is a random shuffle setting which will give you a randomly generated look each time you press it.
A lot of the above settings would be controls I’d often use in post production, not during the initial image capture process. This means that in situations where you have the benefit of time, you can start to play about and configure the app settings so that you’re able to capture a photograph in a way that is close to that which you envisage the end result looking.
Taking manual control
Blackie also offers the ability of manually controlling the focus, exposure and white balance settings of the camera.
These are accessed through a small M icon above the preset buttons at the bottom of the screen. Tapping the M then gives you three new icons, focus, exposure and white balance. Tapping any one of these will then display a slider that will allow you to adjust and fine tune the results you see on the screen.
Next to the M icon is an exposure compensation icon. This allows you to increase or decrease the overall exposure of the image, thus helping to bring more detail in areas of the photograph that may be over or under exposed.
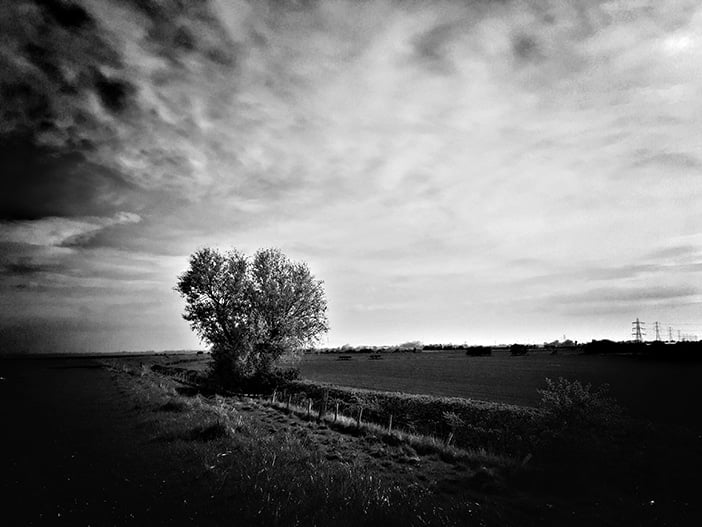
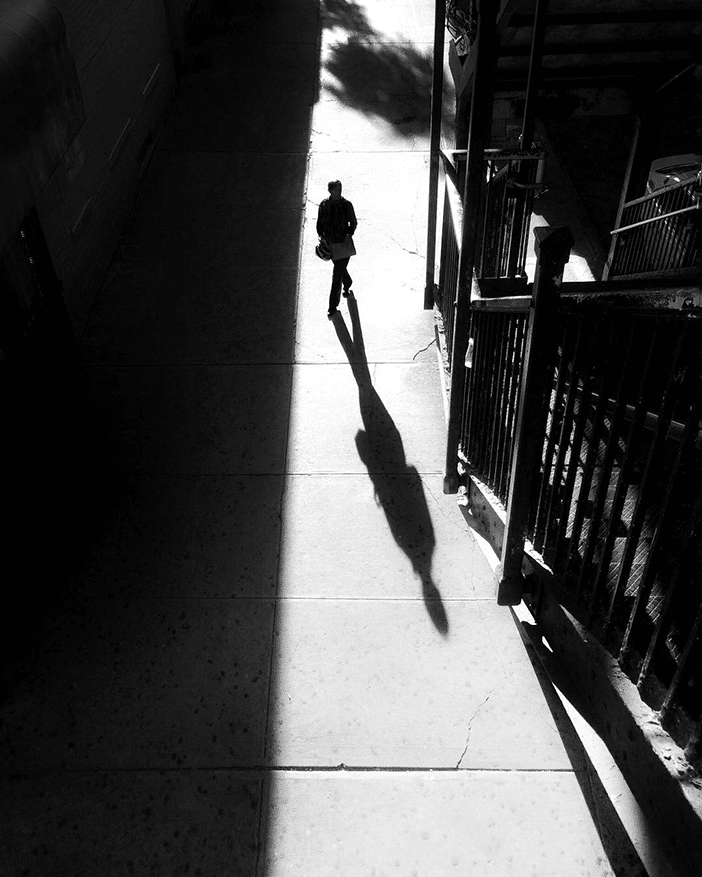
I found the results produced by Blackie to be beautiful and crisp with a nice richness to the dark and grey areas of the photo.
Another feature of Blackie is that you can import existing photos into the app from your camera roll (this is done from the home screen). This will enable you to then apply the Blackie range of filters and setting adjustments to the photo. The only difference with doing this post-production is that in the ‘Mods’ settings, you now have a crop tool available. While the crop tool allows you to rotate the image, it doesn’t offer any flexibility in selecting the exact area to crop. It will only crop to the centre of the photo in a square 1:1 format, which is a bit frustrating.
Final thoughts
I have to say I like Blackie. I like the way it brings a lot of the post editing control decisions into the pre-capture phase. I love the way you can select film types and colour filters and preview the results in real time. I also love the way you can apply settings like contrast, brightness, sharpness and vignette to an image as well as having manual control over areas like focus and exposure.
The only comment I have is it would be good if you could lock the focus/exposure or even better if you could split the focus and exposure points apart like you can in apps like ProCamera and Camera+.
On the whole, if you are into your black and white photography, I would highly recommend you check out Blackie. It is simple to use, very customisable and produces a high-quality photograph. It brings a lot of the creative process back to the pre-capture phase rather than in post production editing.



WOW! This does me a whole lot of good……said every Android photographer. Sorry, but this would be a whole lot nicer if you also published a write up for black and white for Android users as well or at least mention Android apps that are similar such as Lenka or Dramatic Black and White. Don’t get me wrong, this is a great article if you own a iPhone, but I’m a little frustrated because I feel the rest of us are left out in the cold. Meh…..maybe I’m just having an off day.
Thanks for the comments Henry. I understand what you are saying and I’m in the process of trying to source a decent android handset so that I can offer more of a balance between iPhone and Android apps so please bear with me. When I do I’ll be sure to check out the Lenka and Dramatic Black and White apps. Thanks for the tips. At the moment though I’m an iPhone user so it’s proving difficult to strike a balance.
Well wouldn’t you know it……I finally crossed over into the dark side and now have an iPhone 7plus. No more mister grumpy pants!
I installed Blackie on my iPhone 12 Pro Max.
However, although I can see my taken images, I cannot get it to permanently show one only to edit.
Any suggestions?
Hi Jen, I’m sorry, I’m not sure what you mean. Are you importing photos into blackie that were taken with another app or trying to take photos using blackie?
How do I save the black and white photo that I have created with Blackie to my camera roll?
If you are using Blackie to take a photo then the image will automatically be saved to your camera roll. If you are importing an image into Blackie from your camera roll, to save it tap the shutter release button. This will save it to your camera roll.