I love creating blur effects using my iPhone camera, although it’s not as easy to do than it is using a DSLR camera. You see, the iPhone camera has a limited depth of field, which makes it difficult to create a blur effect.
Nonetheless, blur can do many things – it can add mood to a photo, direct the viewer’s eye to the subject or convey a feeling of movement or speed. But of course, how you use it is up to you.
So how do you blur photos on the iPhone? Here are several ways you can add blur to your iPhone photos.
1. Use depth of field blur to bring focus to the subject
The term ‘depth of field’ refers to the distance within a photograph that appears sharp, with areas behind and in front of this point appearing blurry. This blur effect is traditionally created by controlling the depth of field with the aperture or shutter speed in a DSLR camera.
However, this is difficult to do with an iPhone, so you will need to use a specialised app to create such an effect. Big Lens and Tadaa were specifically designed for this purpose, but you can also access depth of field blur tools in more full-featured editing apps like Snapseed, Enlight or Filterstorm Neue.
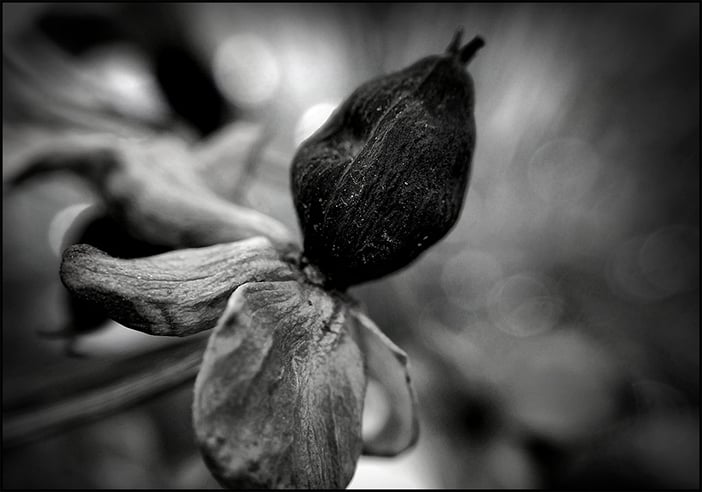
Whatever app you use to create it, this kind of blur can be a great way for you to remove distractions from the background of a photo, bringing the focus to the subject at hand.
2. Use blur to create an atmosphere
Adding blur to a photo can create a dreamy atmosphere, this technique is often used in landscape and portrait photography. Again, it brings the focus to the subject of your photograph.
There are many different types of blur that can be added to a photo but a Gaussian blur is one of the most common ways to add atmosphere to a photo. However, by adding all kinds of other blurs to what may otherwise be a dull image, you can convey a feeling or emotion through the image.
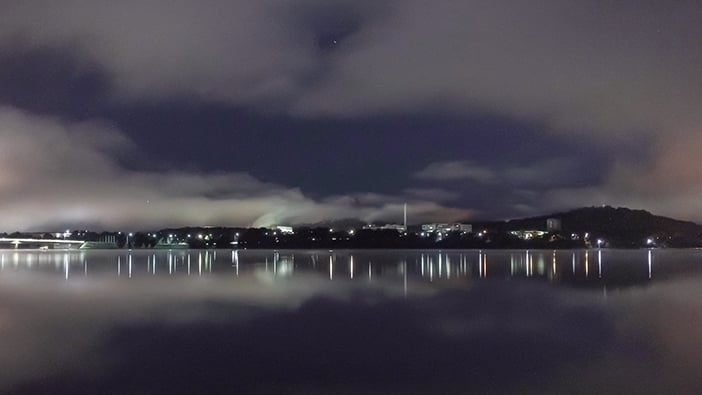
Another technique is to take a very long exposure of clouds or water to create an interesting ethereal effect such as illustrated in the photo below by MomentsForZen on Flickr. The image was created by mounting an iPhone 6S on a tripod and stacking a series of frames acquired over a period of just over 40 seconds. The hard work of facilitating this process was done by the “NightCap Pro” iOS camera app with Light Trails mode selected. Manual focus was set to infinity, frame exposure length (1/3 second), white balance (3200K), and ISO (800).
3. Use an outer blur vignette
Adding an outer blur vignette is another way to add atmosphere to your photos. This type of soft, smooth blur is called Gaussian blur, which reduces noise (grainy distortion) and removes fine detail from a photo in order to give it a certain evocative, fantastical quality.
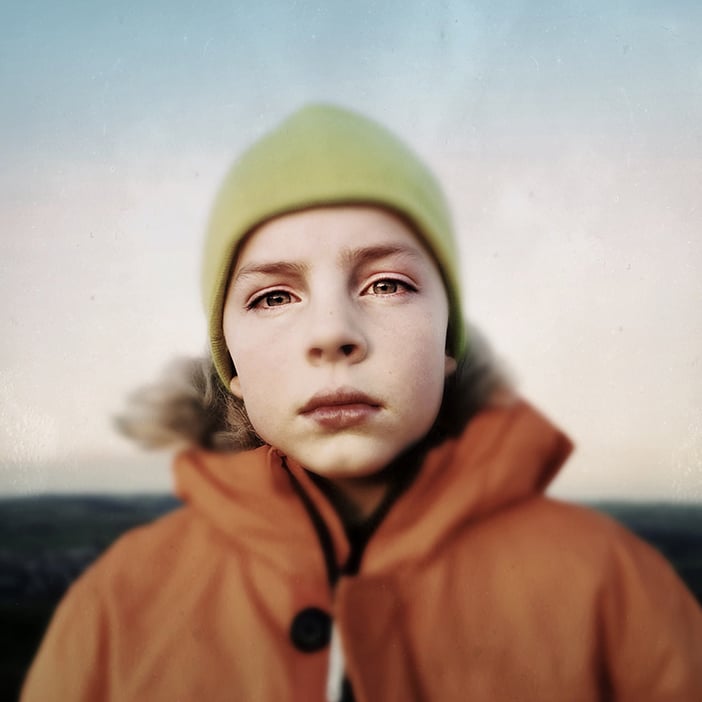
Although you can use a Gaussian blur across an entire image, an outer vignette effect typically lightens or darkens the outer edges and brings focus to the centre. An outer blur vignette, however, brings a deep blur to the outer edges that has a similar, but more subtle effect. In the example image below by Elaine Talyor she has used a Hipstamatic film/lens combination which adds a subtle amount of blur vignette to the outer edge of this portrait. This brings focus to the subjects face.
4. Convey a feeling of speed
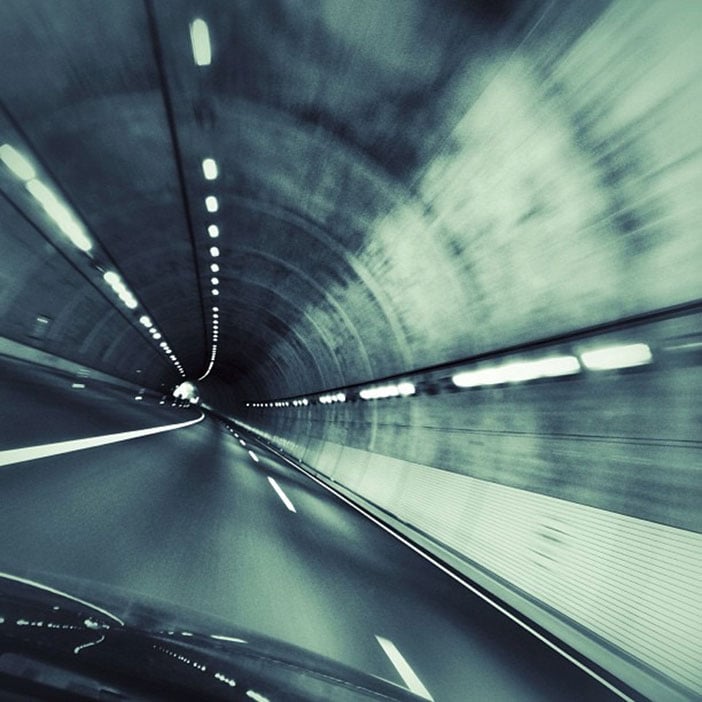
There are certain types of situations where you may want to add a sense of speed to your images. The obvious example is when you are shooting fast moving objects such as a cycle race, cars or children running. For this effect you may want to consider using a radial blur effects or light trails as the best way to create a feeling of speed.
With a traditional camera, you would use a zoom lens and zoom in or out as you take the photo. However, as you can’t do this with an iPhone, you will need to use an app to add the radial blur. This technique allows you to keep the centre of the photo in focus, but give the outer edges an outwardly linear blur effect.
5. Convey a feeling of movement
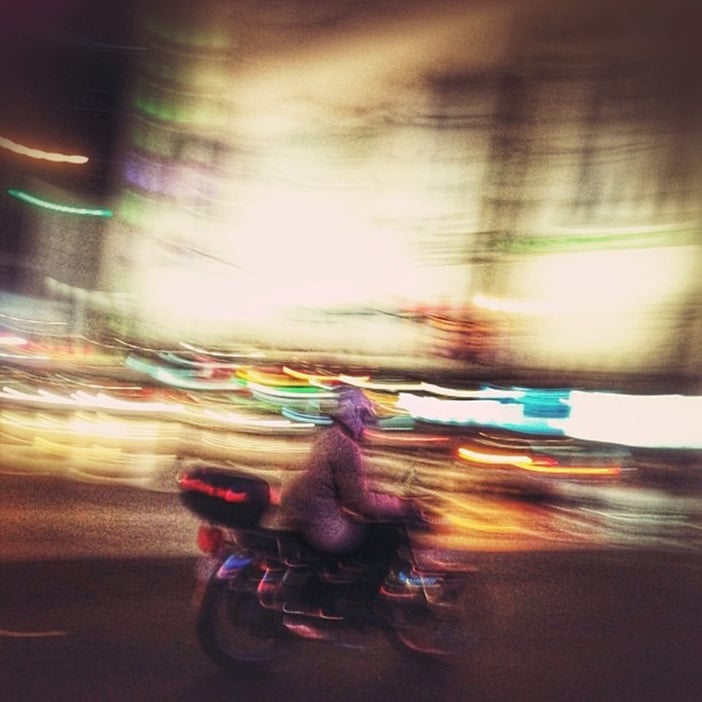
If I want to exaggerate movement in a photo, I often use motion blur, with such an effect being great for making even inanimate objects in a picture look like they are moving.
Another common technique for conveying movement involves a panning motion. Focus on the subject and as it moves, pan with it. The result will capture the subject in a moment of stillness while the rest of the photo is blurred. You can also create a sense of movement by using a linear blur effect in an app like Snapseed.
6. Use blur to create something abstract
Another option, of course, is to simply experiment with all manner of blur effects to bring out the inner abstract artist in yourself, creating all kinds of image motifs that may not resemble anything in particular, but provide a pleasing merging of light, dark, colour and shape.
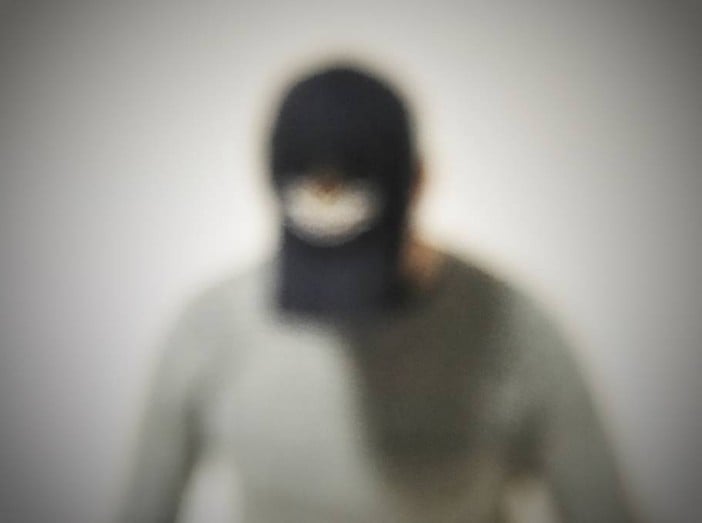
Try getting creative with add-on iPhone lenses like the Olloclip, by using this acclaimed professional macro lens to take portraits. This is a technique used by Brendan O Se in his blurred portrait series. Alternatively, use apps like Slowshutter or Longexpo to create a blurred long exposure or use Snapseed to apply excessive blur, before tweaking the brightness, contrast and saturation to create something truly abstract.
Apps to use to create blur
There are all kinds of apps that you can try out in order to achieve the blur effect you are looking for, with each naturally having it’s own strengths and weaknesses.
From using Snapseed to add a lens blur effect on the background of your photos to bring focus to the subject, right through to making the most of the highly advanced options of Tadaa, there’s so much that you can do with the various available iOS image editing apps, which also include the likes of Afterfocus, Big Lens and Slowshutter.
In summary, blur offers all manner of creative opportunities, ranging from the simple addition of subtle depth of field to give your photos a sense of depth, right through to the creation of a completely abstract work of art. Experiment with it and have fun!
I personally love using techniques like those outlined here to create many highly original blur effects on my iPhone photos. What do you think? Give me your verdict in the comments section below, and please share the article if you liked it!

