If you want to hone your iPhone photography skills, you need to know the secrets of your iPhone so that you can make the most out of every moment. The following tips and tricks will help you capture a fleeting moment and quickly compose an excellent shot to limit the work you need to do in the editing phase. You’ll also learn an easy way to access all of the photos you took at a specific location. In this article we’ll look at 11 iPhone camera features that every iPhone photographer needs to know and should be using.
1. Get the most out of focus and exposure settings
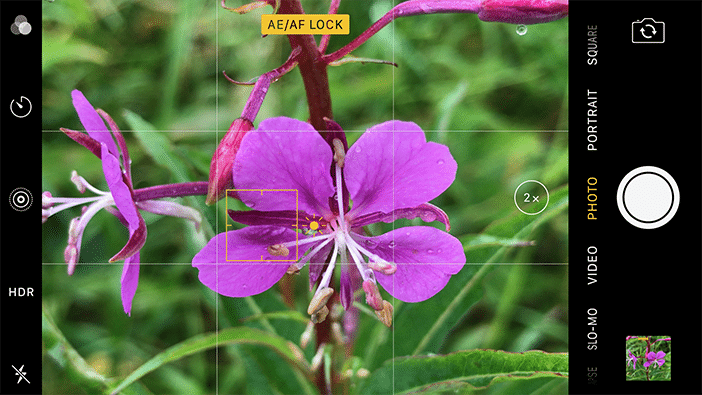
The iPhone does a pretty good job at automatically setting focus and exposure, but it may not always focus on the right subject. When you need to set the focus and exposure yourself, tap the screen where the subject is to focus; the exposure will adjust on its own and then you can change it by sliding up and down the vertical slider.
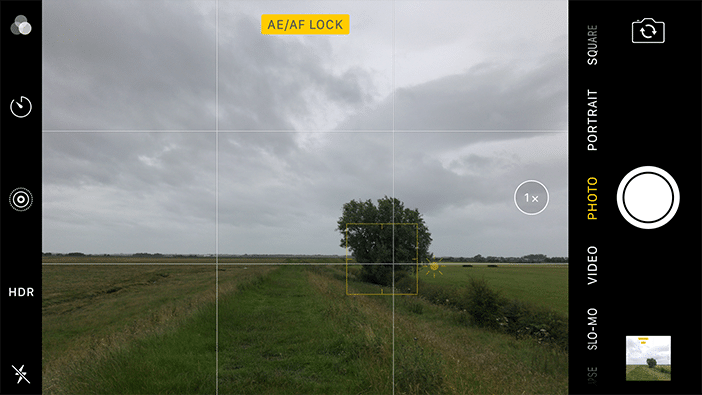
Once you know where you want to focus, you can lock the focus and exposure. This way, if the scene changes the focus and exposure will stay the same. If you’re taking a photo of movement, like in street photography, lock the focus and exposure where you expect your subject to go – that way, when they reach that point you’ll be ready to shoot right away.
To lock focus and exposure, press and hold the screen on your focus point. You’ll see AE/AF LOCK pop up in a yellow box. Even once the lock is set, you can still swipe up and down to adjust the exposure.
2. Set HDR mode when shooting landscapes
HDR, which stands for High Dynamic Range, blends three exposures into one so that your image has balanced lighting. In shots with a lot of contrast, such as a shadowy landscape photo with a spark of sunlight, using HDR will show details in the both the dark and light areas without under- or over-exposing the shot. Note that it’s not a good idea to use HDR in action photography because it can result in blur since it’s technically combining three separate photos. You can set HDR mode, which is at the top of the iPhone’s camera app, to on, off or auto mode. To make sure the original photos are saved as well, go to Settings, Photos and Camera, and select Keep Normal Photo under the HDR heading.
3. Shoot in Burst Mode
Burst Mode shoots 10 consecutive photos in one second flat by pressing and holding the shutter release. For action photography, this can help eliminate blur. It’s also a good option for portrait photography, especially when you’re taking a photo of a group. Within that one second, you’d be surprised how fast expressions can change – having multiple photos to sort through increases the odds of getting at least one pleasing photo. Though it’s not necessary to use Burst Mode when shooting a landscape, it could help you get the best lighting possible if the clouds are quickly shifting.
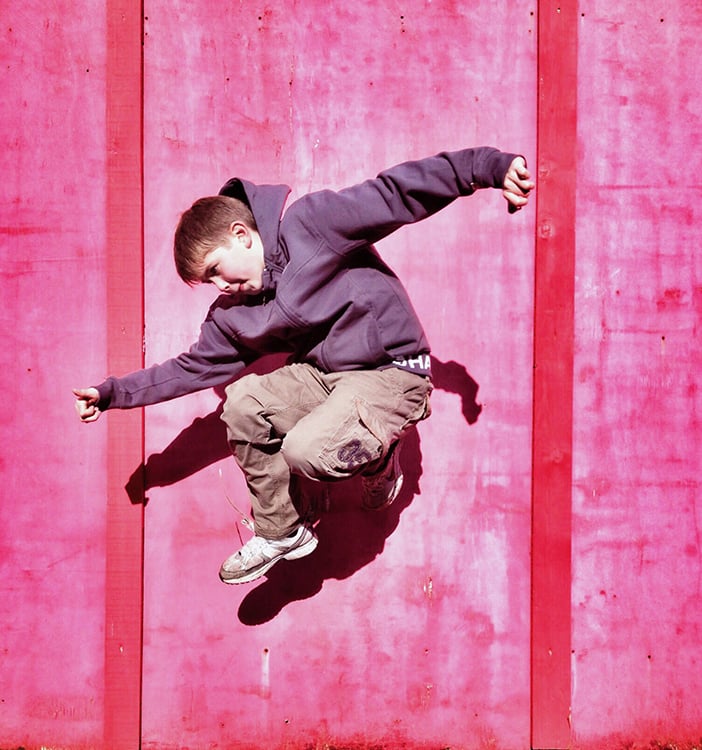
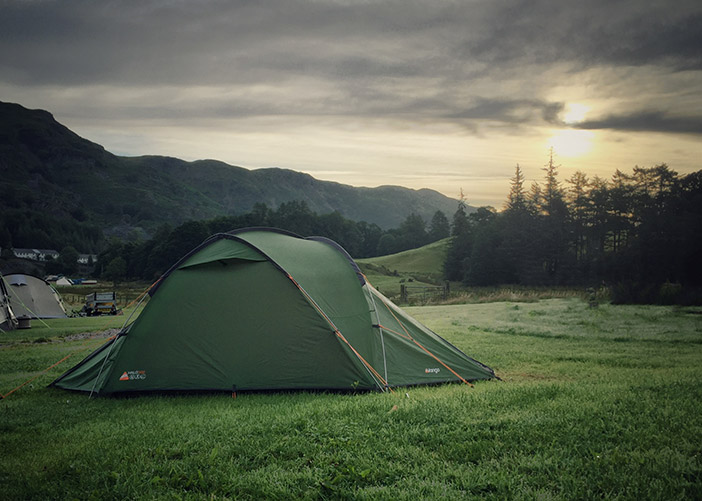
Photo by Rob Dunsford
4. Swipe left for quick access to your iPhone camera
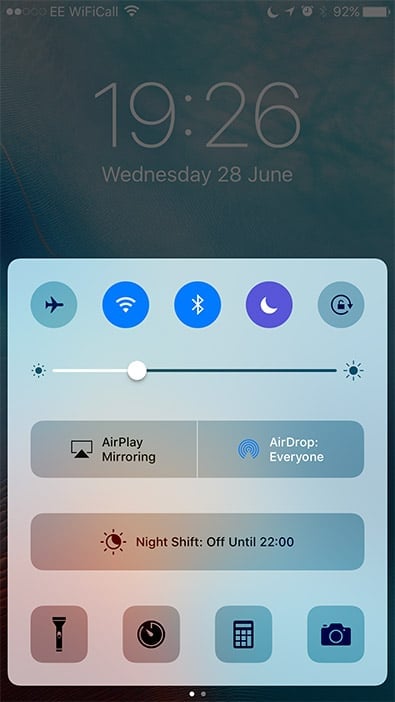
There are plenty of times when a photo opportunity crosses your path and you need to get your camera ready fast. The quickest way to take a shot is to use your iPhone’s two camera-accessing shortcuts. If you’re using your phone, you can swipe up from the bottom of the screen, then select the camera icon on the bottom right.
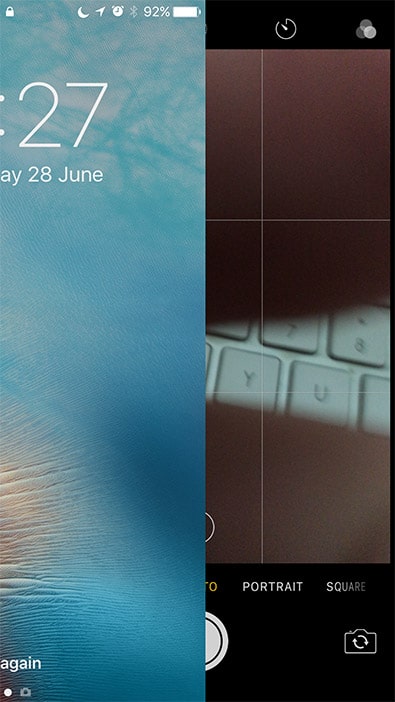
If you’re not using your phone, press the home button to turn the screen on, then swipe left to open the camera. You can even swipe left if your phone is locked; once you’re done using the camera, it will go back to being locked.
5. Use the timer to prevent camera shake
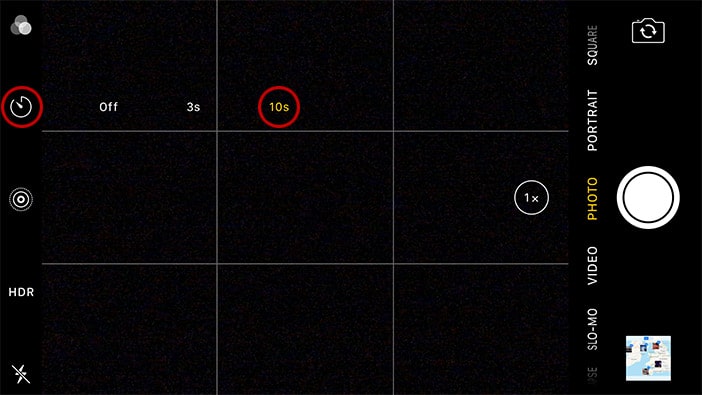
Sometimes something as small as pressing the shutter release is enough to shake the camera and result in a blurry photo. This is particularly hard if you’re shooting with one hand. With the built-in timer, you can compose your shot and then set either a 3 second or 10 second lag. Once the timer’s counted down, it will take 10 shots in a row so that you can choose the one you like best.
6. Take photos with the iPhone’s volume buttons
Most people don’t know this trick unless they find it accidentally. Your iPhone’s volume buttons (on the side of the phone) can be used to release the shutter. Either button can be used. This makes shooting easier if you’re holding the camera horizontally or if you’re using the front-facing camera. However, since it’s slightly harder to press the volume button than it is the regular shutter release, it may cause camera shake. In low light situations, it’s better to use the regular shutter release or the timer.
7. Take photos with your Apple headphones
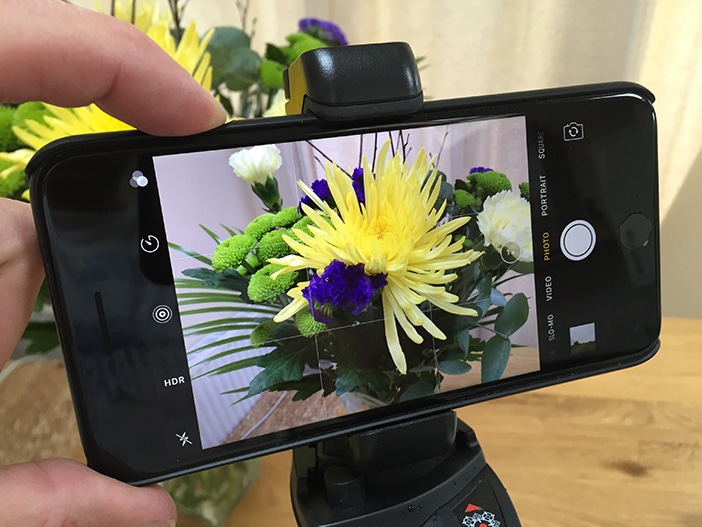
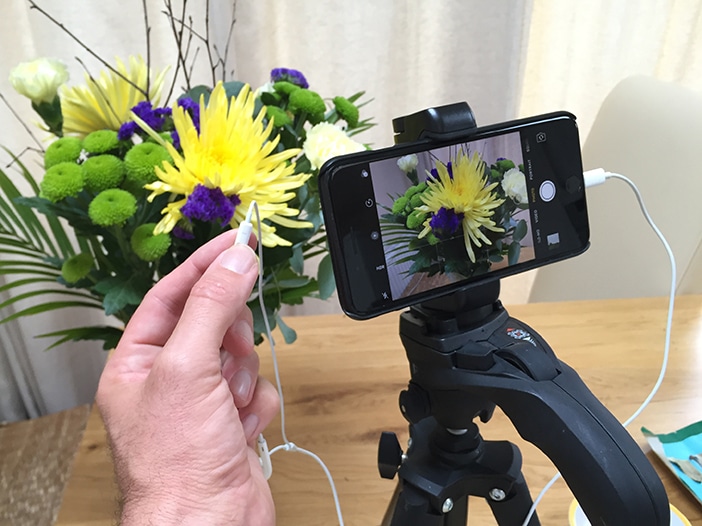
Another little-known shutter release trick is that your Apple headphones – the ones that come standard with every iPhone purchase – can also be used to take a photo. Just like on your phone, the volume buttons will release the shutter. If you’re a street photographer, you can discreetly take photos without anyone noticing. It’s also a good way to take a photo if you’re using a mount or tripod and don’t want to cause camera shake.
8. Turn on the grid
You’ve probably seen the grid on your iPhone when you setup a shot, but you may not know what it’s for. If you don’t know how to use the grid or you’re not familiar with the rule of thirds, those lines may just seem to get in the way. The grid divides the screen into nine sections and it’s there to help you compose the photo like an expert.
The rule of thirds says to always put your subject at one of the intersecting lines – you don’t want your subject in the center of the photo. The lines also help you straighten out the horizon when you’re shooting a landscape.
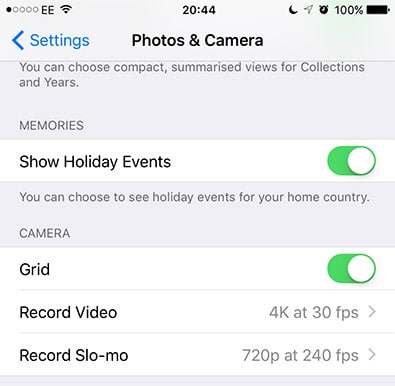
If you don’t see the grid when you open your camera, go to Settings, Photos and Camera and then toggle the Grid option to on.
9. Use Portrait Mode on the iPhone 7 Plus for better portraits
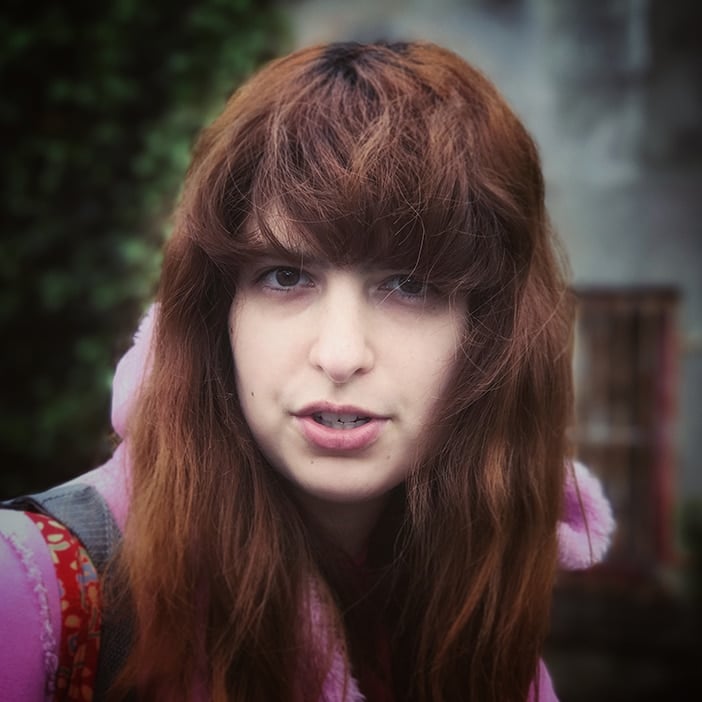
Portrait Mode, a new feature with the iPhone 7 Plus, gives you more control of depth of field. When it comes to portraiture specifically, you want a shallow depth of field to put the focus on the subject. In Portrait Mode, the background will be soft and blurred. Another benefit of Portrait Mode is that it uses the iPhone’s 2x telephoto lens, which eliminates distortion. When you’re first getting used to Portrait Mode, you’ll benefit from the instructions that pop up on the screen. Once you’re done shooting, there will be two images saved per shot: one with a blurred background and one with a normal background.
Choosing the right background to use with Portrait Mode takes some practice. The feature’s Depth Effect component will produce the best results if the subject isn’t too close to the background. Also play around with how much detail you have in the background, if you can help it. A stark white wall will be too plain to blur, but a busy background may still distract from the subject. A small amount of color and detail is your best bet.
10. Take a panoramic photo from any direction
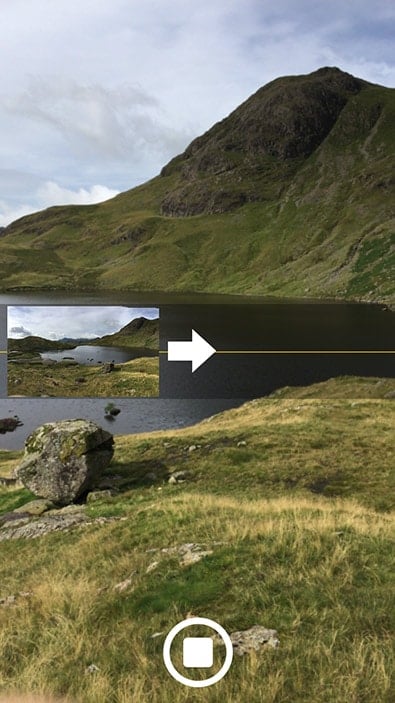
When you want to shoot a panoramic photo in order to capture a wider field of view, choose Pano mode on your camera, the arrow defaults from left to right. If you want to pan in the other direction, though, you just have to tap the right side of the screen and the arrow will switch over. While taking a panoramic photo, you can set the focus and exposure, too, just like you would in a regular photo.
11. Geotag your photos
When you enable geotagging, your iPhone will record the location of your photos. Not only will you be able to see where you took a photo, but you’ll also be able to search for images based on location.
To enable geotagging, go to Settings, Privacy, Location Services, then set the Camera option to While Using the App. Once you’ve turned geotagging on, you’ll see the location name at the top of the app. If you tap Details, you’ll get more info on the photo.
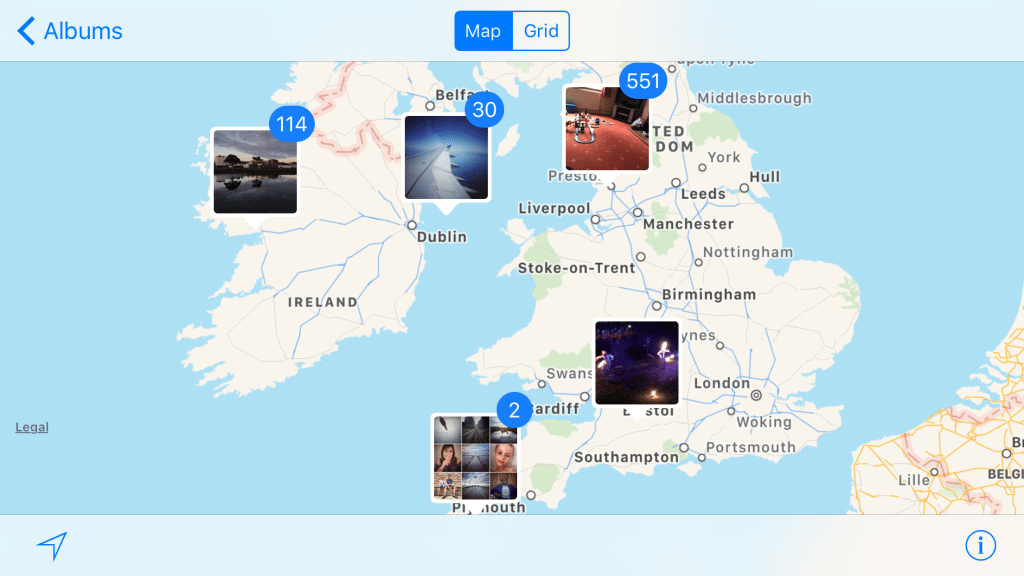
To see all of the images you took in a particular location, hit the Search icon at the top of the app, type in the name of the location and then choose the one you want from the menu. To see your images on a map, go to the Places album. You can zoom in or out and tap the photo set to see what you took at a certain location. If you tap Grid at the top, you can view your photos in a list.
A lot of people don’t realize all of the tools that are tucked away in their iPhone. Before you opt for add-on lenses and specialty gadgets, enhance your iPhone photography skills with tricks that are literally already at your fingertips.

