With the release of iOS 8 came the latest update to the fantastic camera replacement app, Procamera 8. The previous version of Procamera was good but this new version has taken the camera app to a whole new level. The app now offers iPhone photographer unprecedented levels of control over the images they capture.
New additions to Procamera 8 include:-
- VividHDR advanced three-shot HDR capture
- Exposure swipe control
- Full control over exposure time, ISO sensitivity, white balance and tint
- Slow motion video player
In this article I’ll take a look at Procamera 8 and show you step by step, how to use Procamera 8 to take great iPhone photos.
The interface
The first thing you’ll notice is that Procamera 8 opens quickly and once open you’re presented with a large viewfinder with an array of controls, all of which can be customised to display as much or as little as you need.
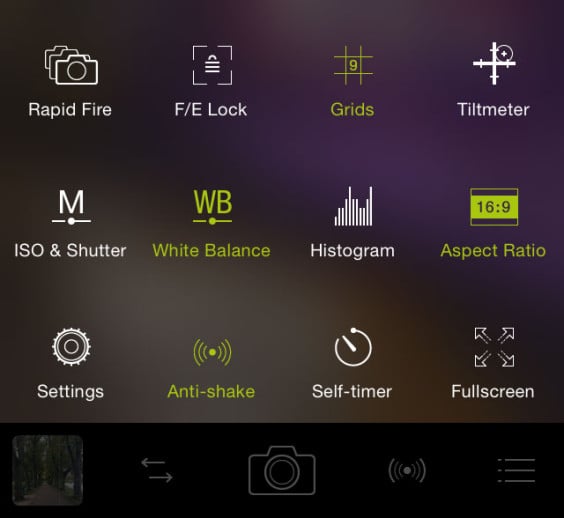
The first time you open the app you will probably want to customise the features and settings. To do this tap the settings icon in the bottom right corner of the viewfinder. A small pop up window will appear with 12 icons that offer quick access to the most common features and functions used in Procamera. From here you can customise the settings to meet your liking and style of shooting. Want to dig deeper into the app settings? Then the bottom left icon will open up more in depth confirmation settings.
Going back to the viewfinder you can’t help but notice that it makes full use of the iPhone’s screen with the main app controls being located on the edges of the top and bottom of the screen.
Controlling focus and exposure
One of the key features of Procamera is the ability to separate out the focus from the exposure and it was this feature that made Procamera so appealing to me when I started out taking pictures with my iPhone.
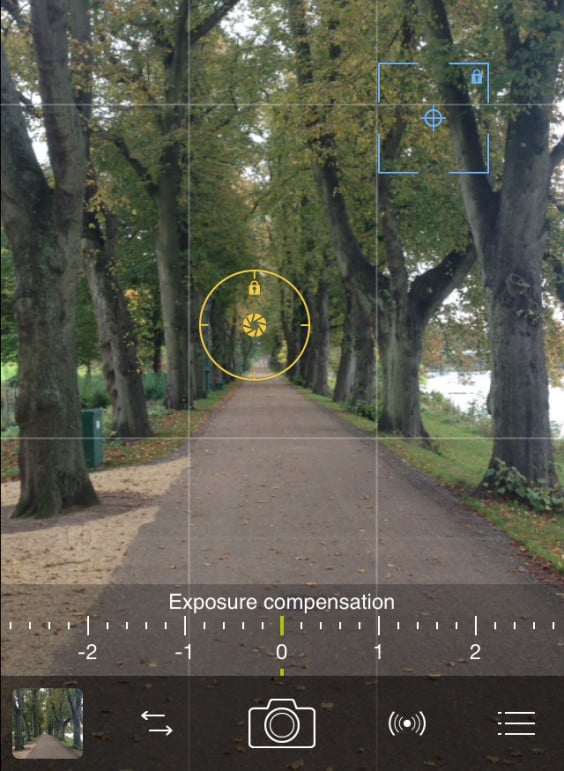
To focus and expose for the same point, tap and hold the screen. A small blue square and yellow circle will appear and your focus and exposure points will be set.
To separate out these points simply tap and hold then drag before moving them around the screen to the desired locations. The yellow circle locks the exposure. The blue square locks the focus.
Sometimes though you may find the exposure needs a little refinement. Procamera 8 now sees the introduction of the exposure compensation slider in the bottom edge of the screen. To adjust simply move the slider from left to right to fine tune the exposure of the image.
While we are on the subject of exposure, one of the new additions of Procamera 8 is the HDR feature. To access the HDR camera mode tap the icon to the left of the shutter release button (the one with two opposing arrows). This will show a pop up window of options that includes video, photo, HDR, Night or QR Code scan. By selecting HDR the images you subsequently take in this mode will be processed as HDR (high dynamic range) photographs. This means the app will take three images at differing exposures and combine them into one image. The resulting image will provide a beautifully exposed photograph which can be further enhanced by the new integration with, VividHDR.
Controlling white balance
In digital photography white balance is the process of removing unrealistic colour casts from a photograph in order that objects that are white in reality, appear white in your photo. Different light sources will emit light at various frequency levels which translate into different colour casts on a photograph. Digital cameras use auto white balance compensation which work out the colour temperature of a scene and automatically makes adjustments that neutralise these colour casts.
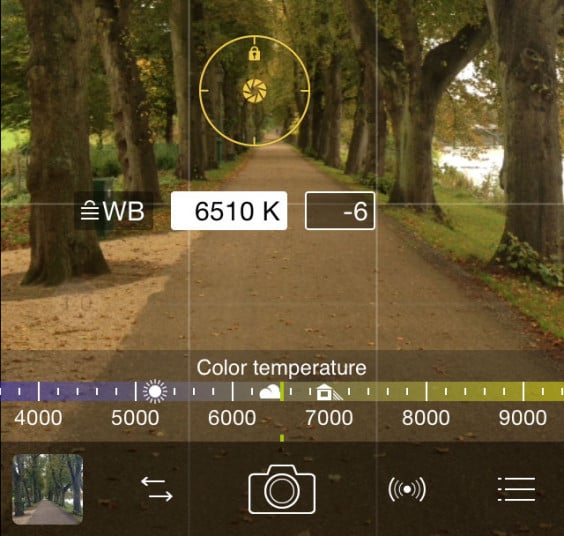
To gain more control over the white balance settings you will need to enable the white balance control from the settings menu. Once enabled the letters, ‘AWB’ will be displayed on the screen. Tapping ‘AWB’ will display a colour temperature slider at the bottom of the screen. To adjust this simply move the slider left or right until the desired colour tone is achieved.
Releasing the shutter
When taking your photographs there are three ways you can release the shutter in Procamera. The first is to tap the shutter release button on the bottom edge of the screen. It’s worth noting that the shutter is only released once you take your finger off the button which is a handy feature that helps to reduce camera shake.
The second way is to simply tap on the screen. To enable this feature you’ll need to enable full screen trigger in the settings menu. It is my favourite method of taking photos as its so easy especially when shooting street photography.
The third method is by pressing the volume buttons on the side of the phone. The shutter can also be triggered by using the volume control on the iPhone’s headphones, this is another discreet way of shooting street photography. Again this is an option that needs enabling in the settings menu.
Editing your photos within Procamera 8
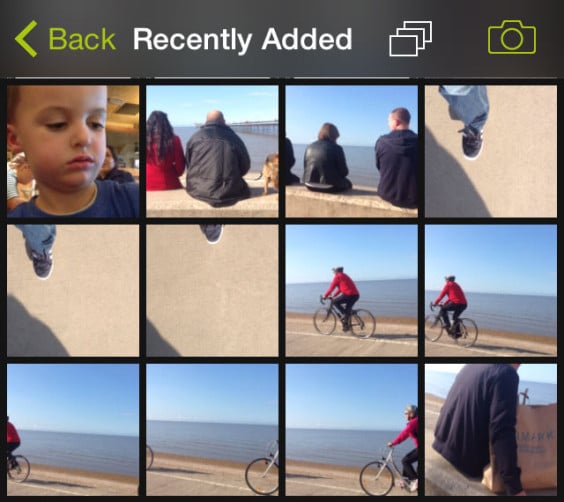
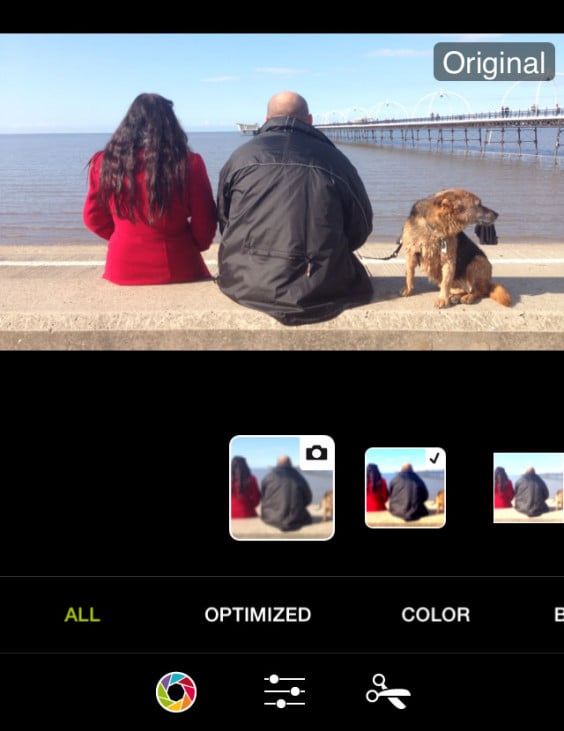
Procamera offers a range of built-in editing tools. To access these and edit your photo within the app you first need to select the image you want to work with. This is done by tapping the gallery icon in the bottom left corner, selecting the photo from the camera roll and tapping edit in the bottom right.
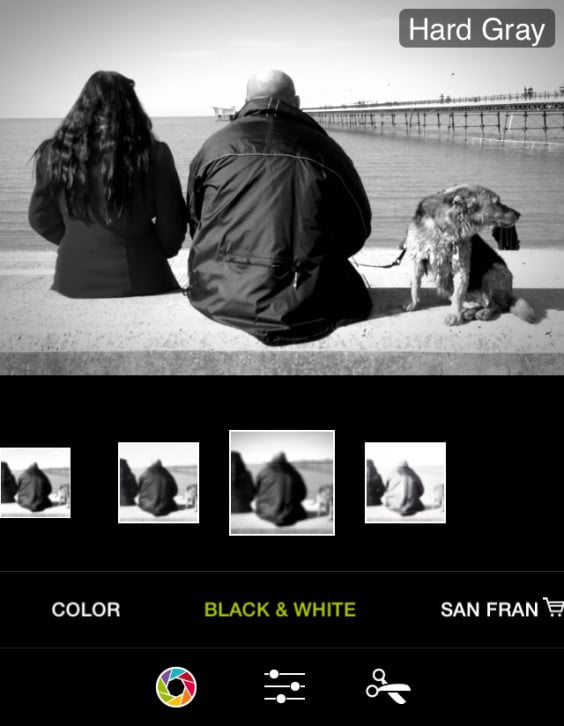
Procamera 8 has a selection of 76 preset filters and effects. You can scroll through the filters to see how the photo will look as the filter is applied in the preview. These presets are grouped into categories for easy navigation and also has a few extra in-app purchase options for added bonus filters.
With a filter chosen you can now dig a little deeper and adjust the photo even further via the three settings icons at the bottom of the screen.
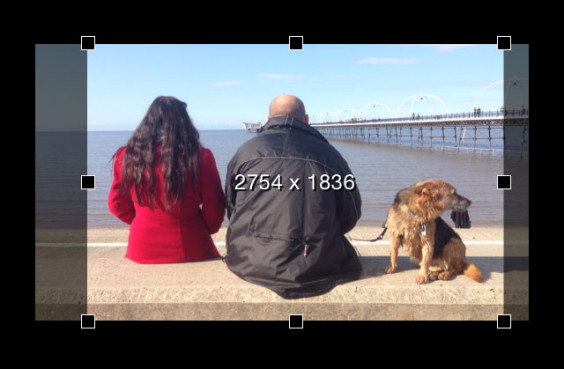
The first icon option is the filter selection tool (the screen we have just talked about). The next offers additional control over the brightness, contrast, exposure, saturation, color temperature, vignette, boost, sharpen, shadows and highlights. The third icon allows you to crop the photo to the desired composition and ratio.
To walk you through this process I chose to edit photo I shot on a recent family day out. The photo in question sees a couple sat on the seafront with their dog. I started by cropping the image to a 3:2 ratio before converting the image to black and white and selecting the ‘Hard Gray’ filter.
I then increased the sharpness of the image to around 50% before adding a vignette to the outer edges in order to focus the eye more on the subjects. Finally, I saved the image to the camera roll by tapping save in the top right corner.
Once you have your photo just as you want it you can now share the image across your social networks. To do this tap the share icon in the bottom left of the screen, select how you want to share the image and away you go.
In summary I have always been a big fan of Procamera. I have tried several other camera replacement apps but Procamera has always been one that has gelled with my style of photography and workflow. It is a versatile and easy to use app and the recent improvements now provide a whole new level of control to the photographs I take.
Download Procamera 8 from the App Store – Download



Thanks for this walk-through, Andy. I’ve been working primarily with the Iphone camera app and Hipstamatic camera, but want to explore some new ground and see what comes out of it. I like the expanded front-end interactivity/control that Procamera8 looks to offer.
I have used ProCamera for a long while now and love it. I tend to either take images from there into snapseed or import them into Oggl so I can take give them that Hipstamatic treatment
Hi Andy,
A question for the beginner: Can I save the photos edited in Procamera 8 intact with all the effects and filters on my computer? Thanks for answering!
Evelyn