Its fair to say Instagram is popular and whilst many use it as a platform to showcase their photographic talents and making connections with other like-minded people, there are many others who use it as a platform to vomit their daily lives into the photo streams of unsuspecting followers. This process of regurgitating of life’s events is often done without due care or attention to the basics of photography. The basics of photography aren’t rocket science but it does take a lot of practice to hone your creative eye and consistently capture the essence of what you see before you and to be able to tell a story in a momentary instant of time. For me that what photography is about. Telling a story, conveying an emotion or creating something that will stir that emotion in others.
Here I’ll outline a few basic principles that will help to illustrate how to take better Instagram photos that you can be proud of.
Stop and Think
One of the first steps towards taking better photos is to stop for a moment, think, slow down and choose your subject wisely. Think before you shoot. It’s always better to post quality work over quantity. Think about the sort of subject matter that excites you and who inspires you. Take a moment to observe the scene in front of you and think about the story that it would tell.
Master the Art of Composition
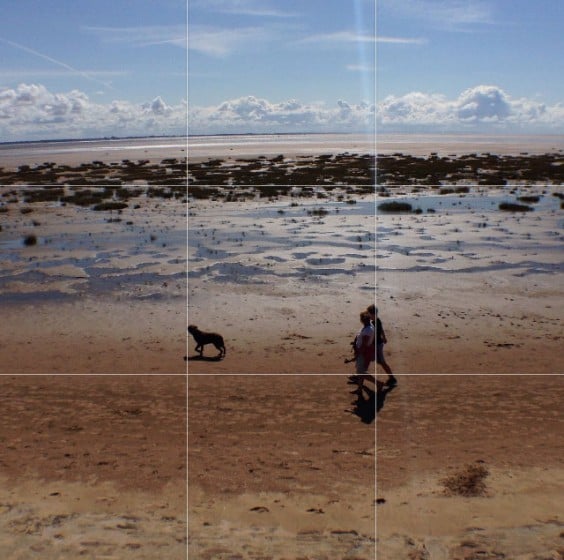
Before you even take your photograph think about its composition. For this I would recommend getting acquainted with the rule of thirds. The rule of thirds is more of a set of guidelines than a rule. It gives a framework that will help make your photographic compositions a lot more interesting than if you were to simply plonk your subject in the centre of the frame. That said, there are times when, especially if you are using with the 1:1 aspect ratio used on Instagram, when centrally positioning your subject in the frame works well. When it comes to composition there are no hard and fast rules. The key is to make sure your photo is interesting and that it draws the viewers eye into the scene.
TIP: Enable the rule of thirds grid in the Instagram viewfinder. This will help guide you when composing your shots.
Keep Your Photo’s Straight
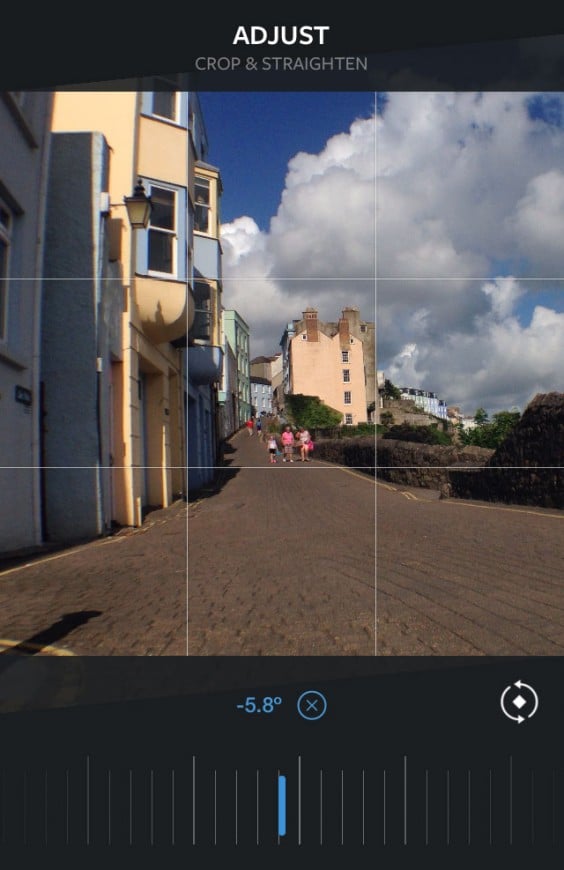
As you compose your shot, make sure you pay close attention to the levels in the composition. There is nothing more annoying than taking the perfect picture only for it to be spoilt by a sloping horizon or leaning building. Getting the horizontals and verticals level when you take the photo will avoid having to make those annoying post production corrections later.
TIP: Should a photo need some straighten out then fear not, Instagram has a cool straightening tool that allows you to rotate the image until the horizontals and verticals are as they should be. To access this tool, tap the tool icon in edit mode, then tap adjust and slide your finger left or right to rotate the images.
Pay Attention to Lighting
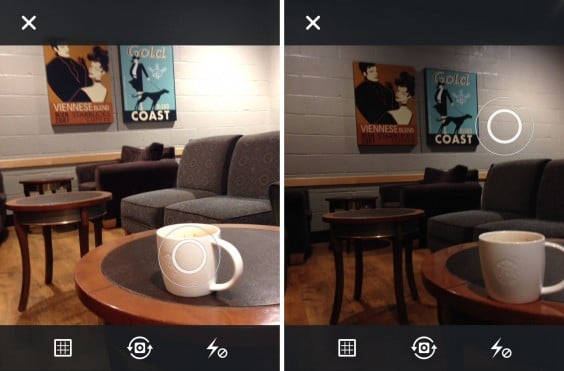
Lighting is one of the key fundamentals that contribute to making or breaking a good photograph. When taking your photo look for natural light sources and avoid using the flash. Natural lighting will give a glow to your image whereas the flash will strip colour from your subject and flatten it. On overcast days the light will be softer and more diffused whilst on a sunny day it will help to add contrast and depth to the scene and will brighten the intensity of the colour in your shot.
TIP: Adjust the exposure of your photo by tapping on the screen. This will not only set the exposure point for the image but it will also set the focus point as well. If you tap on a bright area of the photo it will darken the image thus bringing out the detail in those highlight areas. Tapping on a dark area will expose the image for the shadows but it is likely to blow out the detail in the highlights. Play about with this and try setting different focus/exposure points until you find that sweet spot where your image is nicely lit. Don’t worry if the image is to dark you can always pull it back later in post production.
Use Filters Wisely
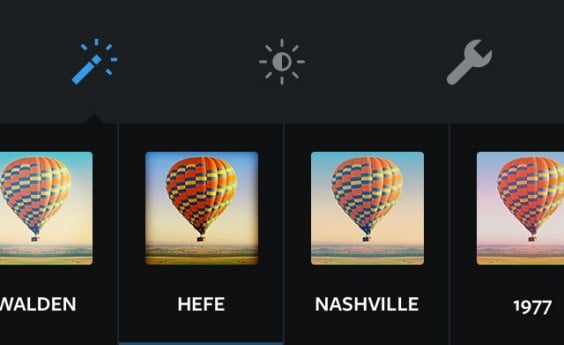
One of the cool features that helped Instagram capture the imagination of the iPhone photography community was the range of filters the app offered. One of the biggest mistakes made by many smartphone photographers is not knowing when to stop when it comes to the application of filters. Be true to the scene that’s in front of you. If your original shot is uninspiring, badly composed, badly exposed then no amount of filtering and post production adjustments will turn it into a great shot. Use the filters and photo editing features that are built into Instagram to enhance the photograph not mask the flaws of what is fundamentally a bad image in the vain hope you can pull something out of the bag.
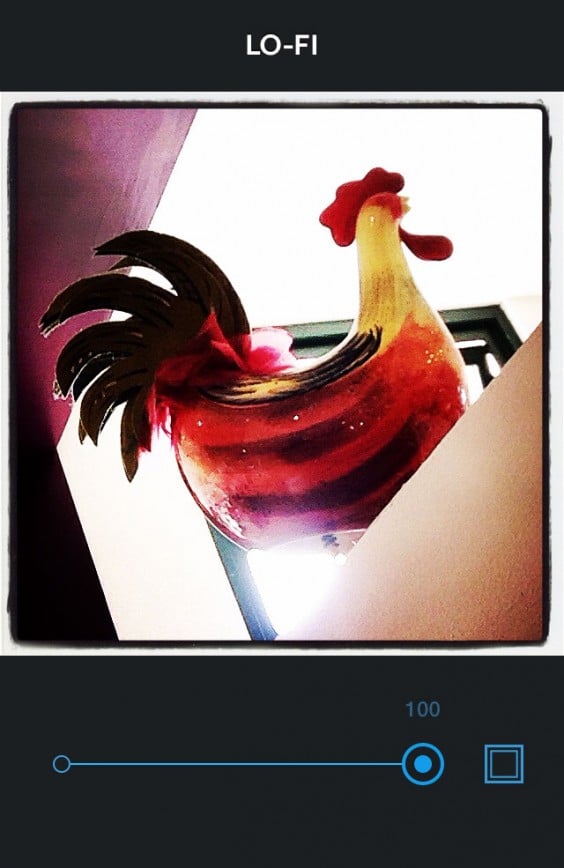
TIP: If you want a black and white photo try Willow or Inkwell. For a filter that gives vibrant colour and contrast try the Hefe or Lo-Fi filter while the filters 1977 or Walden will give a soft vintage feel with faded colour tones.
Borders
Instagram also offers the ability to add borders to a photograph. Borders tend to be a matter of personal preference and again, the key is not to over do it. Ask yourself the question, will a border help to frame and enhance the photo? Each filter in Instagram has its own border and the key to select a filter and border that complements and frames the photo but doesn’t distract from it.
TIP: To add a border first select a filter, then tap the filter again. This will display the border and settings. Remember though keep it simple and let the photograph speak for itself. Just because you can add a border it doesn’t mean you have to.
These are just some simple, basic guidelines that will help to improve the standard of photos you take and post out onto Instagram. Let us know if you have any other tips and words of wisdom to add to this subject in the comments below.

